Why light matters before you touch the machine
Polishing is not only about the pad and compound, it starts with what your eyes can actually see. A finish that looks fine under weak or yellow light can still carry DA haze, rotary trails, deep sanding scratches or patchy gloss that shows up later in daylight. That is why many South African workshops use a few light sources rather than one bright fitting in the middle of the room.
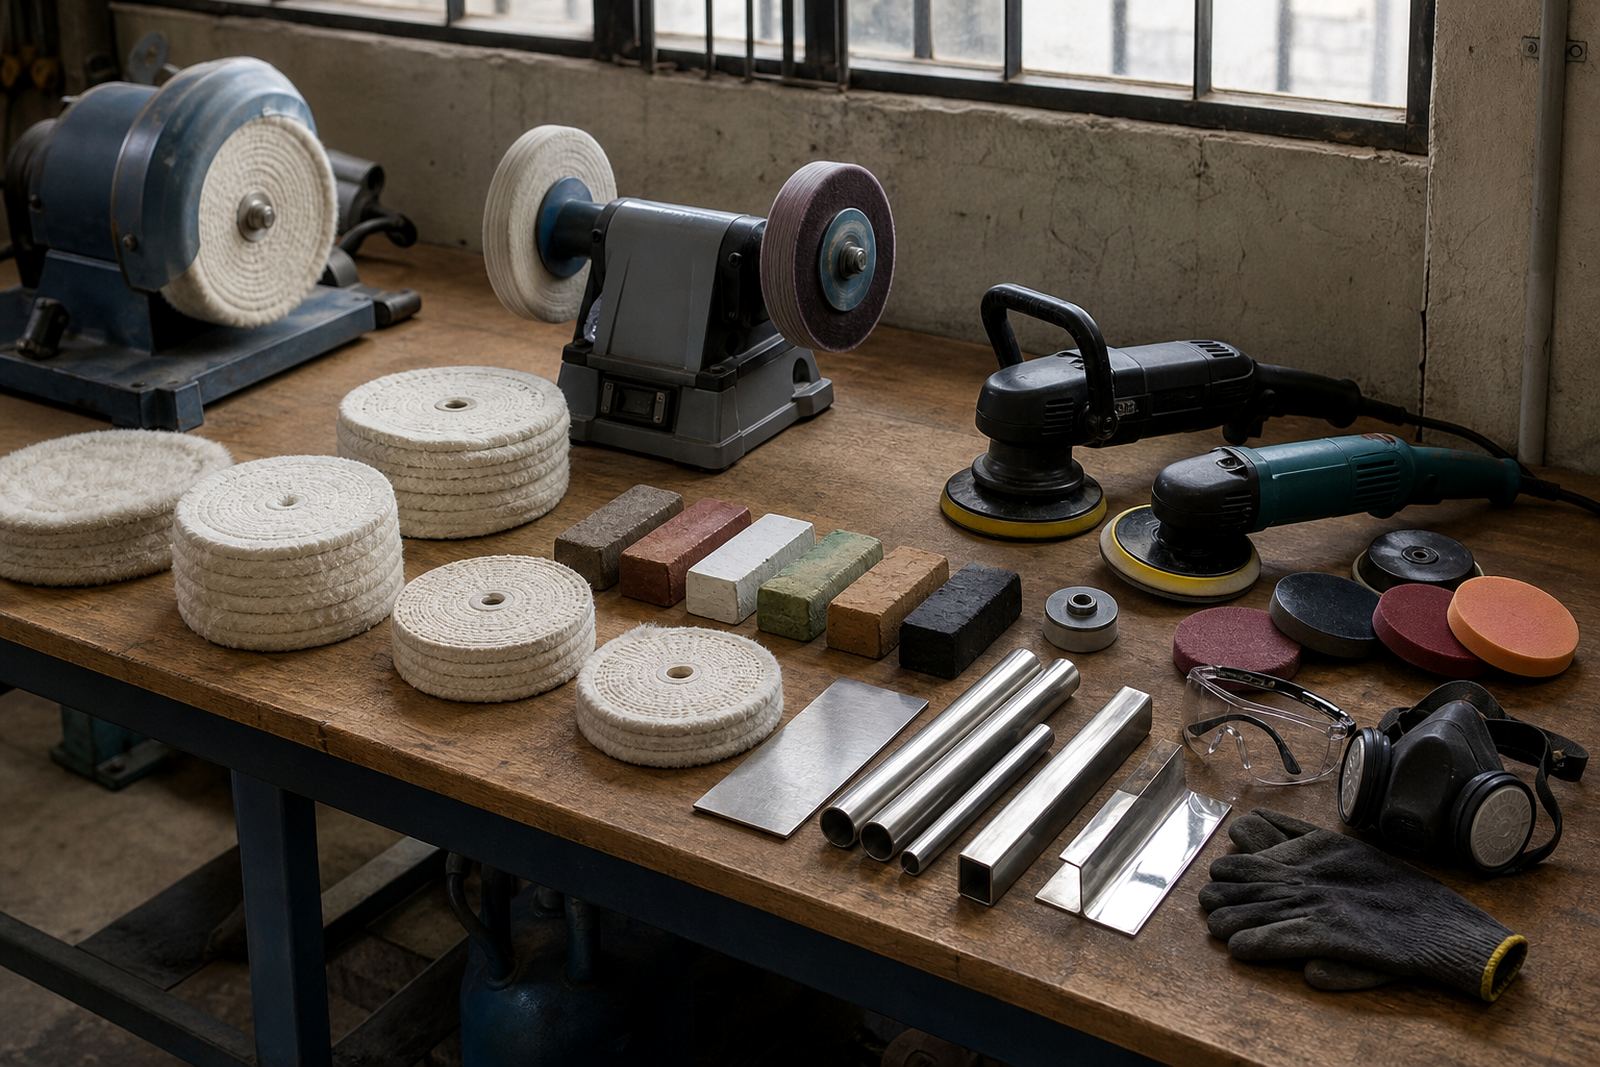
For paint correction, aim to see the surface in more than one condition. Check under normal workshop light, then under a narrow inspection beam, then again near a doorway or outside in indirect daylight. On metal, especially stainless steel, aluminium and chrome, light helps you spot grain direction, low spots and areas that have started to heat up. The same rule applies in Cape Town coastal humidity or in a dusty Gauteng workshop, because the finish can change fast once the panel cools.
A simple lighting mix that works in real workshops
You do not need a complicated setup. A mix of ceiling light, wall light and a hand held inspection lamp is usually enough for most polishing bays. The key is even coverage with one or two focused beams for finish checks. Dark corners make it hard to see residue and missed edges, and they also make it easier to overwork one spot while trying to chase a finsh defect.
- Use bright overhead light for general work and movement around the bay.
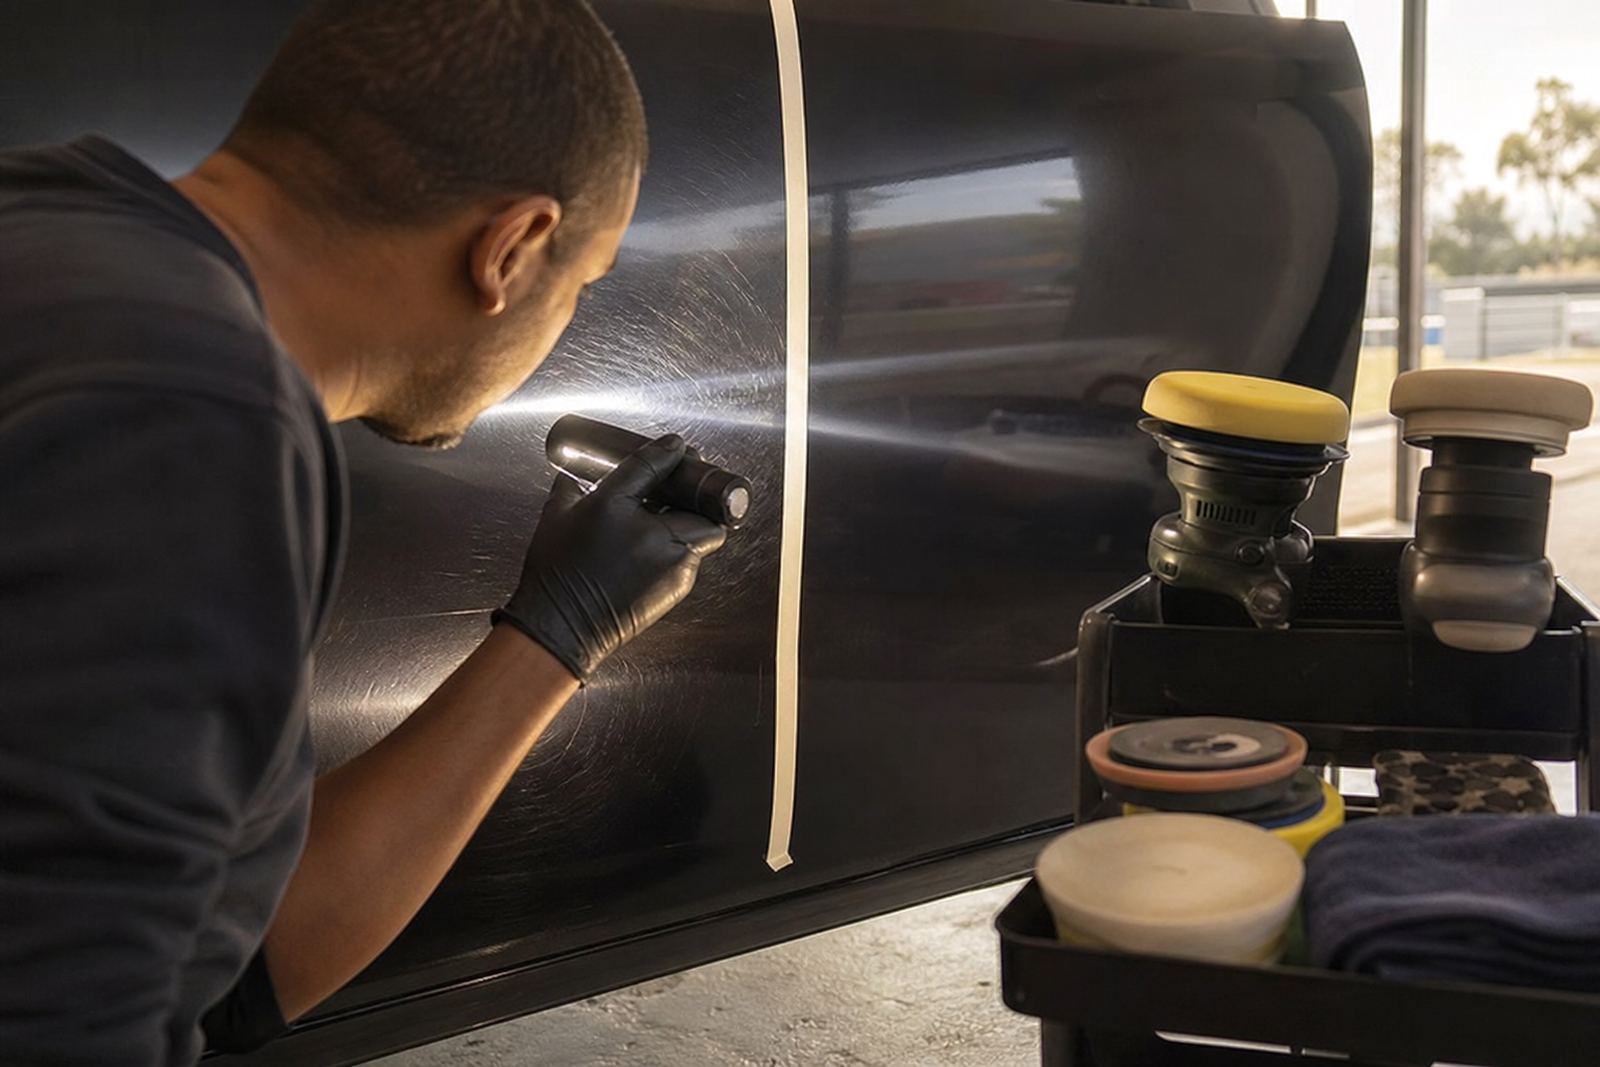
- Add a narrow beam inspection light for swirls, holograms and sanding marks.
- Use a movable lamp with a stand so you can change angle on doors, bonnets and curved metal.
- Keep cords tidy so they do not sit in slurry, polish dust or foot traffic.
In a Germiston workshop with a few polishing bays, it helps to place lights so the operator can step back and inspect the panel from different angles without blocking the beam. That small habit saves time and prevents rework.
What to look for when checking defects
Lighting is not only for brightness, it is for angle. Most polishing defects show differently when the beam hits from the side. Swirls, micro-marring and rotary holograms often appear as moving lines when you shift position. Sanding marks show as straight lines that stay visible even after a quick wipe. On darker paint, especially black and deep blue, low-angle light shows defects much sooner than overhead light.
For metal polishing, the same principle applies. A good beam will show if you have an even grain, if compound residue is still sitting in corners, or if heat has left a dull patch. When polishing near trim, badges or rivets, move the light around those edges because residue likes to hide there. A clean finish often comes down to better checking, not just more pressure on the machine.
- Side lighting shows trails and holograms clearly.
- Direct light helps you spot residue and missed corners.
- Daylight checks are useful for final inspection before delivery.
- Different panels need different viewing angles, so move the light often.
Lighting ideas for rotary and dual-action polishing
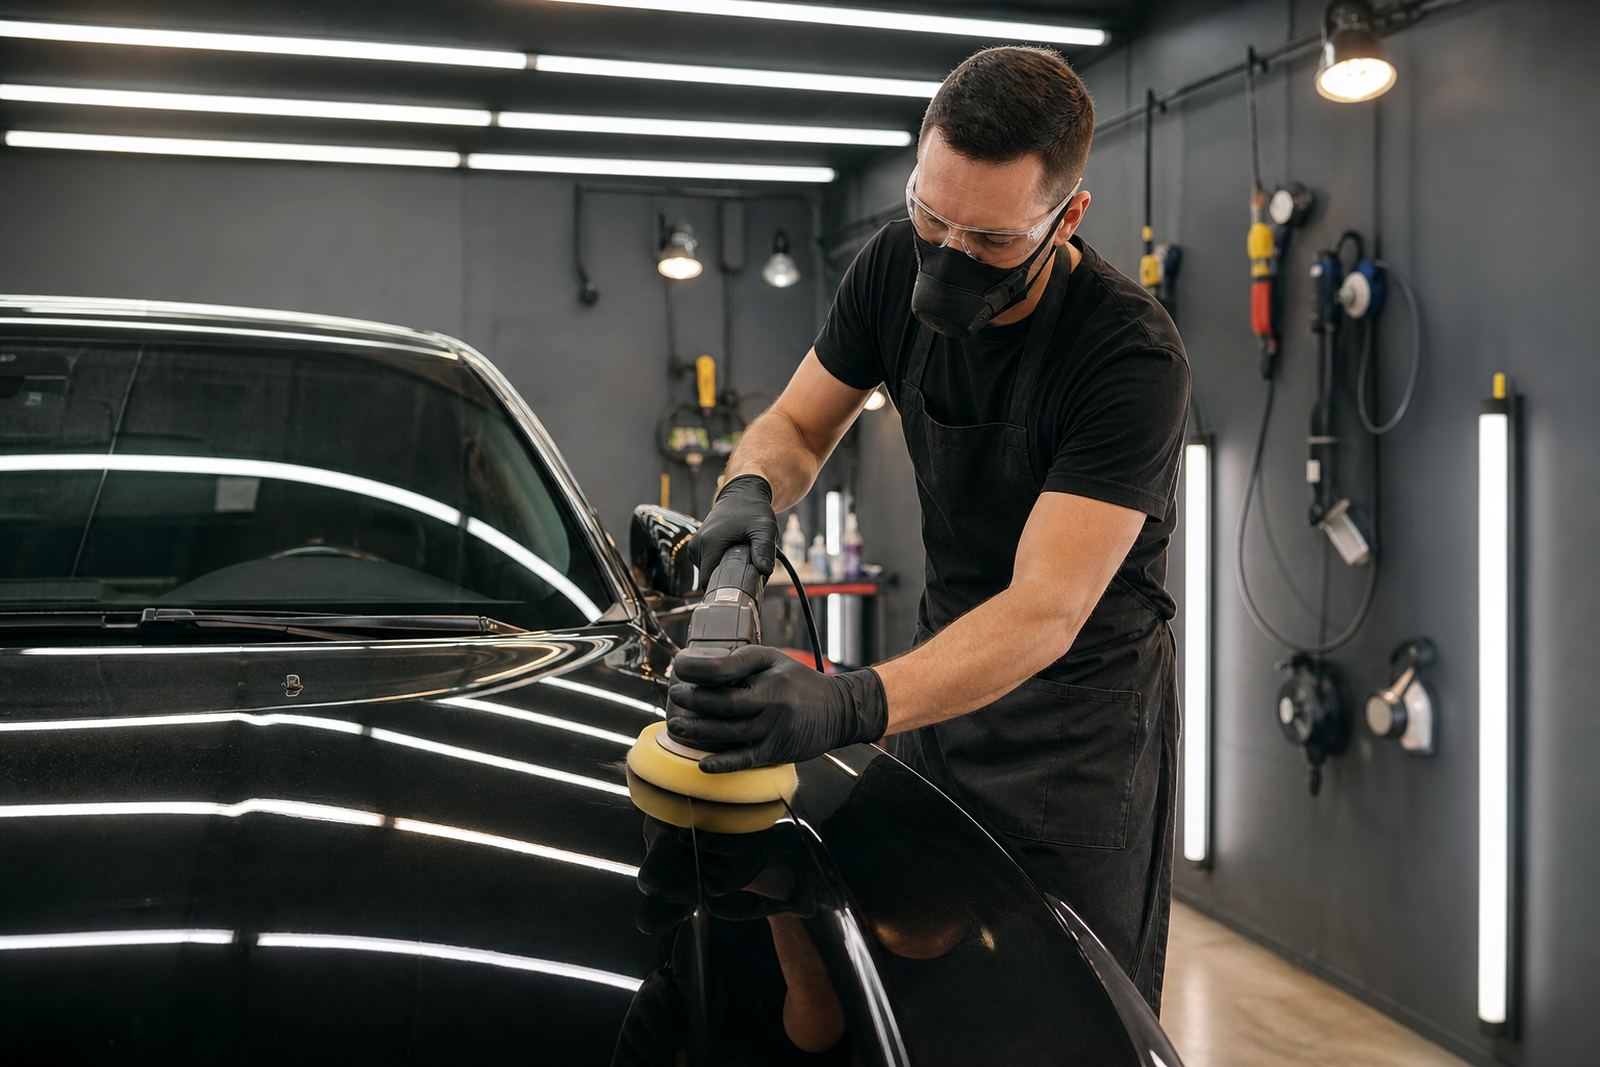
Rotary polishers and dual-action polishers behave differently, and your lighting should help you read both. With a rotary, the risk is heat, edge marks and holograms, so a moving inspection light is useful after each section. With a dual-action machine, the finish is usually softer but you still need to check for haze, pad marring and missed spots around handles and body lines. A strong lamp can reveal issues early before you move to a finer pad or compound.
When training new users, I like to keep one light fixed and one light mobile. The fixed light gives consistency, while the mobile light lets you inspect the exact section you just polished. That works well during beginner polishing training in Johannesburg or Pretoria, where learners are still getting used to pad control, machine angle and working time. It also helps when teaching starter kit users how to match pad and compound to the job.
For workshops handling both metal and paint, separate the inspection area from the polishing area if you can. That way the final check is not affected by airborne dust or machine movement around the vehicle or workpiece.
Safety, dust control and power use during
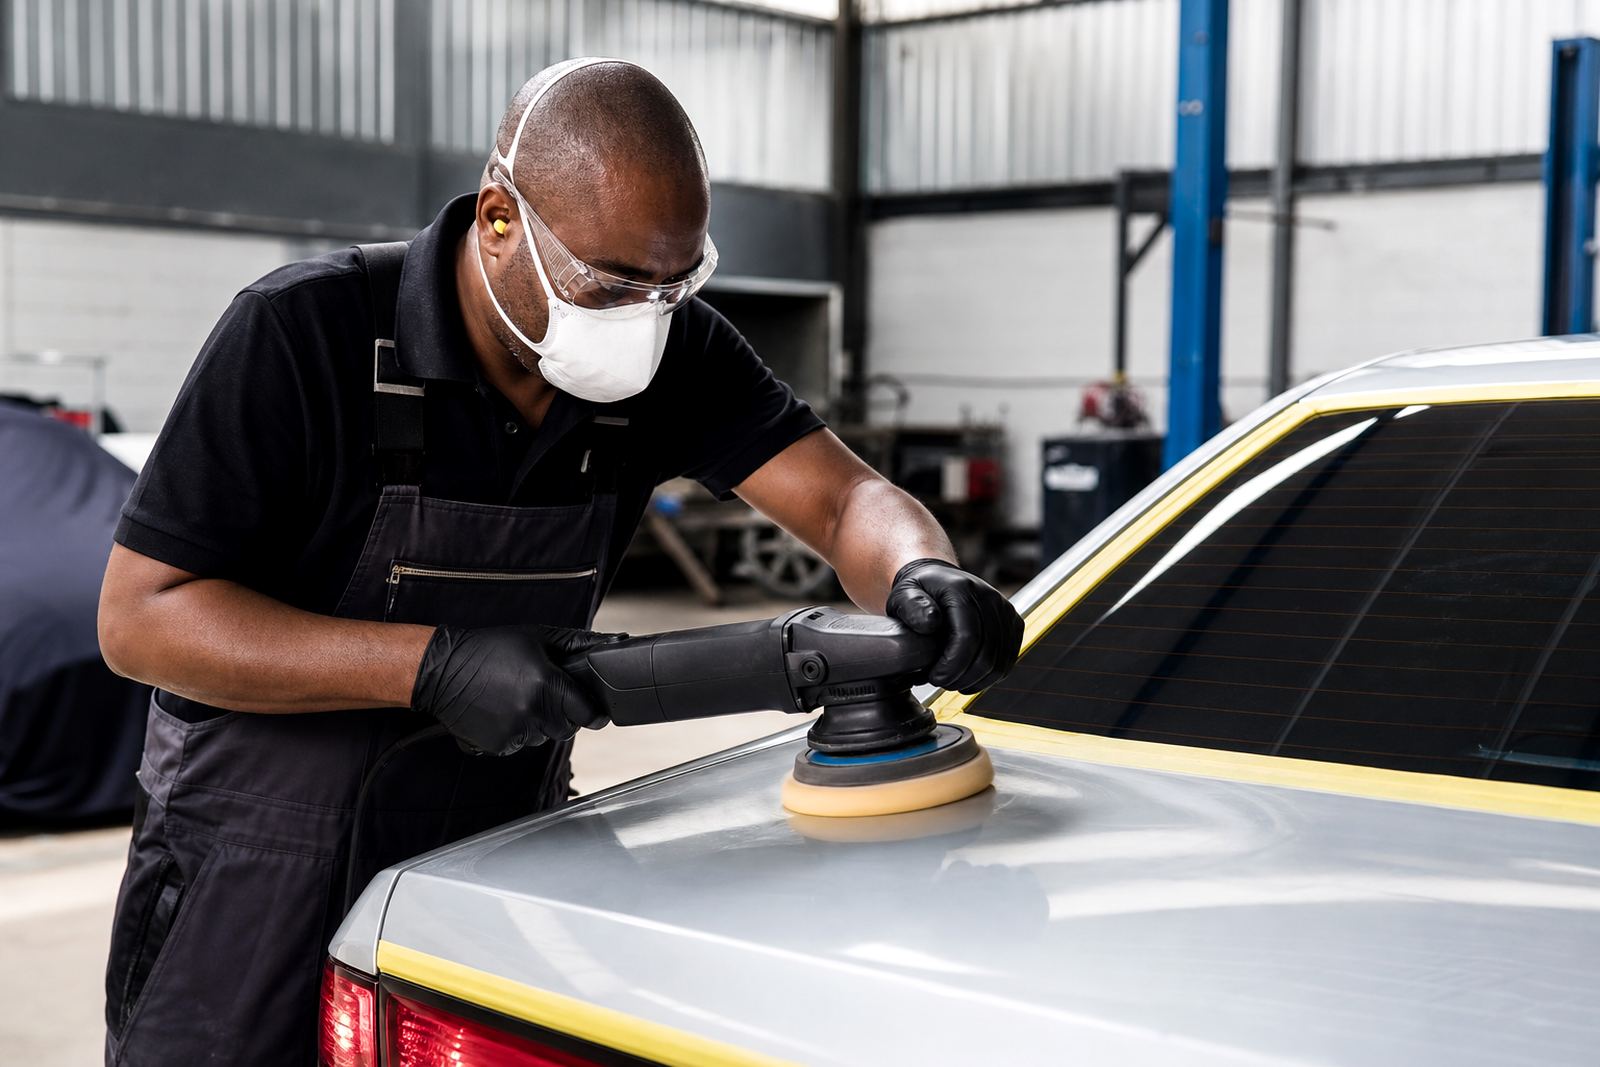
Good lighting must still support safe work. Polishing throws fine dust, spent compound and airborne residue into the air, so the area needs to be easy to clean and easy to inspect. Use closed covers on fittings where possible, keep extension leads off wet floors, and make sure inspection lamps are stable. PPE matters too, because eye protection, a dust mask or respirator and hearing protection can make a long shift safer.
The important thing is not to polish in poor visibility just to keep moving. If you cannot see the surface properly, you are more likely to chase the wrong defect and waste compound. In dusty areas around the East Rand or Vaal Triangle, a quick wipe down before inspection can make a noticeable difference.
- Wear eye protection when checking panels close to the light source.
- Keep floors dry and free of compound slip risks.
- Do not rely on a single bulb for the whole bay.
- Make sure emergency lighting is available if power drops.
A practical Germiston example for local workshops
A small workshop in Germiston working on bakkie canopies, alloy parts and passenger vehicles may not have the space for fancy fittings, but it can still set up well. Three overhead lights, one movable inspection lamp and a clear wall near the finishing bay can be enough to check paint after correction or to inspect a metal buffing job. The operator can step back, inspect the panel at an angle, then return to the machine only where needed.
That approach saves time, reduces over-polishing and helps the team explain results clearly to customers from Johannesburg, Pretoria, Cape Town, Durban and Bloemfontein. When the finish is checked properly, there is less guesswork. Customers notice the cleaner reflections, and the workshop keeps control of the process instead of chancing it under poor light.
At Polisher, that is the kind of practical thinking behind our training, starter kit guidance and product advice. The right light does not polish the panel for you, but it does help you make better decisions at every stage.