What A Healthy Pad Should Feel And Look Like
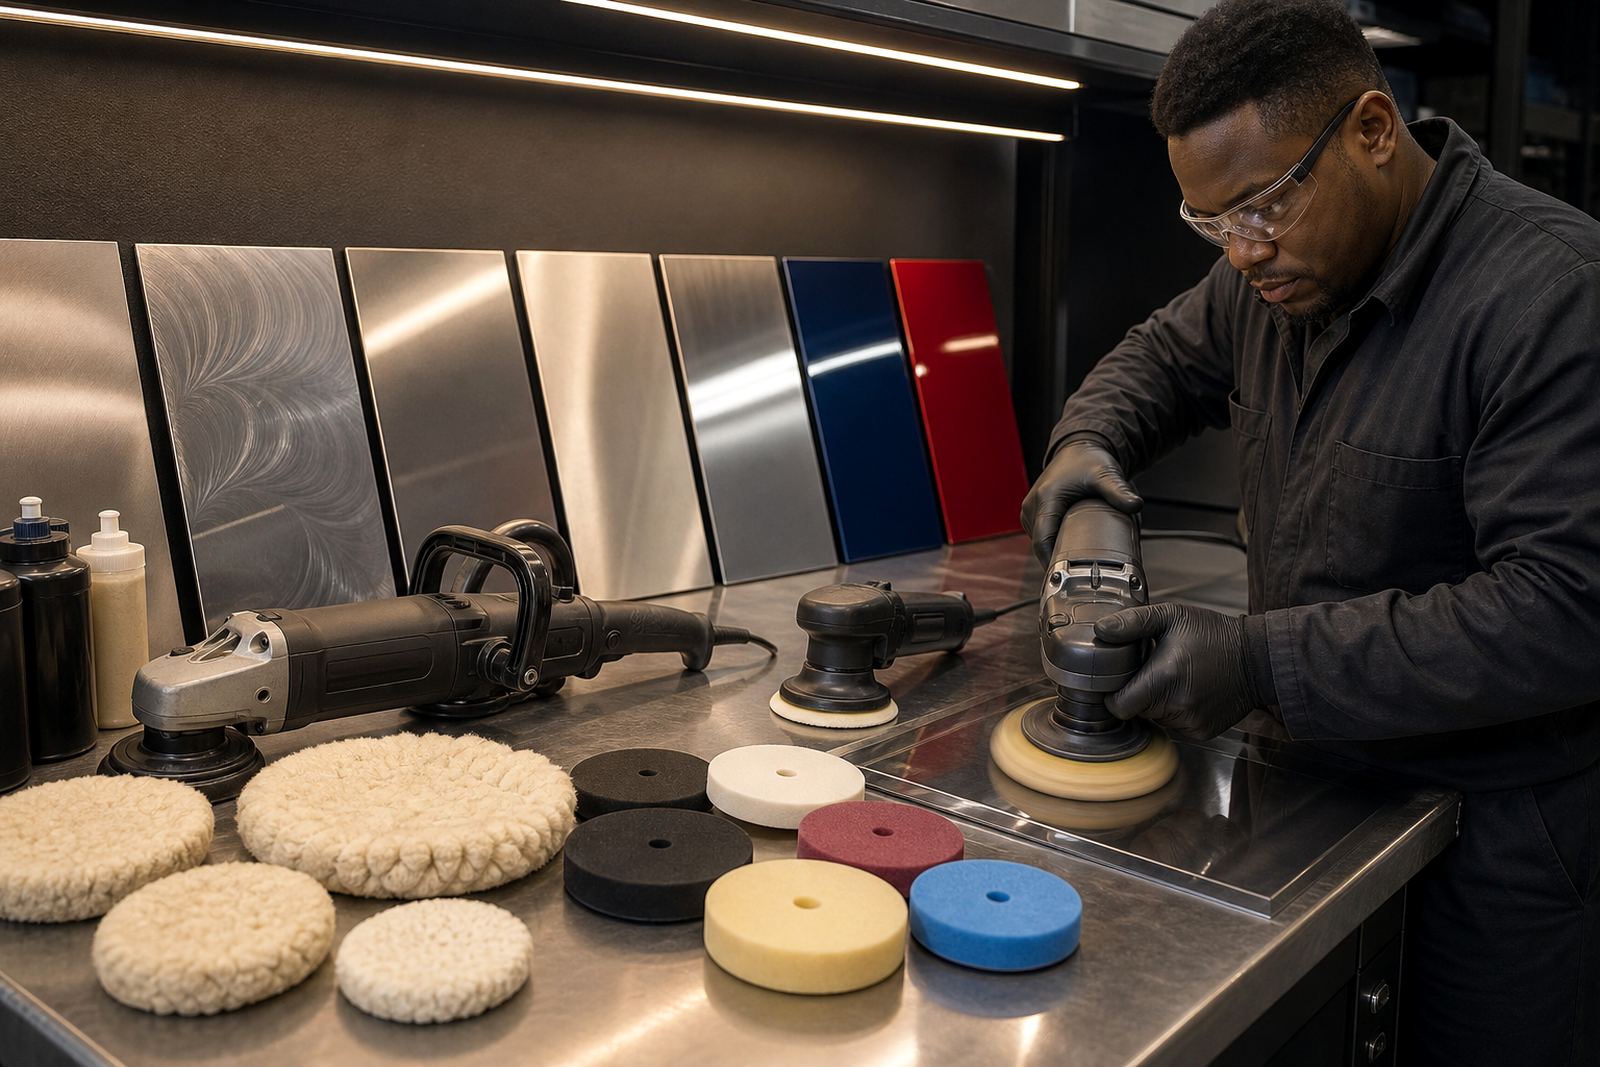
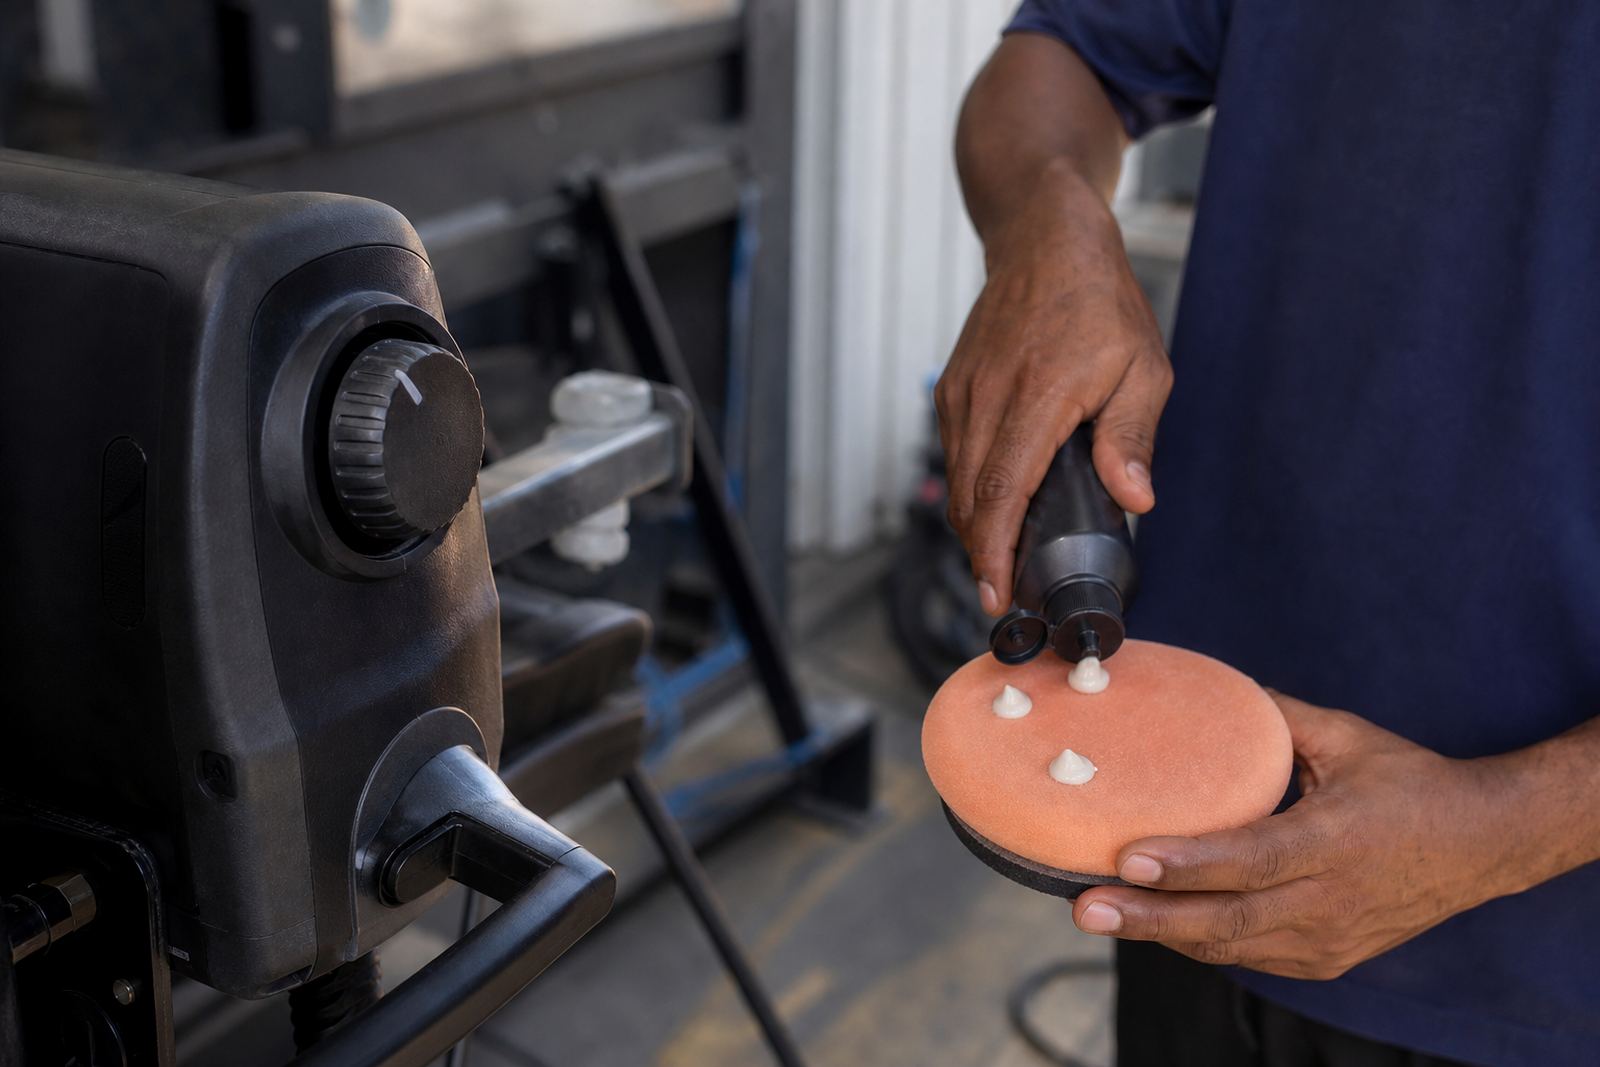
A good polishing pad should spread compound evenly, stay stable on the machine and leave a consistent finish across the panel. Whether you are using a rotary polisher or a dual-action machine, the pad should hold its shape well enough to do the work without skating, grabbing or leaving patchy marks. On paint, that means the correction step should look even before you move on to refining. On metal, the surface should brighten steadily instead of showing dull bands or streaks.
As soon as the face starts to change noticeably, check it before carrying on. A pad that is only slightly loaded can often be cleaned and reused during the job, but a pad that has lost its structure is usually past its best. In hot Gauteng conditions, foam can soften faster and wool can pack down quicker, so it pays to inspect pads more often when working through a full bonnet, door set or stainless steel piece.
- Cutting action becomes weaker or uneven
- The pad feels hotter than usual after a short pass
- Compound stops breaking down properly
- Dust, residue or old polish builds up in the face
Clear Signs The Pad Is Loaded Up Or Worn Out
The first warning is usually a drop in performance. If the pad was removing oxidation or light defects well and now it only seems to smear product around, the face is likely overloaded. This happens when spent compound, paint residue, metal polishing paste or airborne dust fills the open cells or fibres. Once loaded, the pad cannot bite cleanly and you will often need more pressure, which creates more heat and more mess.
Another sign is visible damage. Torn foam, loose stitching, balled-up fibres or a pad that has gone hard on one side should be replaced. A pad that no longer runs true can also cause wobble, which is hard on the machine and uncomfortable for the operator. In a workshop, that often means the pad has already been pushed too far for safe use.
- Edges are frayed, split or missing chunks
- The face has gone shiny and glazed
- Velcro backing is lifting or losing grip
- The pad no longer sits flat on the panel
If you are polishing around badges, swage lines or welded edges, damaged pads are even more risky because they can catch and leave hard-to-remove marks. Better to swap early than chase correction later.
How Often To Replace Pads During Real Work
There is no fixed number of panels or metres that tells you exactly when to change a pad. A soft foam finishing pad may last through several light correction stages if it is kept clean, while a heavy cutting pad can be tired after one large vehicle if the paint is rough or the metal is oxidised. The key is to watch what the pad tells you, not just the clock.
A practical rule is to change or clean the pad as soon as the finish starts to drift. If the pad starts leaving haze, trails or pigtails, stop and inspect it. For metal work, if the compound is drying on the face and the sheen is becoming patchy, the pad may be full. On a rotary machine, a loaded pad shows up quickly because heat builds fast. On a DA machine, you may notice the pad bouncing or losing bite.
- After heavy oxidation removal
- When moving from cutting to finishing
- When product starts dusting too much
- After a pad has been dropped on the floor
In Germiston workshops and mobile jobs around Johannesburg, Pretoria or the East Rand, dust is a daily issue. Cement dust, brake dust and wind-blown grit can all work into a pad, so clean working habits matter just as much as pad choice.
Cleaning Can Extend Life, But It Does Not Save Every Pad
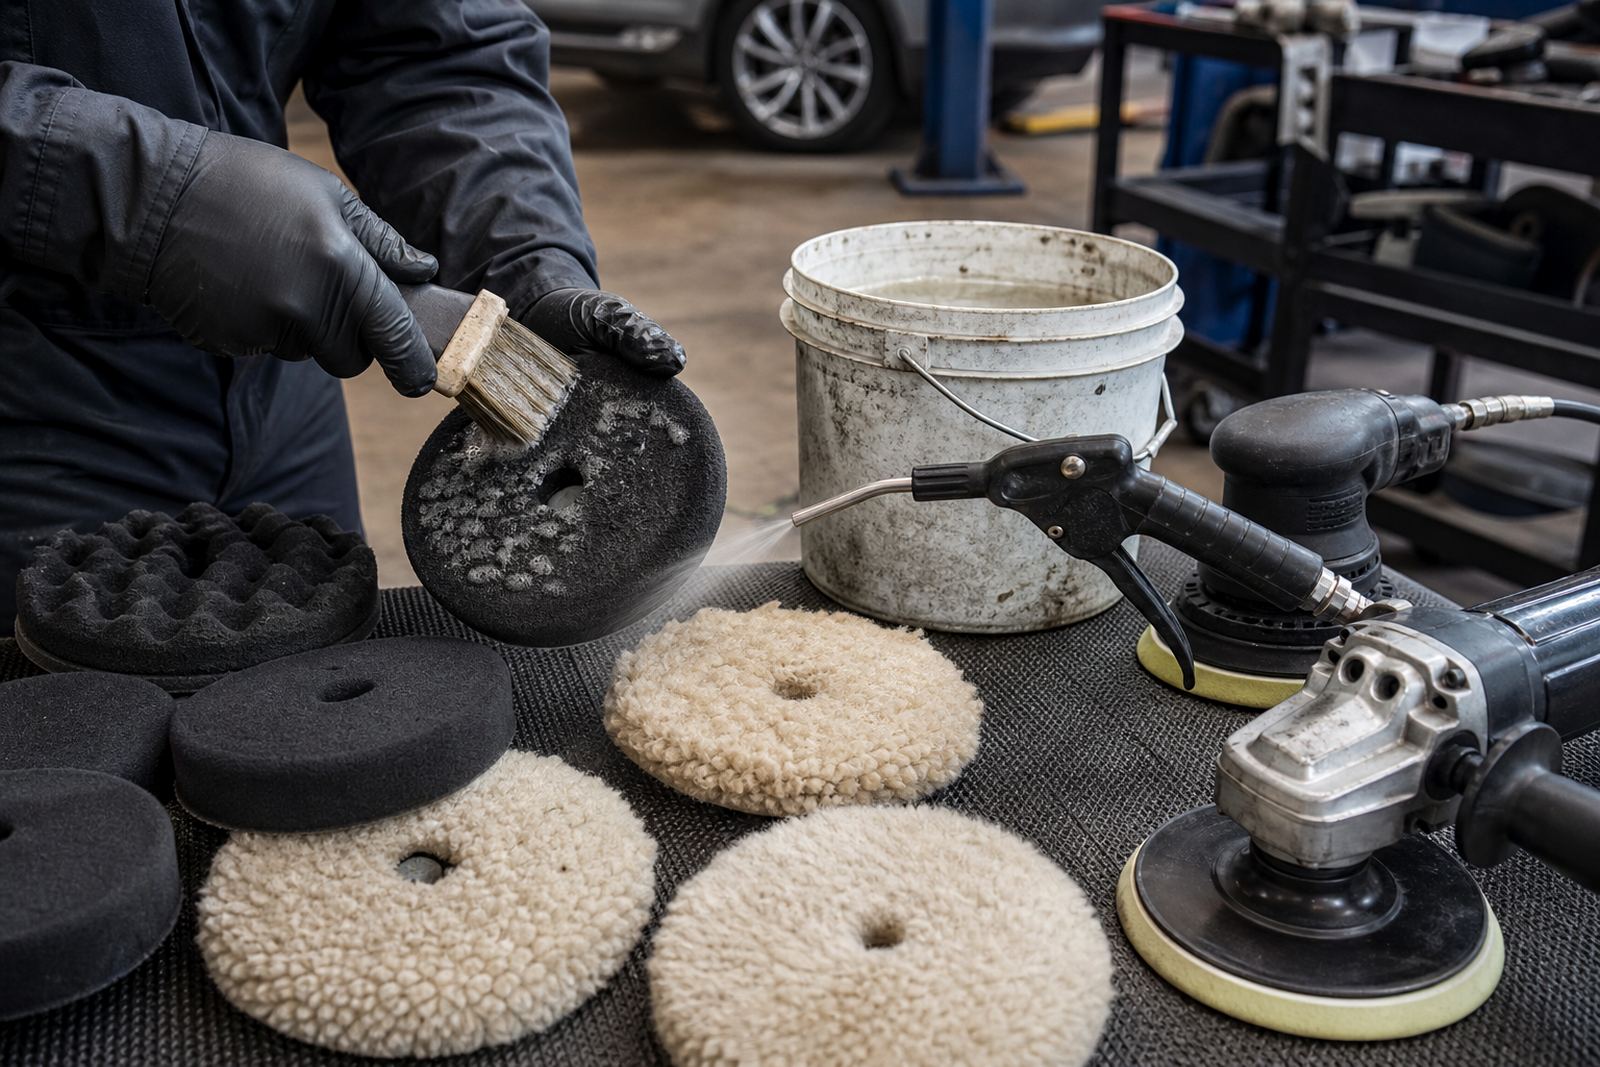
Between passes, a pad can often be cleaned with compressed air, a pad brush or a towel to remove loose residue. That helps restore some cutting ability and keeps the surface cooler. For foam pads, a quick clean can make a big difference. For wool and microfibre pads, removing packed residue is especially important because built-up material changes how the fibres cut.
Even so, cleaning is not a cure for wear. If the foam has collapsed, the face has hardened, or the backing is failing, no amount of brushing will bring it back properly. The same applies when the pad has become contaminated with grit. Once grit is embedded, the risk of scratches and extra finishing work goes up. On paint correction jobs, that can turn a simple step into a longer process than it should have been.
- Use clean pads for each stage of correction
- Keep spent pads separate from fresh ones
- Do not keep using a pad that has picked up grit
- Let pads dry fully before storing them
Rotary And DA Machines Put Different Pressure On Pads
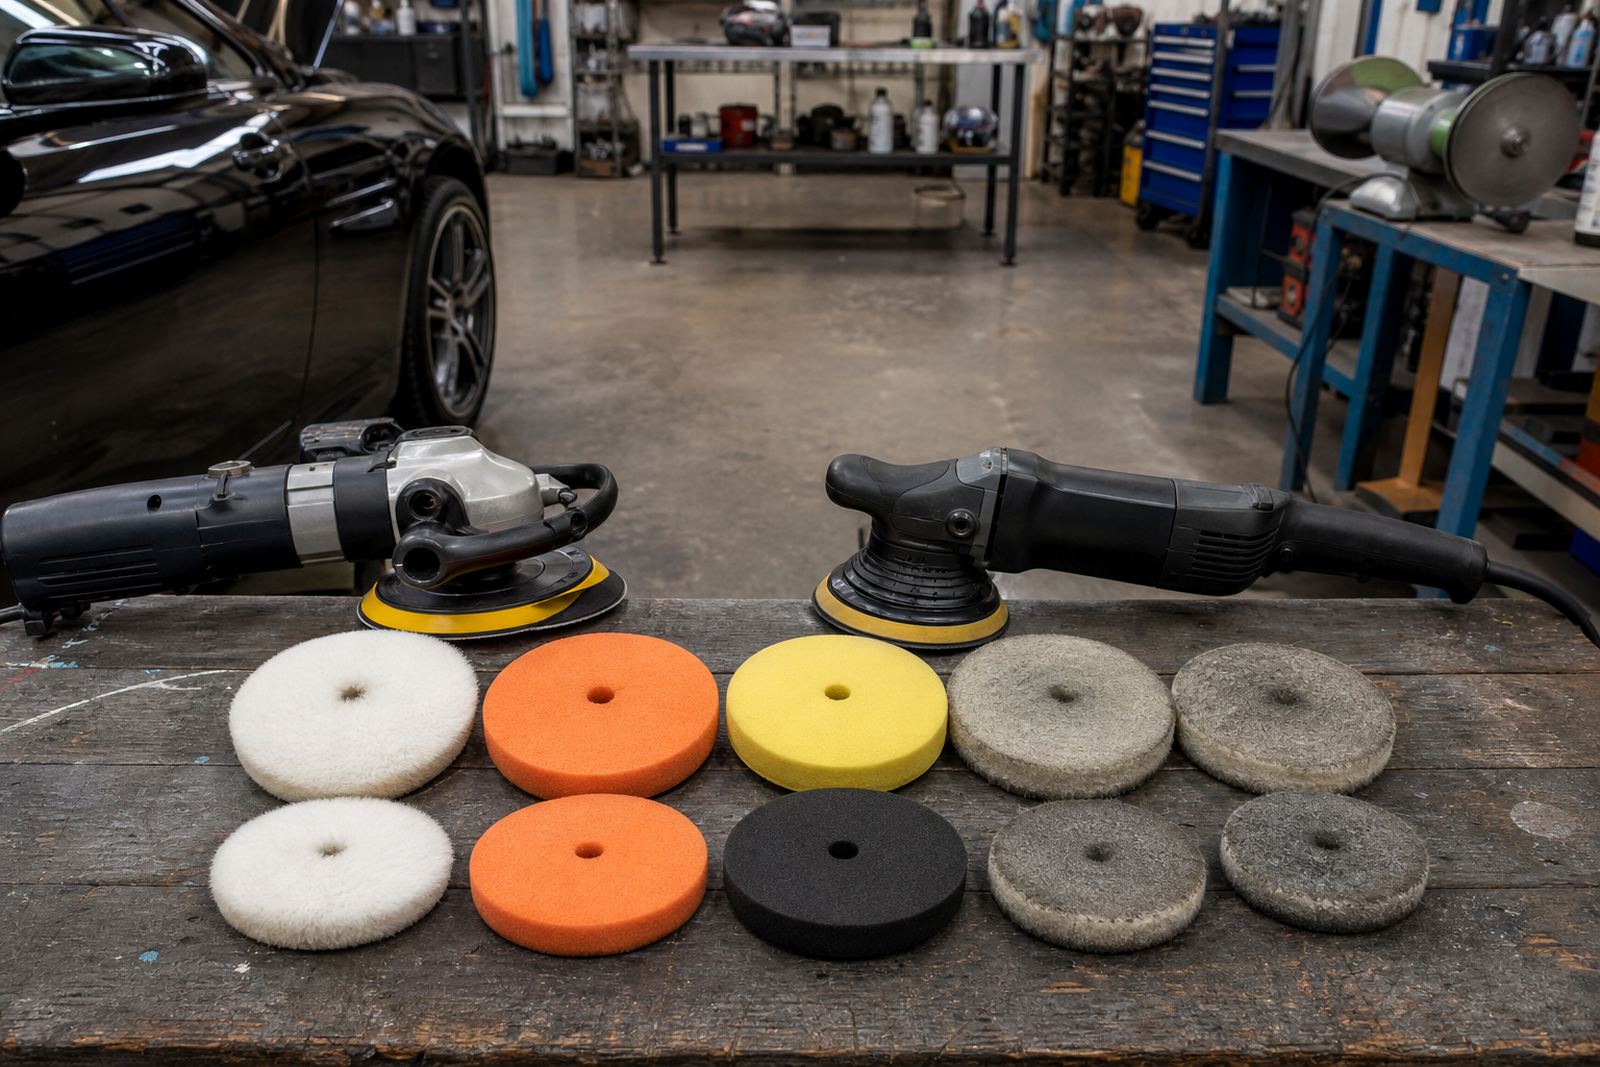
Pad life changes depending on the machine. A rotary polisher drives the pad in a direct spinning motion, so it can generate heat and wear the pad faster if the operator leans on it. That is useful for metal polishing and heavier correction, but it also means the pad must be watched closely. A DA machine runs with a random orbit, which is more forgiving on paint and often easier for beginners, but a clogged pad will still lose efficiency and can mark the surface.
Pad choice matters too. Cutting pads, whether foam, wool or microfibre, are designed to work harder and usually wear faster. Finishing pads last longer when used correctly but can still glaze over if too much product is used. Matching the pad to the job is part of good technique, and so is choosing the right compound for the level of defect you are dealing with.
For example, a learner in Bloemfontein polishing a weathered boot lid may use too much compound and expect one pad to do the whole panel. That pad will load up quickly and begin to drag. The better approach is to work small sections, clean the pad often, and change it once the finish stops improving. It saves time and reduces the chance of chasing marks later.
Safety, PPE And The Small Habits That Protect A Finish
Changing pads is not only about appearance. It is also about safety. A worn pad can throw residue, create extra dust and force the operator to use more pressure, which raises the chance of heat damage to paint or sharp edges on metal. PPE matters every time. Use eye protection, a suitable dust mask when dry residue is present and gloves where needed, especially during metal finishing where fine particles can become airborne.
Good habits make a big difference in South African workshops where power interruptions can interrupt workflow and job cards need to be managed carefully. If the machine stops, inspect the pad before restarting. If the panel is too hot to touch comfortably, allow it to cool before continuing. And if the pad looks uneven, do not assume it will sort itself out on the next pass.
- Check pad condition before each panel
- Keep a spare set ready for longer jobs
- Store pads away from grit and moisture
- Replace any pad that feels unsafe or unstable
With the right routine, pads last longer and the finish improves. The trick is knowing when to stop pushing a pad and simply fit a fresh one.