Why a small test area saves a full panel
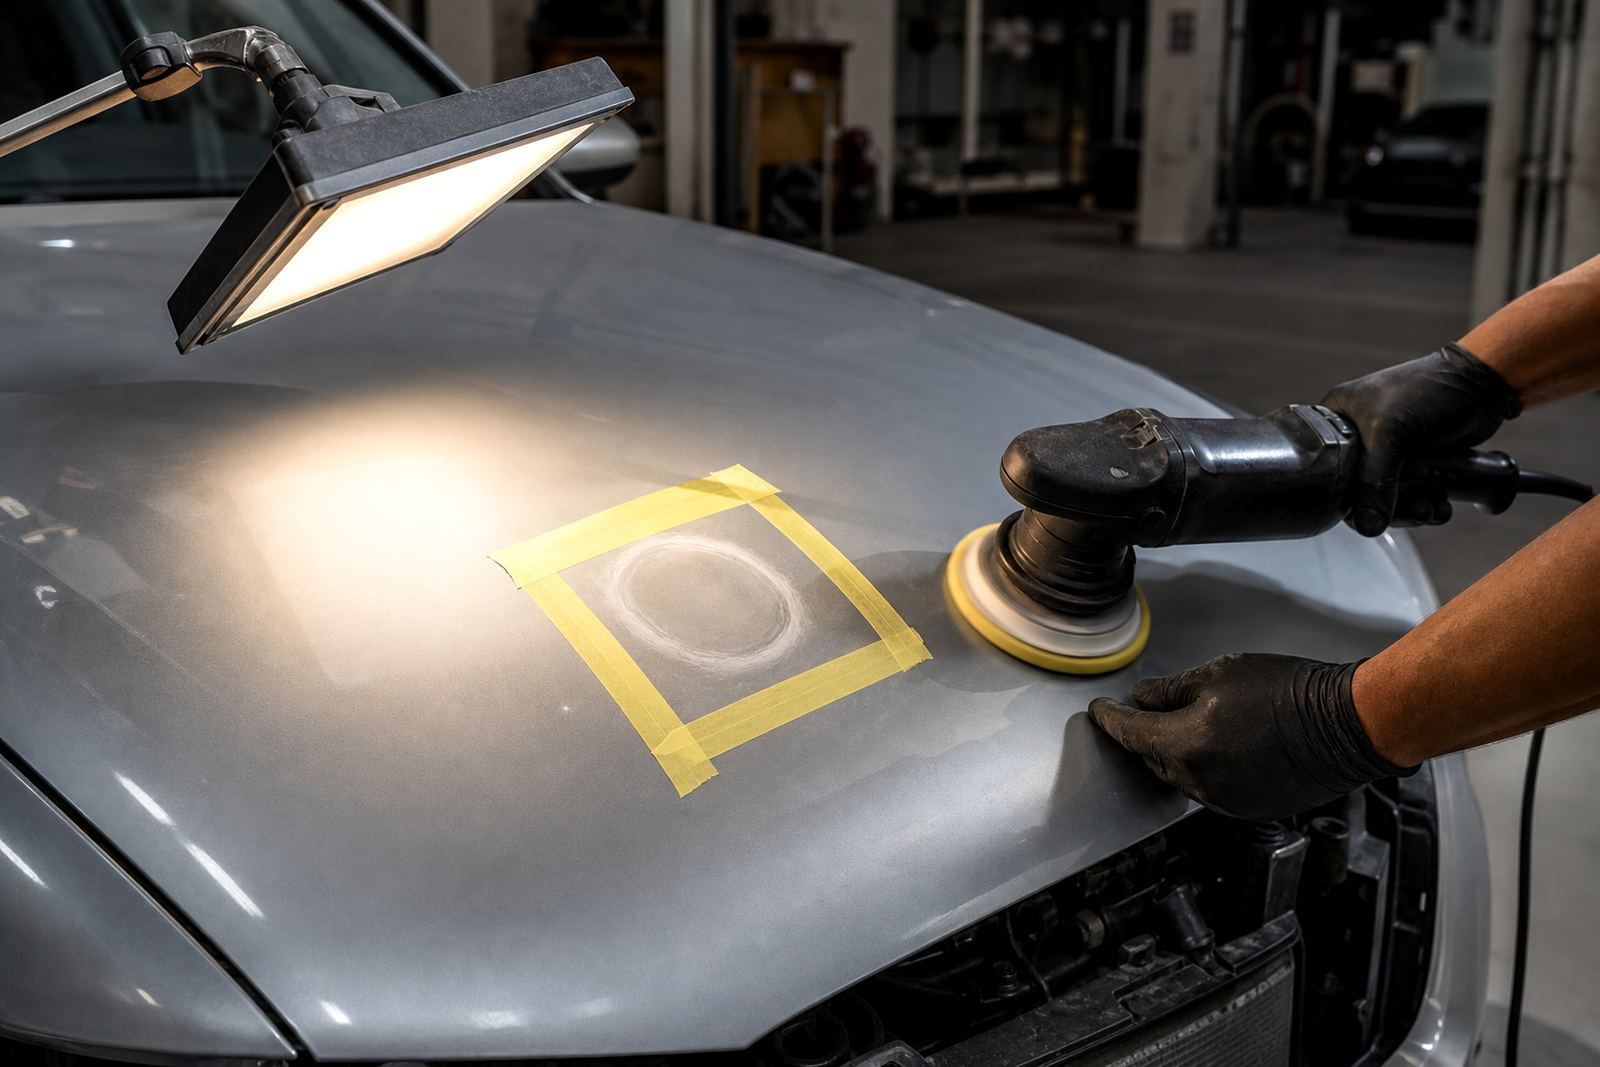
A test spot is a small, controlled section on the actual surface, usually about 30 cm x 30 cm or a bit larger if the panel has heavy oxidation or sanding marks. It lets you see how a rotary or dual-action polisher behaves on that exact paint, clear coat, aluminium, stainless steel or chrome. Paint age, panel thickness, previous repairs and even coastal contamination can change the result. What works on one bonnet in Germiston may not work on another in Boksburg or Bellville.
Without a test spot, you are guessing. Too aggressive a pad and compound can leave haze, swirls or heat marks. Too mild a combination can waste hours and still leave oxidation behind. A few minutes spent testing often saves a lot of rework, especially on older vehicles, boat fittings, truck tanks and machine parts where the finish is already thin or uneven.
How to judge the surface before you start
Before switching the machine on, clean the area well and inspect it under strong light. Look for oxidation, sanding lines, water spots, lacquer peel, swirl marks and any previous repair work. On metal, check whether the surface has staining, pitting or a soft oxide layer. On paint, check whether the clear coat is hard, soft, thin or already compromised near edges and body lines.
- Wash and dry the panel properly so dirt does not get dragged into the finish.
- Mask sharp edges, trims and rubber where needed.
- Check the surface in both direct light and shade.
- Choose one small section that represents the rest of the job.
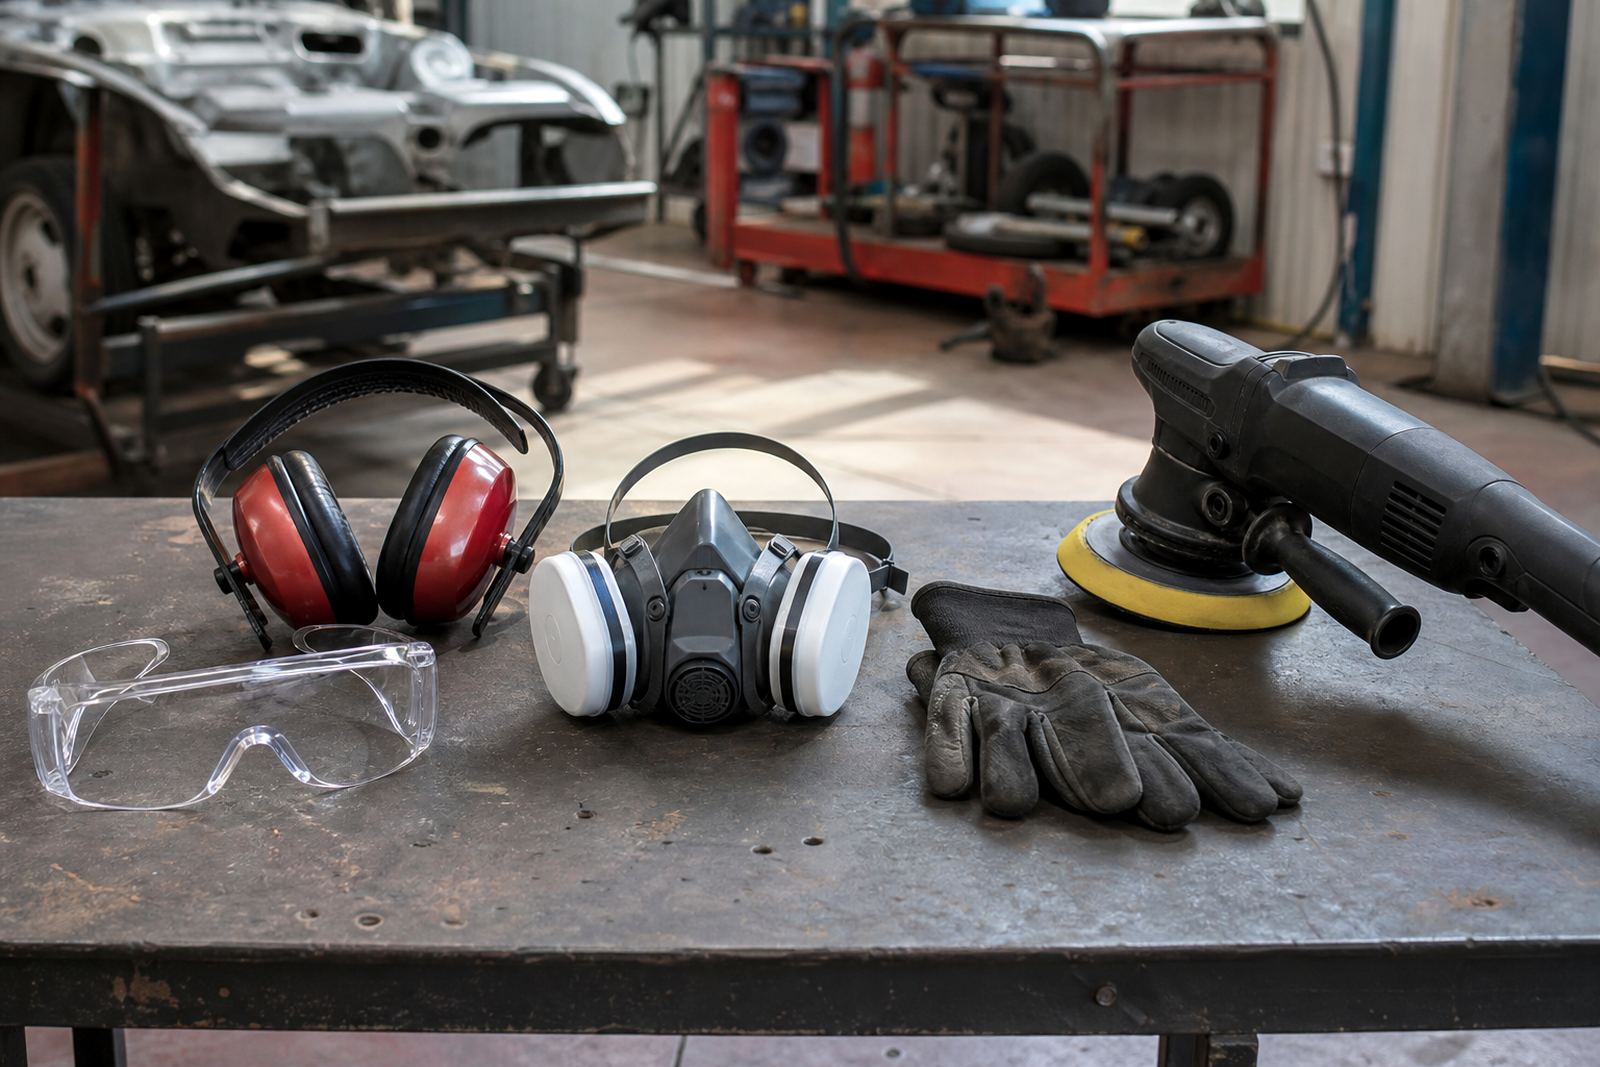
This is also the point where safety matters. Wear eye protection, a dust mask where dry residue is present, and gloves if the panel has sharp edges or compound can sting your skin. When polishing older paint or metal, fine residue can become airborne and should not be breathed in.
Choosing the first pad and compound
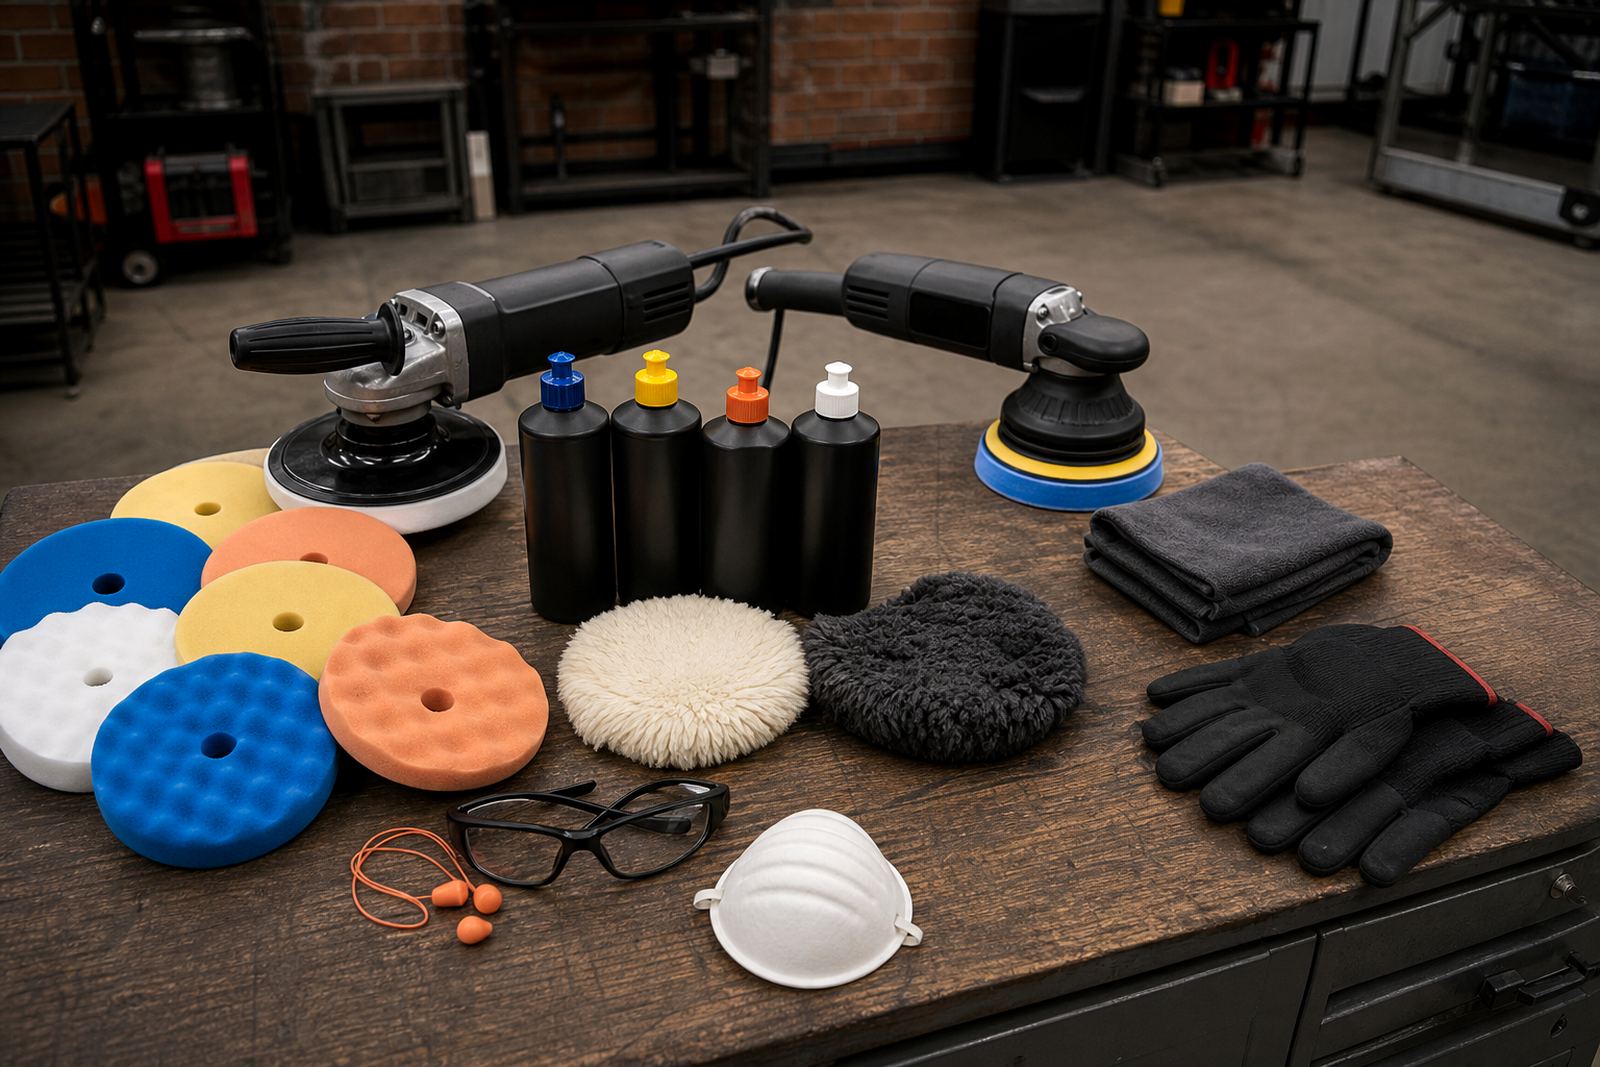
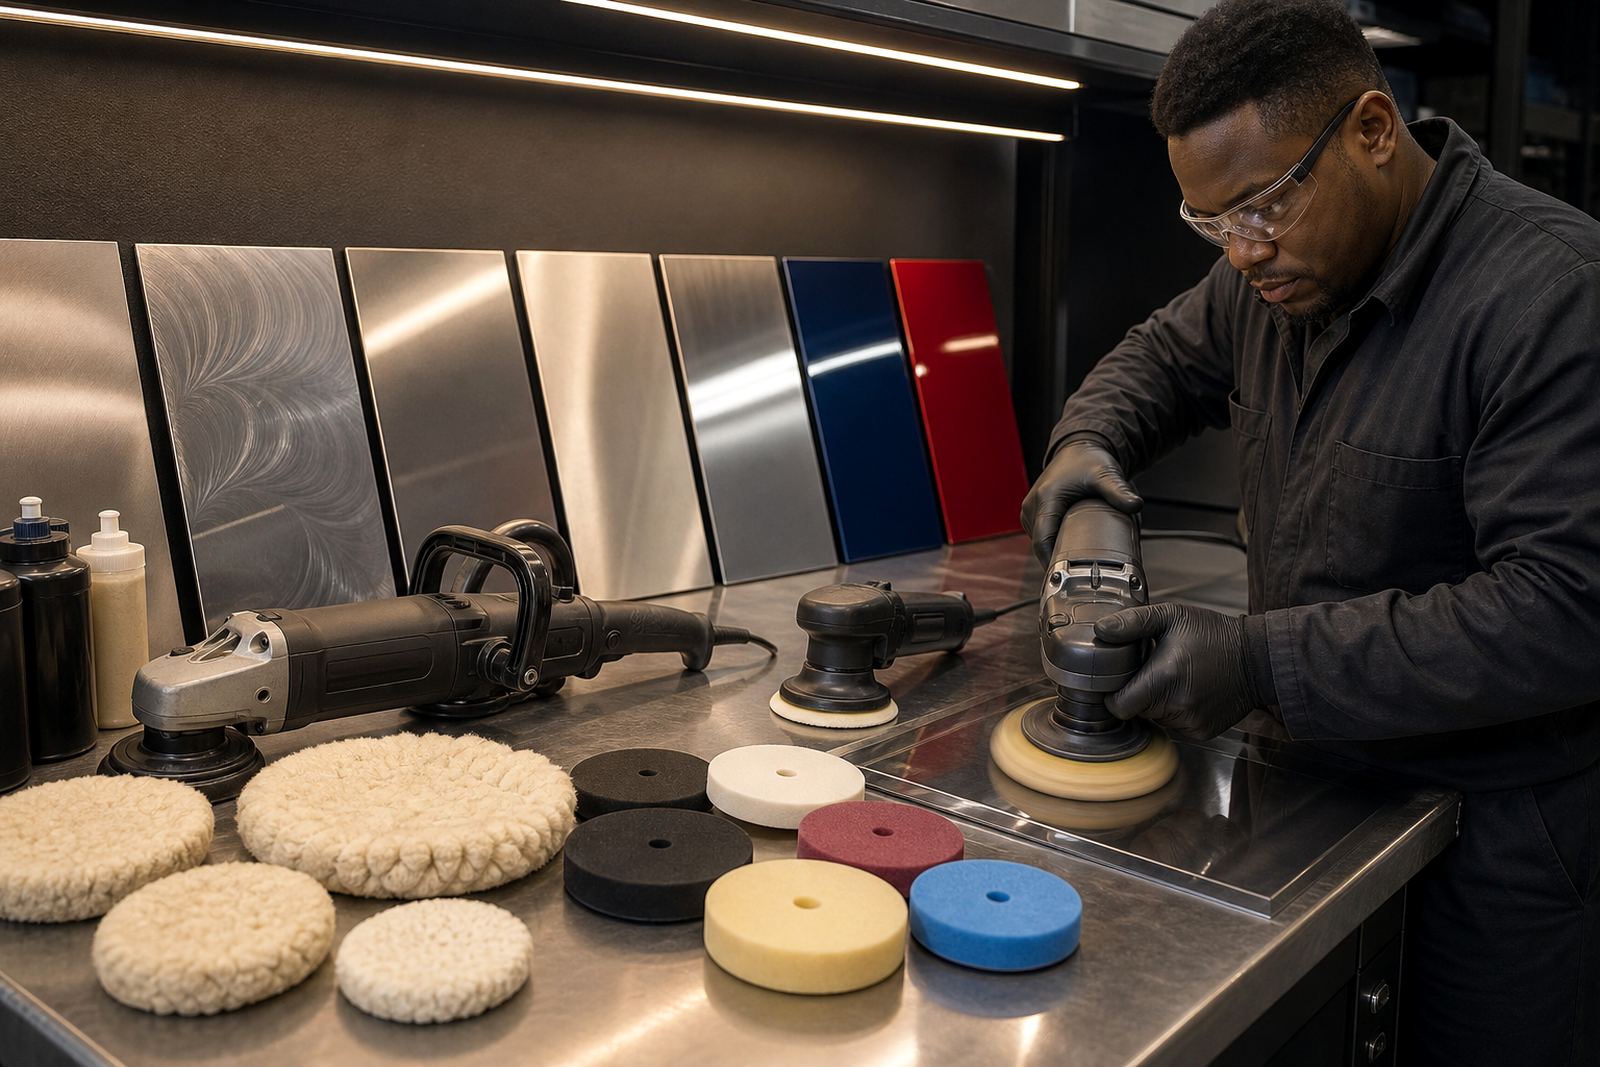
The first combo should always be chosen with control in mind. Start with the least aggressive option that might still correct the defect. That may be a finishing pad with a light compound on a dual-action machine, or a firmer foam or wool pad with a cutting compound on a rotary for heavier metal work. If the marks remain after a few passes, step up gradually rather than jumping straight to the harshest option.
For paint correction, dual-action polishers are often better for beginners because they reduce the chance of overheating and make it easier to keep the finish even. Rotary polishers cut faster and are useful on metal, oxidation and tougher paint defects, but they need more control around curves, panel edges and badges. On stainless steel handrails or aluminium fuel tanks, the wrong pad can leave patterning or too much heat very quickly.
Compound choice matters as much as the pad. A cutting compound removes heavier defects, while a finishing polish removes light haze and brings up clarity. The test spot tells you if the chosen product is breaking down properly or if it is too dry, too oily, or simply the wrong match for the surface.
Reading the result after each pass
Do not judge the test spot only by how it looks while the product is still wet. Wipe the section clean and inspect it under the same light you used before starting. Check gloss, clarity, residue, heat and whether the surface feels smooth or grabs the cloth. If the panel is still dull after several controlled passes, the issue may be the pad, the compound, the machine speed or the pressure.
A good result should show even correction with no obvious swirl trails, no patchy haze and no burnt edges. If you are on paint, the finish should look sharper and more uniform. If you are on metal, the grain or reflection should be even, not streaked. It is better to stop and review the test spot than to keep working and chase a finish that is not coming right.
- Check for heat build-up by touching the panel carefully after a short cooling pause.
- Look for pad clogging from old paint, residue or heavy metal oxide.
- Use a clean microfibre cloth between tests so old compound does not confuse the result.
- Compare the test area with untouched paint or metal next to it.
Common mistakes that waste time and finish quality
Many first-time users make the same mistakes. They load too much compound onto the pad, run the machine too fast, or apply too much pressure in the hope of forcing a better result. That often causes sling, dust, heat and a poor finish. Another common issue is testing in one corner only, then assuming the whole panel will react the same way. On a bonnet or door, the centre may correct very differently from the edge near a body line.
It also helps to work in proper light and not only in the workshop shade. In Johannesburg or Pretoria, strong sun can hide defects until the car is moved. In Cape Town or Durban, humidity can affect dust and residue, especially on open panels and metal work near the coast. A test spot shows those small changes early, which is exactly the point.
Keep your pad clean, your compound measured and your passes consistent. If you are trying to correct oxidation on metal, stop often to clear residue from the pad. If you are working on paint, watch for soft clear coat on older resprays. A test spot is not just about cutting faster, it is about avoiding a finish you have to redo.
What a local test spot looks like in practice
Picture a fleet van in Germiston with faded paint on the roof and mild swirl marks along the sides. The roof may respond well to a medium pad and a finishing compound on a dual-action machine, while the sides may need a slightly firmer pad because the clear coat has weathered differently. If you go straight into full-panel polishing, you can easily overwork one section and underwork another.
The same principle applies to a polished aluminium bull bar on a bakkie or a truck tank that has sat through dust, road film and rain. The test spot shows whether the metal needs a cutting compound first or whether a lighter polish will clean it up. For workshops, this step also helps when training staff. Everyone sees the result on one small area before touching the rest of the job.
That is why good polishing practice starts with testing, not with speed. A small controlled section gives you the answer before the work spreads across the whole vehicle or part. It keeps the process neat, safe and far easier to manage.
From test spot to full job with confidence
Once the test spot gives the right result, you can repeat the same method across the rest of the surface. Keep the same pad, compound, pressure and machine speed unless the panel changes. If you move from a flat bonnet to a curved guard or a tight metal edge, slow down and adjust. That is normal, not a sign that the first test was wrong.
For anyone starting out, test spots are also the best way to learn how different pads and compounds behave. They teach you how long a product takes to break down, how much dust it throws, and how much correction you can expect before moving to a finishing step. Over time, this builds better judgement and fewer costly mistakes.
At Polisher in Germiston, that is the practical value we encourage every time. Start small, read the surface, protect yourself and then move into the full job once the result is proven. It is a simple habit, but it makes a real difference to the final finish.