Start With the Grain, Not the Shine
Stainless steel can look dull or marked even when the surface is sound. The first step is to identify the existing grain direction and work with it, not against it. If you are restoring cladding, handrails, kitchen fittings or a custom fabricated panel, keep your passes even and your pressure consistent. Cross-grain marks are hard to hide later, especially on brushed finishes.
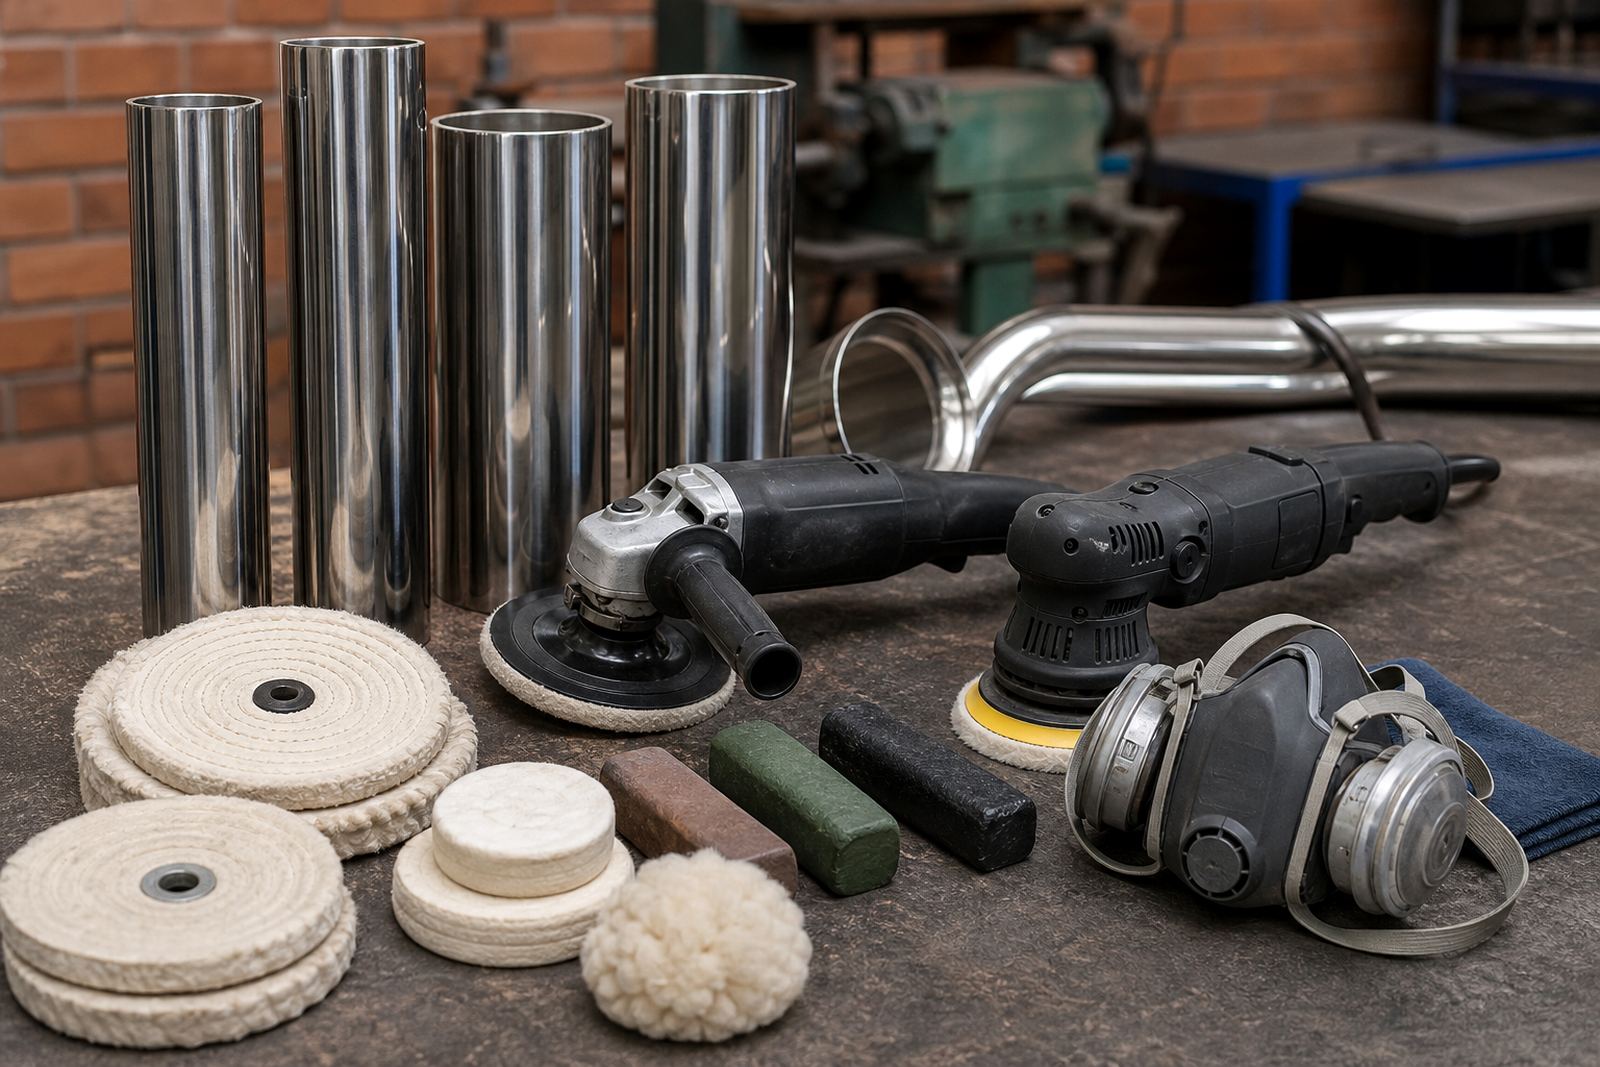
For light cosmetic work, a dual-action polisher is often the safer choice because it is less aggressive and more forgiving on thin sheet and visible parts. For heavier oxidation, weld tint, or deeper machining lines, a rotary machine with the correct pad and compound may be needed, but it demands a steady hand. Start on a test section, keep the panel cool, and check the result before moving on.
- Wipe away loose grit before any machine work
- Mark the grain direction with masking tape if needed
- Use low to medium speed first, then increase only if the surface needs it
- Do not stay in one spot too long or you may burn the finish
Match the Pad and Compound to the Job
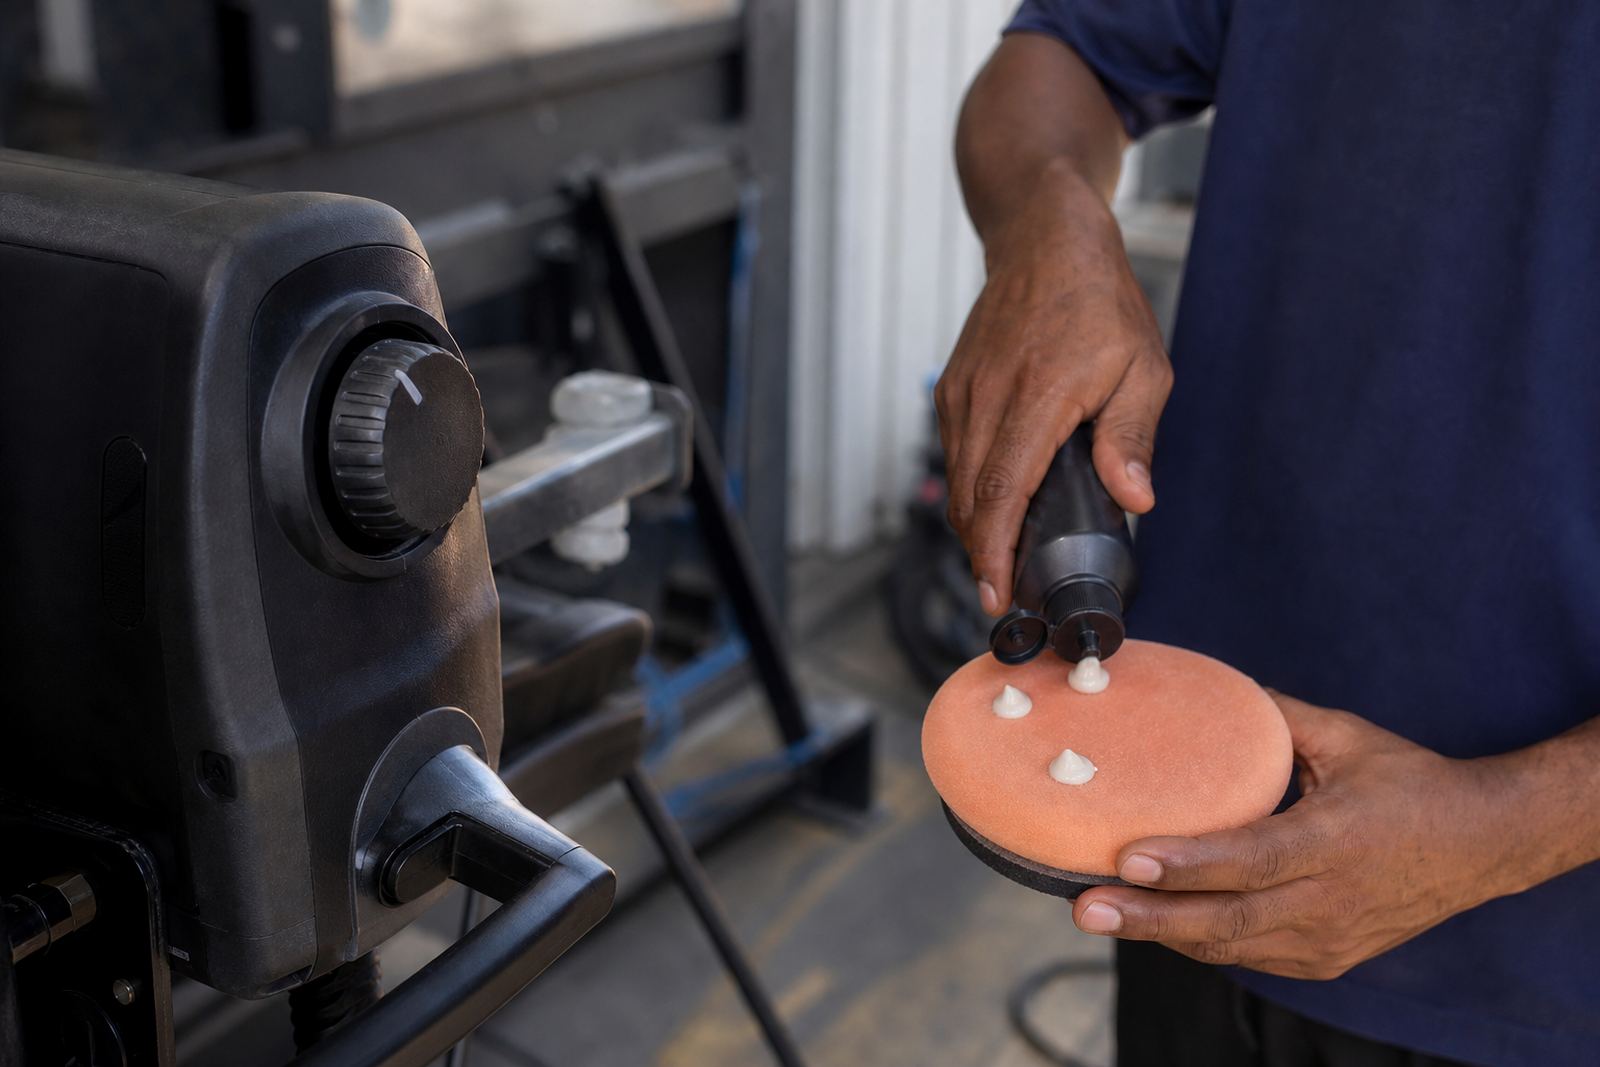
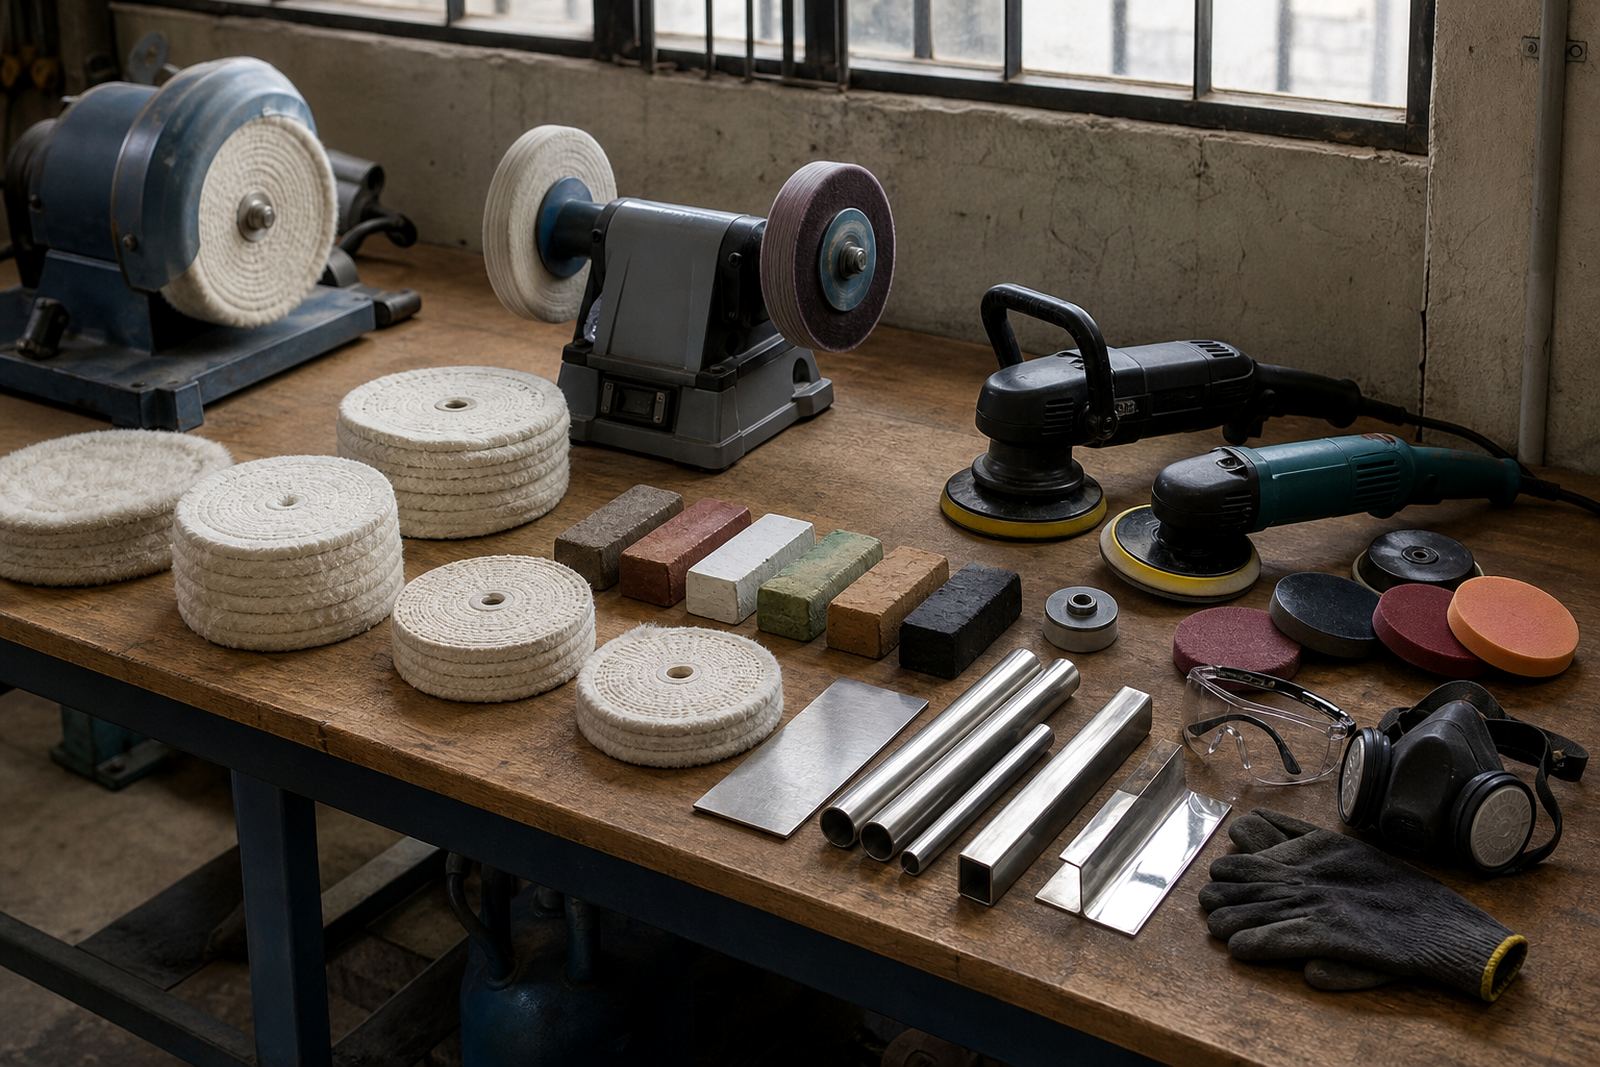
Buffing stainless steel is not a one size process. A softer pad with a finer compound can bring up clarity on already smooth surfaces, while a firmer buff and a more active compound may be needed to remove haze, light scratches or weld discolouration. The aim is controlled cutting, not simply forcing the surface to shine.
On polished tube, elevator trims, food grade fittings or decorative trims, too much aggression can leave swirls that show in daylight. That is why pad and compound matching matters. A technical adviser should always look at the base condition first, then recommend the right combination for the machine, the metal thickness and the final look you want.
- Use separate pads for cutting and finishing
- Keep compounds labelled so they are not mixed by mistake
- Clean pads often to stop loading and overheating
- Replace worn pads before they start marking the surface
Control Heat, Dust and Residue
Heat is one of the main reasons stainless finishes go wrong. Excess heat can smear residue, dull the surface and even change the appearance around welds. If you are working on long seams or curved sections, make short passes and let the metal cool between stages. In Germiston workshops, where metal fabrication and repairs often happen in busy bays, a rushed pass can leave a patchy result that takes extra labour to correct.
Dry dust from compounds and metal oxide should be treated carefully. Use PPE, including eye protection, a dust mask and gloves that give you a secure grip. Good ventilation matters too, especially when working inside enclosed bays or near other trades. Residue should be removed with a clean microfibre cloth and a suitable wipe so it does not settle back into the grain.
- Keep a separate cloth for final wipe-downs
- Do not blow residue back into the work area
- Inspect under strong side light to spot haze and swirl marks
- Allow the panel to cool before final inspection
Finishing Welds and Repair Marks Without Overworking the Metal
Welds on stainless need a calm, measured approach. First remove obvious heat tint and raised edges, then step down through finer stages until the repair blends with the surrounding surface. A common mistake is to jump straight to a polishing stage before the weld area has been properly keyed and flattened. That leaves a shiny patch sitting on top of a rough patch.
For visible fabrication on balustrades, tanks, kitchen units and architectural panels, the final finish should match the surrounding area as closely as possible. On some jobs that means a bright mirror look, while on others it means a clean satin finish with controlled reflection. The right result depends on the setting, the viewing distance and the maintenance the client can manage.
- Blend welds in stages rather than one aggressive pass
- Check for low spots after each stage
- Keep edges cooler than flat sections to avoid distortion
- Finish to the same sheen level across the full panel
How to Keep Stainless Looking Good After Polishing
A polished stainless surface can lose its look quickly if it is handled badly after the job. Fingerprints, moisture, dust and cleaning chemicals all affect the finish. Once the job is complete, remove all compound residue, then use a clean cloth and a mild cleaner that will not leave streaks. Avoid abrasive pads or harsh scouring on a polished area, because they will bring back marks very fast.
In coastal towns, humidity can leave a film on metal fittings, while inland dust can settle into the finish between cleaning cycles. A simple maintenance routine works better than occasional heavy cleaning. This is especially useful on shop fittings, stainless counters and vehicle trim that is touched every day.
- Keep the surface dry after cleaning
- Use non abrasive cloths only
- Store pads and compounds in a clean, dry place
- Schedule light upkeep before marks become obvious
A Practical Setup for Workshops in Gauteng and Beyond
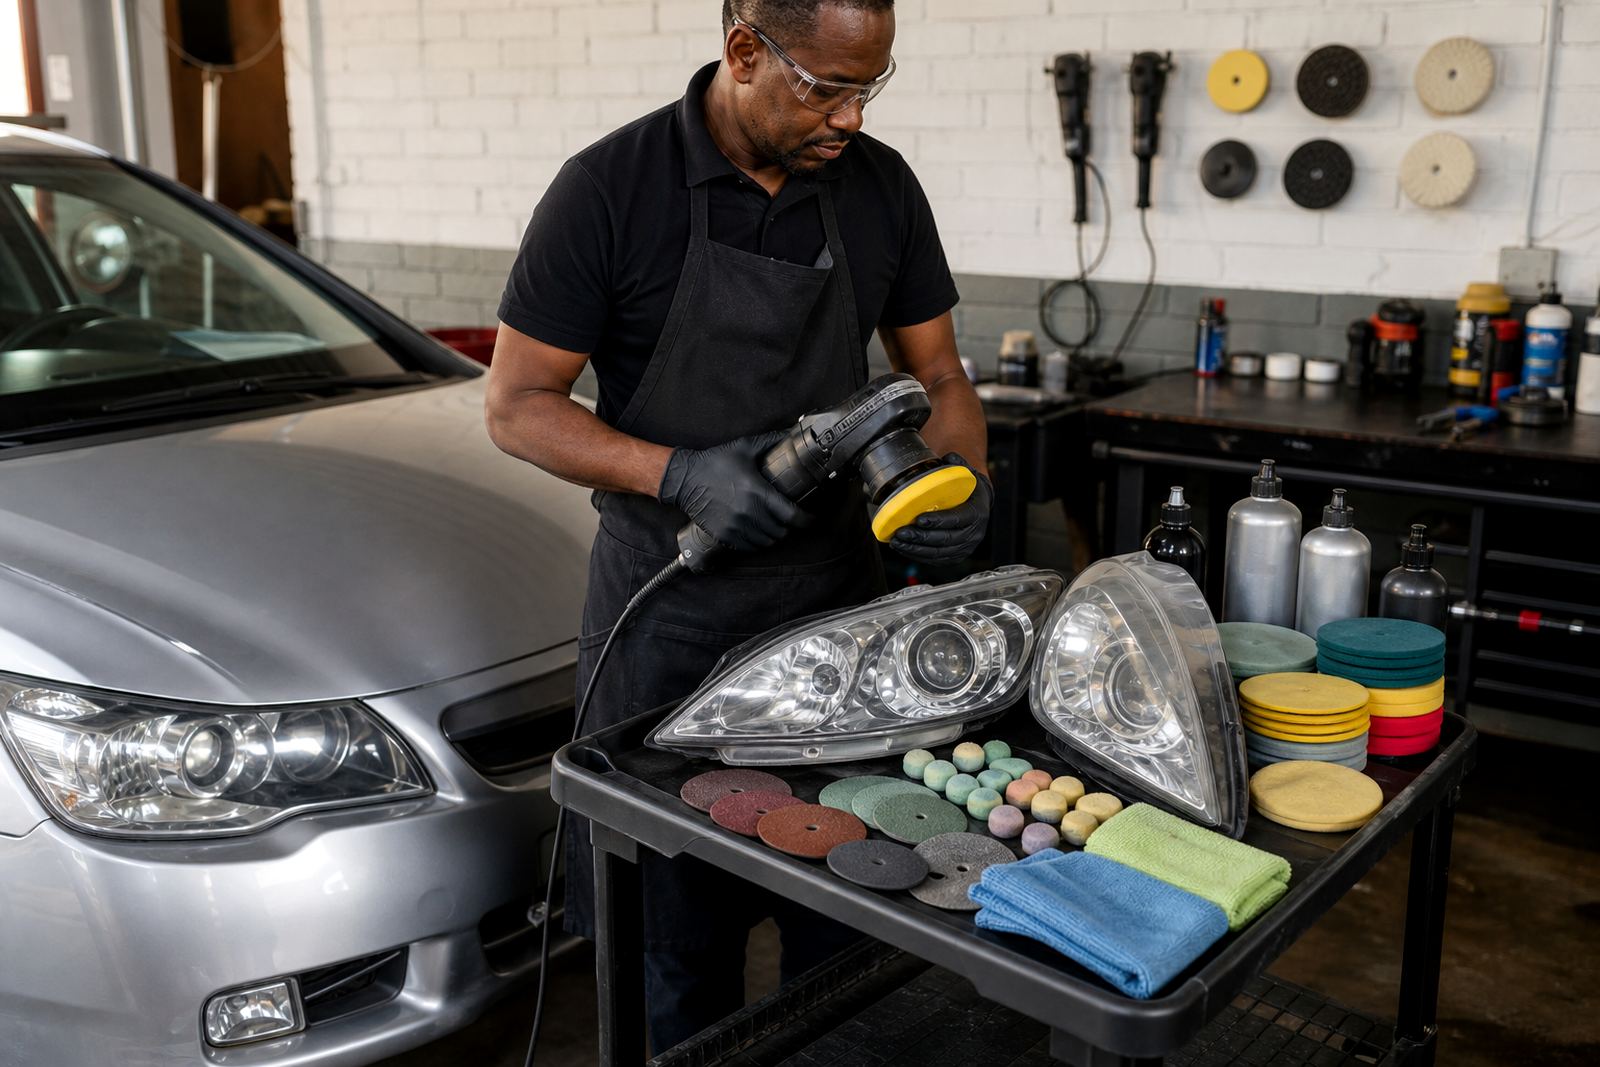
For workshops in Germiston, Johannesburg and the East Rand, a sensible starter setup usually includes a rotary machine, a dual-action machine, a selection of buffs, a few compounds for different stages, and basic PPE for each operator. That gives you flexibility across stainless tube, sheet metal and automotive finishes. It also helps when a job changes from a dull repair to a finer showpiece finish halfway through.
Polisher supports customers across South Africa, from Pretoria and Bloemfontein to Cape Town and Durban, with guidance on starter kits, machine care, workshop setup and practical polishing technique. If you are training new staff, it helps to build habits early, such as checking pad condition, matching the compound to the task, and cleaning the surface before every stage. That saves time and reduces rework.
For local fabricators handling municipal handrails, hospitality fittings or vehicle trim, a clear process matters more than speed. A good finish is usually the result of patient steps, clean tools and proper judgement, not force.