Start With A Proper Inspection And Wash
Before any polishing machine comes near the lens, wash the area well and inspect the headlight for cracks, deep pitting, heat damage and loose seals. If moisture is already inside the unit or the plastic is badly crazed, polishing will only improve the outer surface for a short time and the root problem still needs attention.
On vehicles working around Germiston, the East Rand and busy routes into Johannesburg, headlights often carry a mix of road film, tar spots, dust and oxidised plastic. That film must be removed first so you can see what you are actually working with. Use a clean wash mitt, mild soap and a separate towel for drying. Do not start with a dry pad on a dirty lens because grit can cut new marks into the surface.
- Wash the lens and surrounding panel thoroughly
- Check for chips, cracks and lifted clear coat on nearby paint
- Dry the area so sanding marks are easy to see
- Mask off the bumper, grille and edge of the bonnet with tape
Choose The Right Level Of Cutting
Headlight restoration usually starts with controlled abrasion, not heavy pressure. If the lens is only lightly yellowed, a fine compound and soft pad may be enough. If the surface is badly oxidised, you may need a sanding stage before polishing. The aim is to remove the degraded top layer evenly, not to force the plastic into a shine with heat.
For most lenses, wet sanding is done in stages with progressively finer paper, keeping the surface clean and moving in straight, even passes. That process should be light and patient. On older vehicles that spend years under Gauteng sun, the outer layer can become chalky and rough, so jumping straight to a finishing pad often leaves haze behind. A rotary machine cuts faster and is best handled with care. A dual-action machine is slower but easier to control, especially for beginners or for smaller lens shapes.
- Use the least aggressive method that will remove the damage
- Keep the lens damp when wet sanding
- Work in small sections and inspect often
- Do not let the surface get hot to the touch
Work The Polishing Stage In Controlled Passes
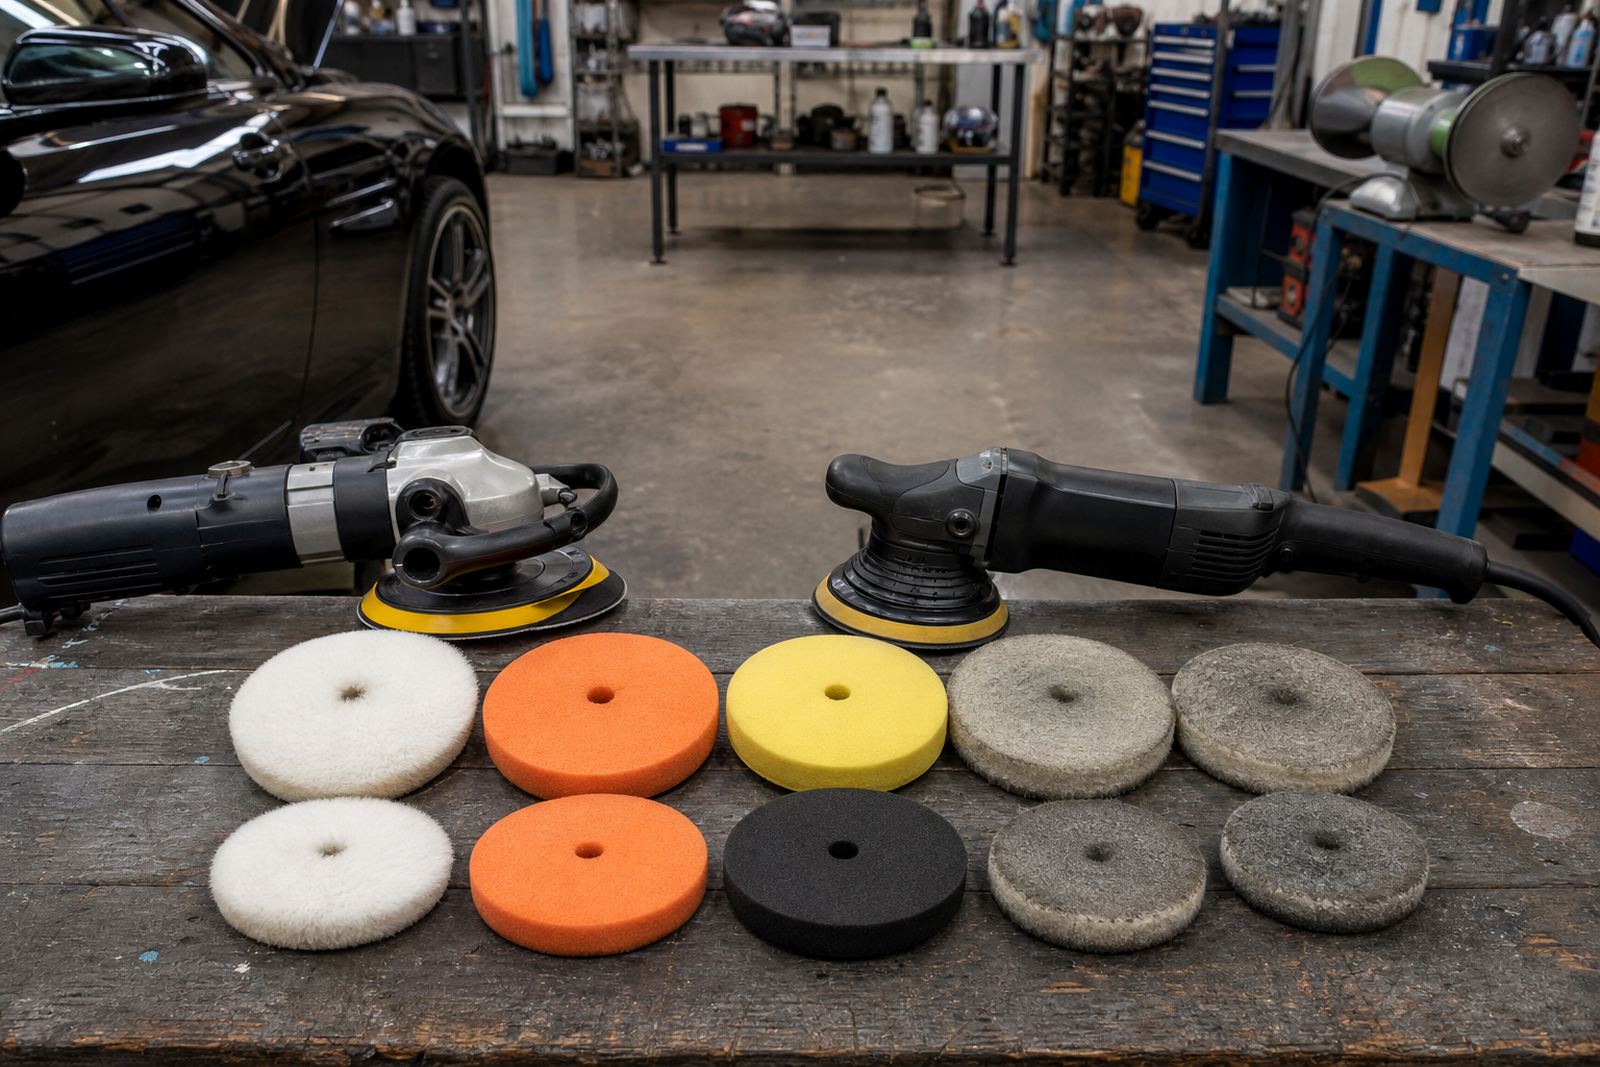
Once the sanding marks are even, move to polishing with the correct buff and compound. A medium cutting compound helps remove the marks left by sanding, while a finer finishing compound brings back clarity. The pad matters just as much as the compound. Foam cutting pads, softer finishing pads and wool buffs each behave differently on plastic, and the wrong match can leave swirl marks or an uneven gloss.
Keep machine speed moderate and let the compound do the work. If you push too hard, the pad can grab the edge of the lens and leave a hot spot. That is especially important on smaller modern headlights with curved corners. A good approach is to spread the compound first at low speed, then refine with lighter pressure and cleaner pad faces. Wipe the lens often to check progress, because dried residue can hide defects.
For workshop users in Durban, where humidity can change working times, or in Cape Town where salt air can mark lenses faster than expected, it helps to change pads sooner rather than later. A clogged pad cuts badly and can smear old oxidation back onto the lens.
Finish With Protection So The Work Lasts
Polishing restores clarity, but the lens still needs protection or the plastic will begin to dull again. The surface should be sealed with a suitable UV protective coating or other long life protectant after the final wipe down. Without that step, the lens can yellow again within months, especially on vehicles parked outdoors or used on long daily commutes.
Protection is part of the job, not an optional extra. In South Africa, where strong sun and dusty roads are common, the clear layer needs help. Some technicians apply a dedicated protective film or sealant after polishing. Others use a periodic maintenance product. Whichever method is chosen, the lens must be clean, dry and free of polish residue before the protection goes on.
- Remove all compound dust before sealing
- Apply the protection evenly over the whole lens
- Allow the product to cure as instructed
- Check the finish after the first wash
Use PPE And Dust Control From The Start
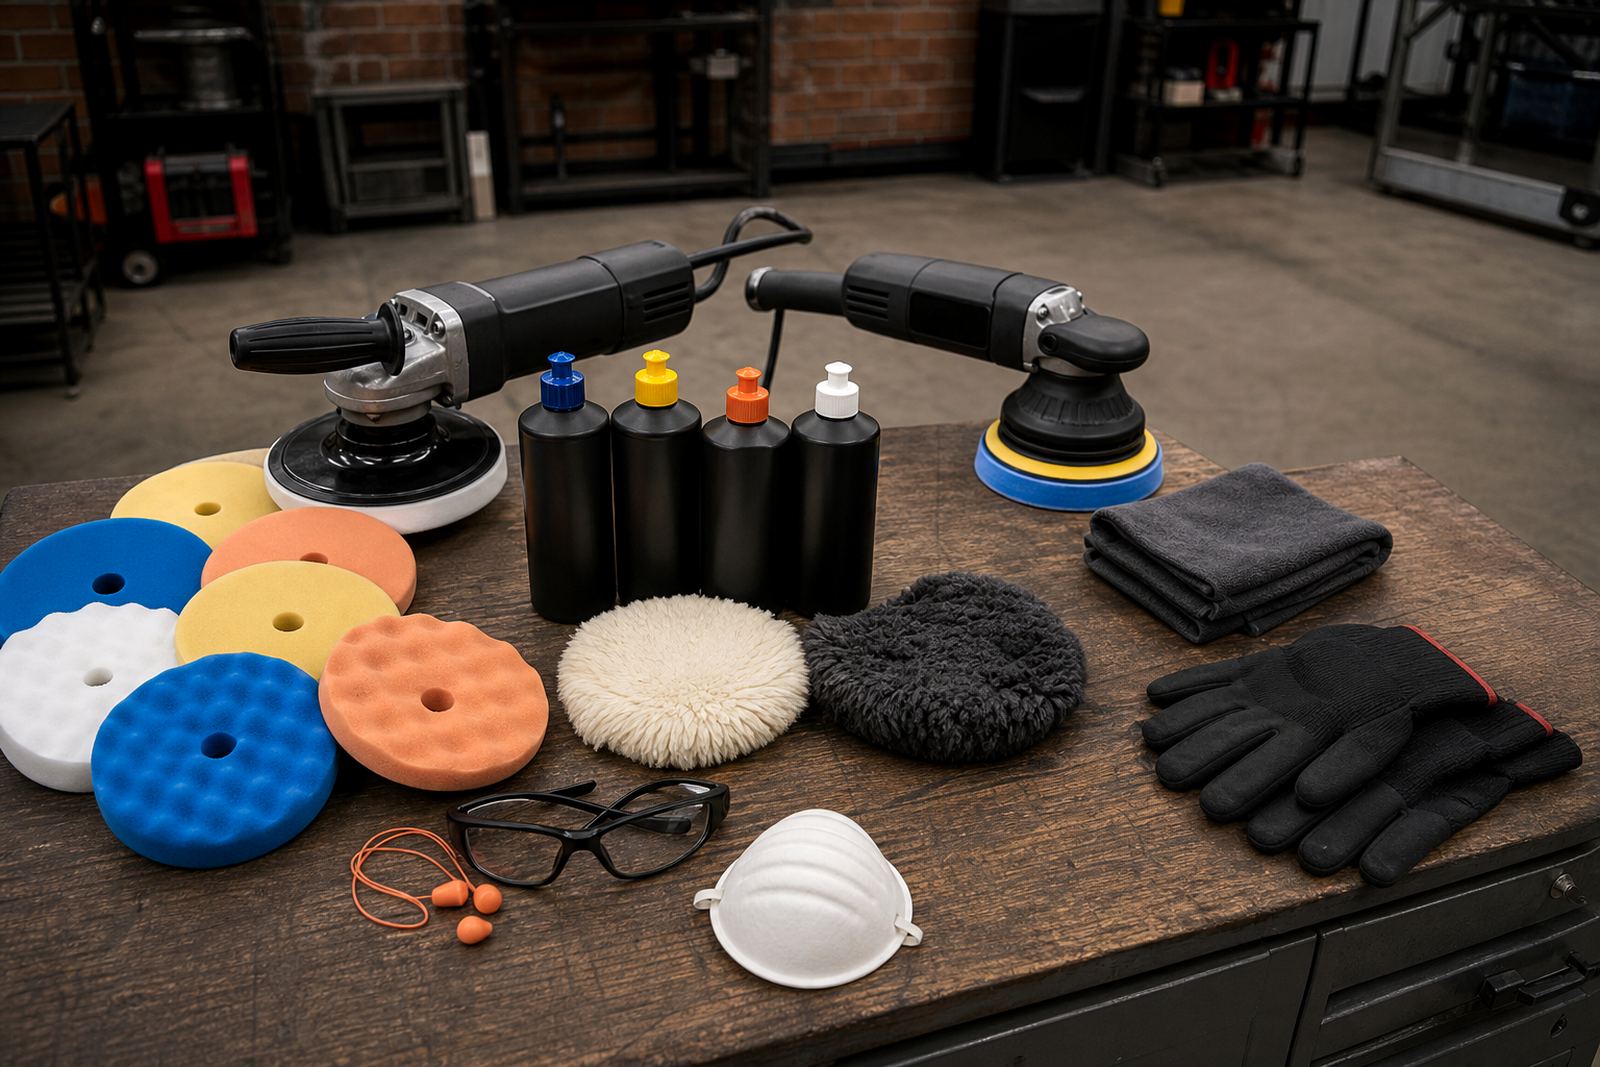
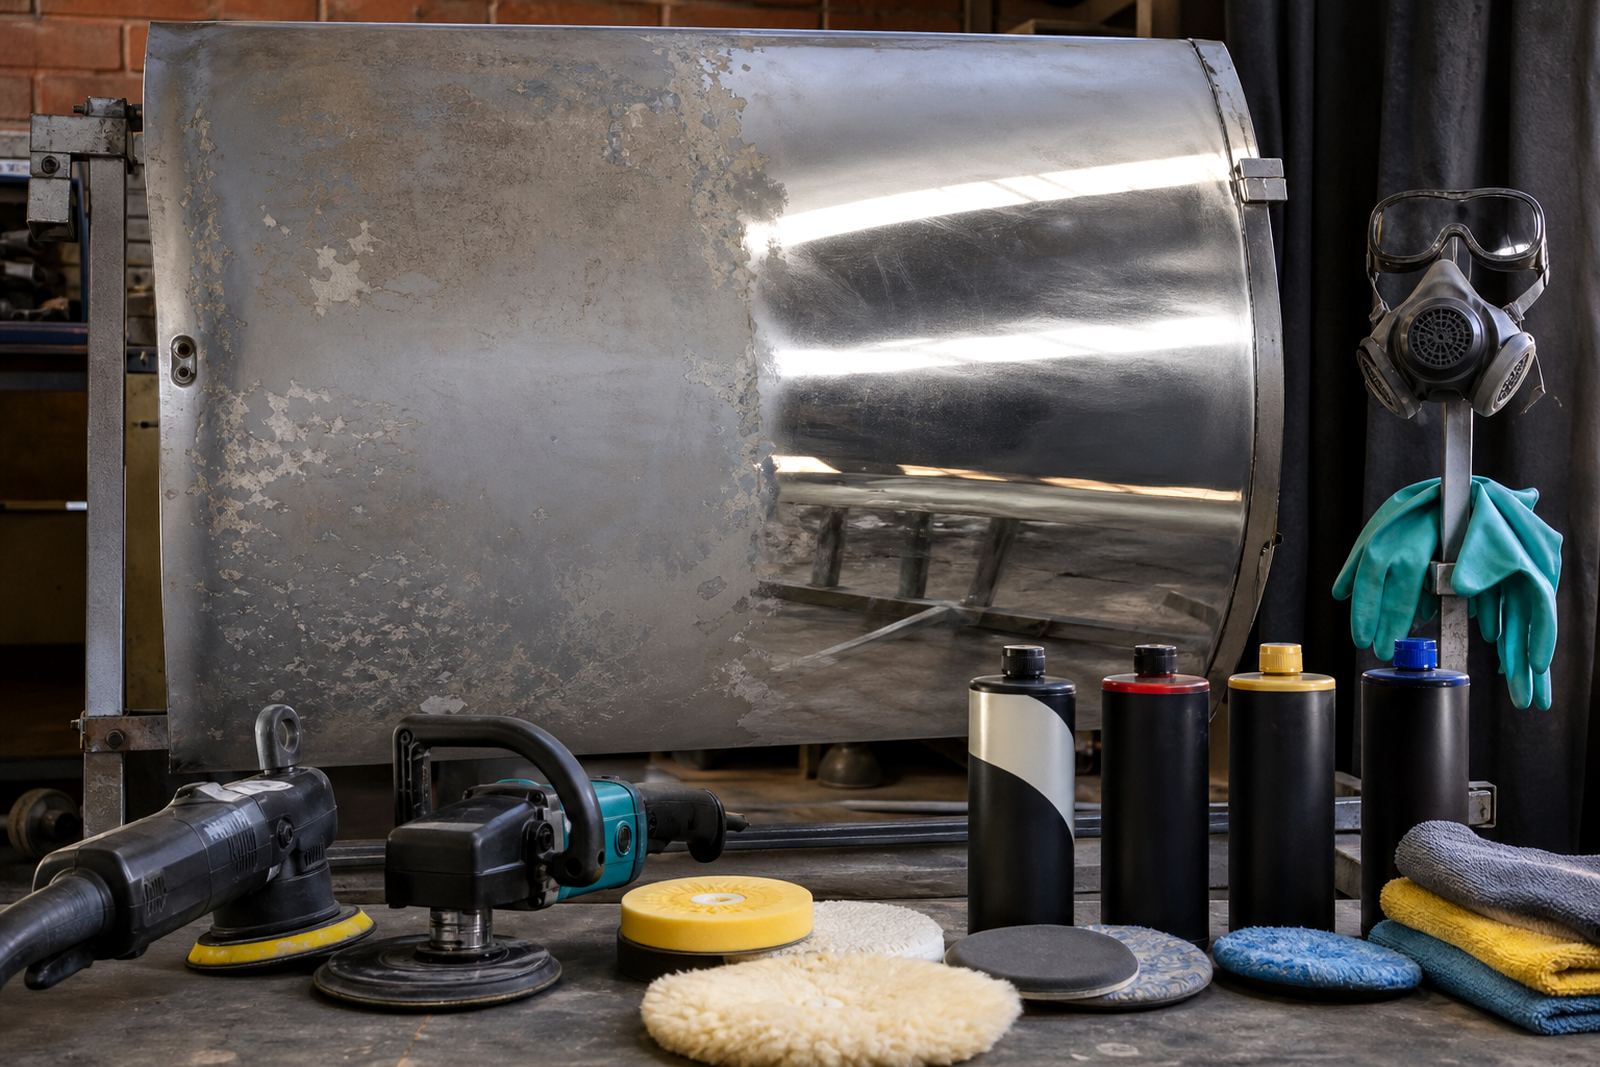
Polishing work creates fine dust, splatter and in some cases airborne residue from deteriorated plastic. Wear eye protection, a dust mask or respirator where appropriate and gloves that still allow a firm grip on the machine. If you are sanding by hand or with a machine, keep the area well ventilated and avoid breathing in the dust. Good practice matters whether you are working on one family car or a row of vehicles in a busy workshop.
Check machine cords before use and keep liquids away from electrical connections. In a busy Germiston workshop, the best results usually come from a tidy bay, good lighting and a patient pace. It sounds simple, but clean setup saves time and helps prevent mistakes.
- Wear eye protection and suitable respiratory protection
- Use gloves with a secure grip
- Keep the work area free of loose dust and tripping hazards
- Inspect machines, cables and pads before each job
A Practical Example From A Busy Germiston Workshop
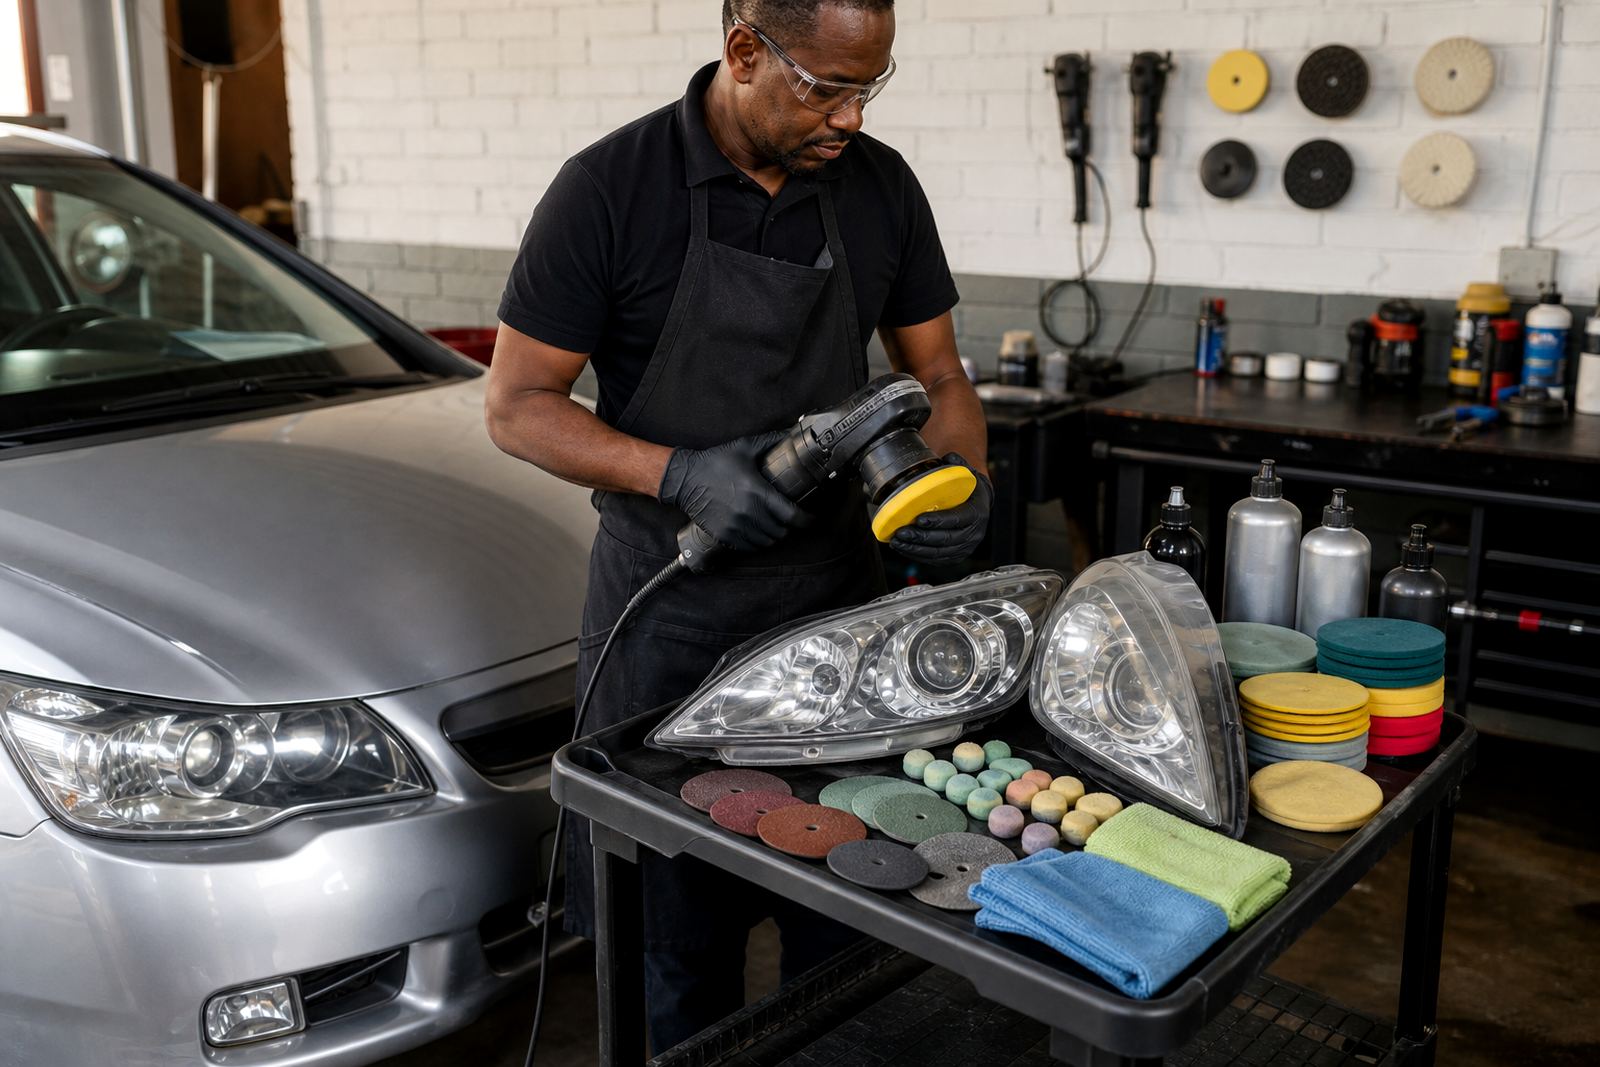
Consider a family hatchback that has done daily school runs, highway trips and outdoor parking in Germiston. The headlights look cloudy, the beam has dropped and night visibility is poor. A careful technician would wash the lenses, mask the paintwork, wet sand the oxidised layer, then move through cutting and finishing compounds before sealing the lens again. The improvement is often clear straight away, but the last step is what helps keep the result useful for longer.
The same process works on many vehicles across Johannesburg, Pretoria, Bloemfontein and other South African towns, though each lens needs its own judgement. Some units only need light correction. Others need more work because the plastic has been exposed to years of sun and road grime. That is why headlight polishing is best treated as a process, not a quick wipe. If you take your time and follow the steps properly, the finish is cleaner and safer for night driving.
For workshops and training users, the main lesson is simple: inspect first, cut gently, polish in stages and protect the surface afterwards. That approach gives the driver better visibility and gives the work a more durable result.