What Rim Polishing Actually Involves
Rim polishing is not just a matter of rubbing metal until it shines. It starts with cleaning, inspection, and deciding whether the wheel is painted, clear coated, bare aluminium, stainless steel, or a mixed finish with inserts and machined faces. Each one needs a different approach, because the wrong pad or compound can leave haze, burn marks, or a patchy result that shows up badly in sunlight.
On car wheels, the job often includes brake dust removal, tar spots, oxidation, and old residue trapped near the bead seat or around spoke edges. On metal rims or custom parts, the task may be to level the surface, refine scratches, and bring back an even reflection without rounding off detail. A good finish depends on controlled passes, proper lighting, and knowing when to stop before the surface becomes too thin or too warm.
- Identify the material before choosing a compound or pad.
- Clean off grit first so you do not grind dirt into the surface.
- Check for pitting, curb rash, corrosion, and previous repair marks.
- Work in sections to keep the finish even all round.
Choosing Between Rotary and Dual-Action Machines
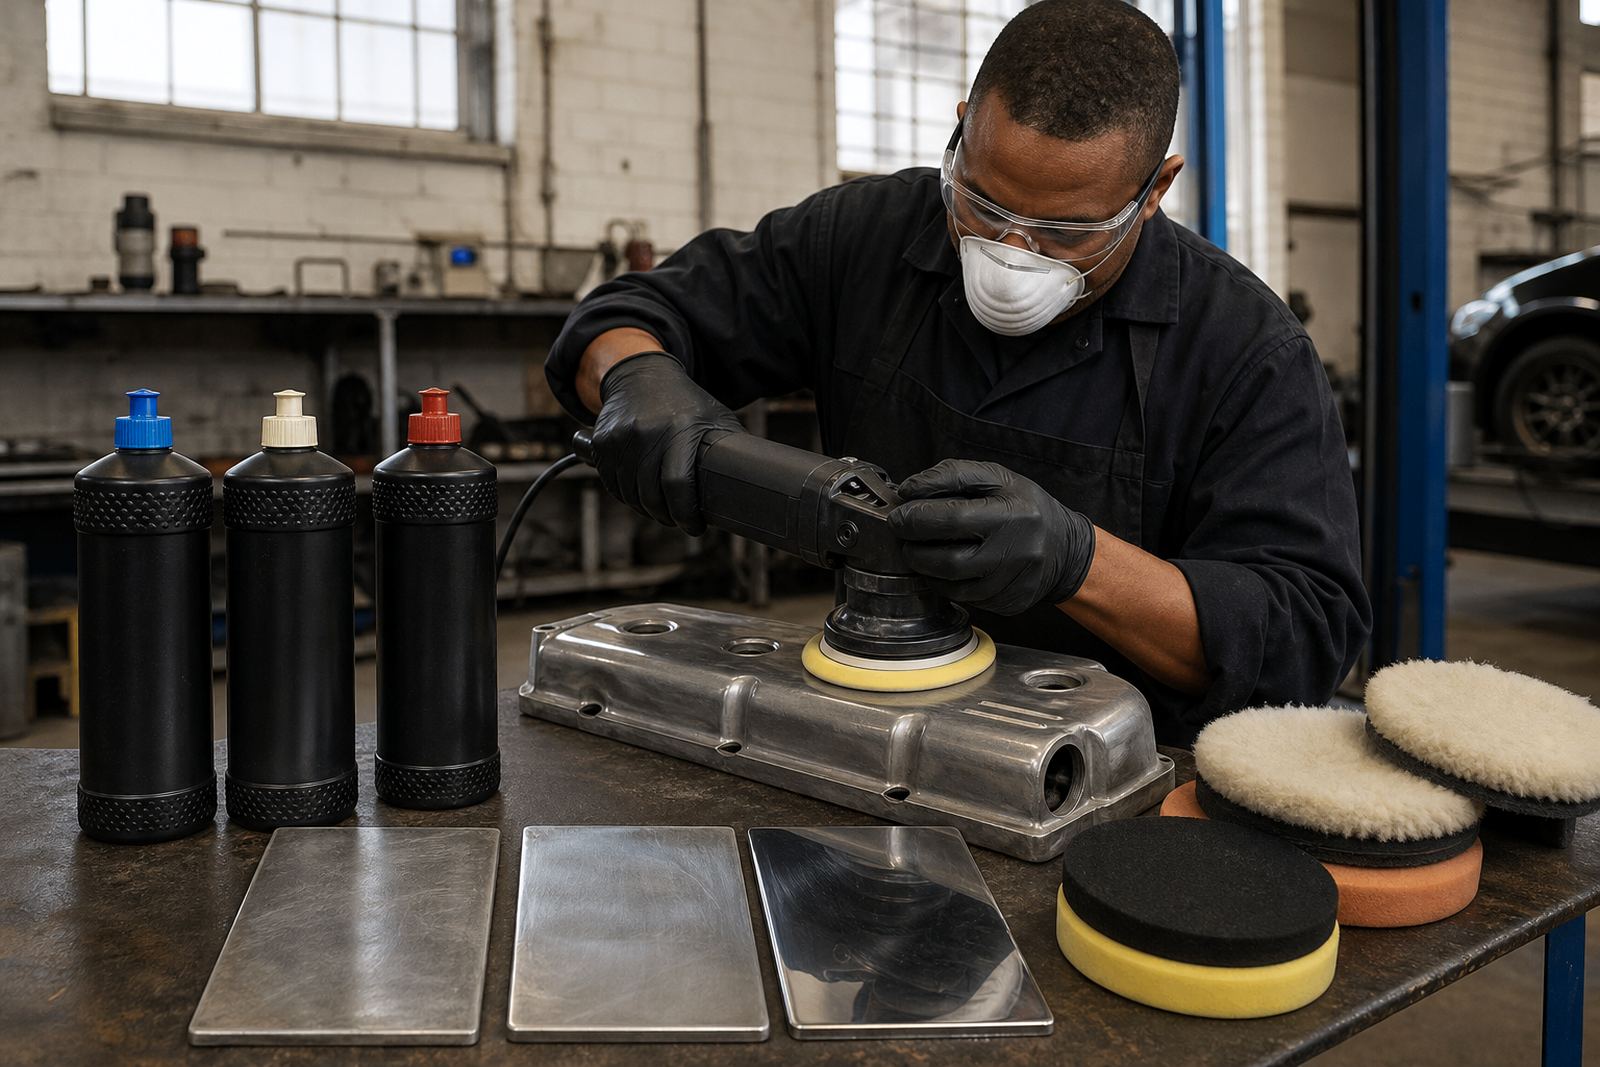
A rotary polisher spins on one axis and cuts faster, which makes it useful for heavier oxidation, deeper marks, and controlled metal work. It also carries more risk, especially near an edge or on a thin lip, because the pad can build heat quickly. A dual-action machine moves in a random orbit as well as spinning, so it is usually easier to manage on painted rims, clear coat, and final refining work.
For many South African workshops and home users, the choice comes down to access and confidence. If a wheel has lots of spokes, valve stem openings, or a deep concave profile, a smaller pad on a dual-action machine may be safer for the first passes. A rotary may still be the better tool for some metal finishing jobs, but it needs a steady hand and proper speed control. In Germiston, where many vehicles spend long hours on industrial roads and collect brake dust fast, the wrong machine can turn a simple clean-up into extra sanding and rework.
- Use lower speed near edges and raised lettering.
- Keep the pad flat where possible to avoid dig-in.
- Do not force the machine, let the compound do the work.
- Test on a small area first, especially on coated surfaces.
Working the Edges, Spokes and Hard-to-Reach Areas
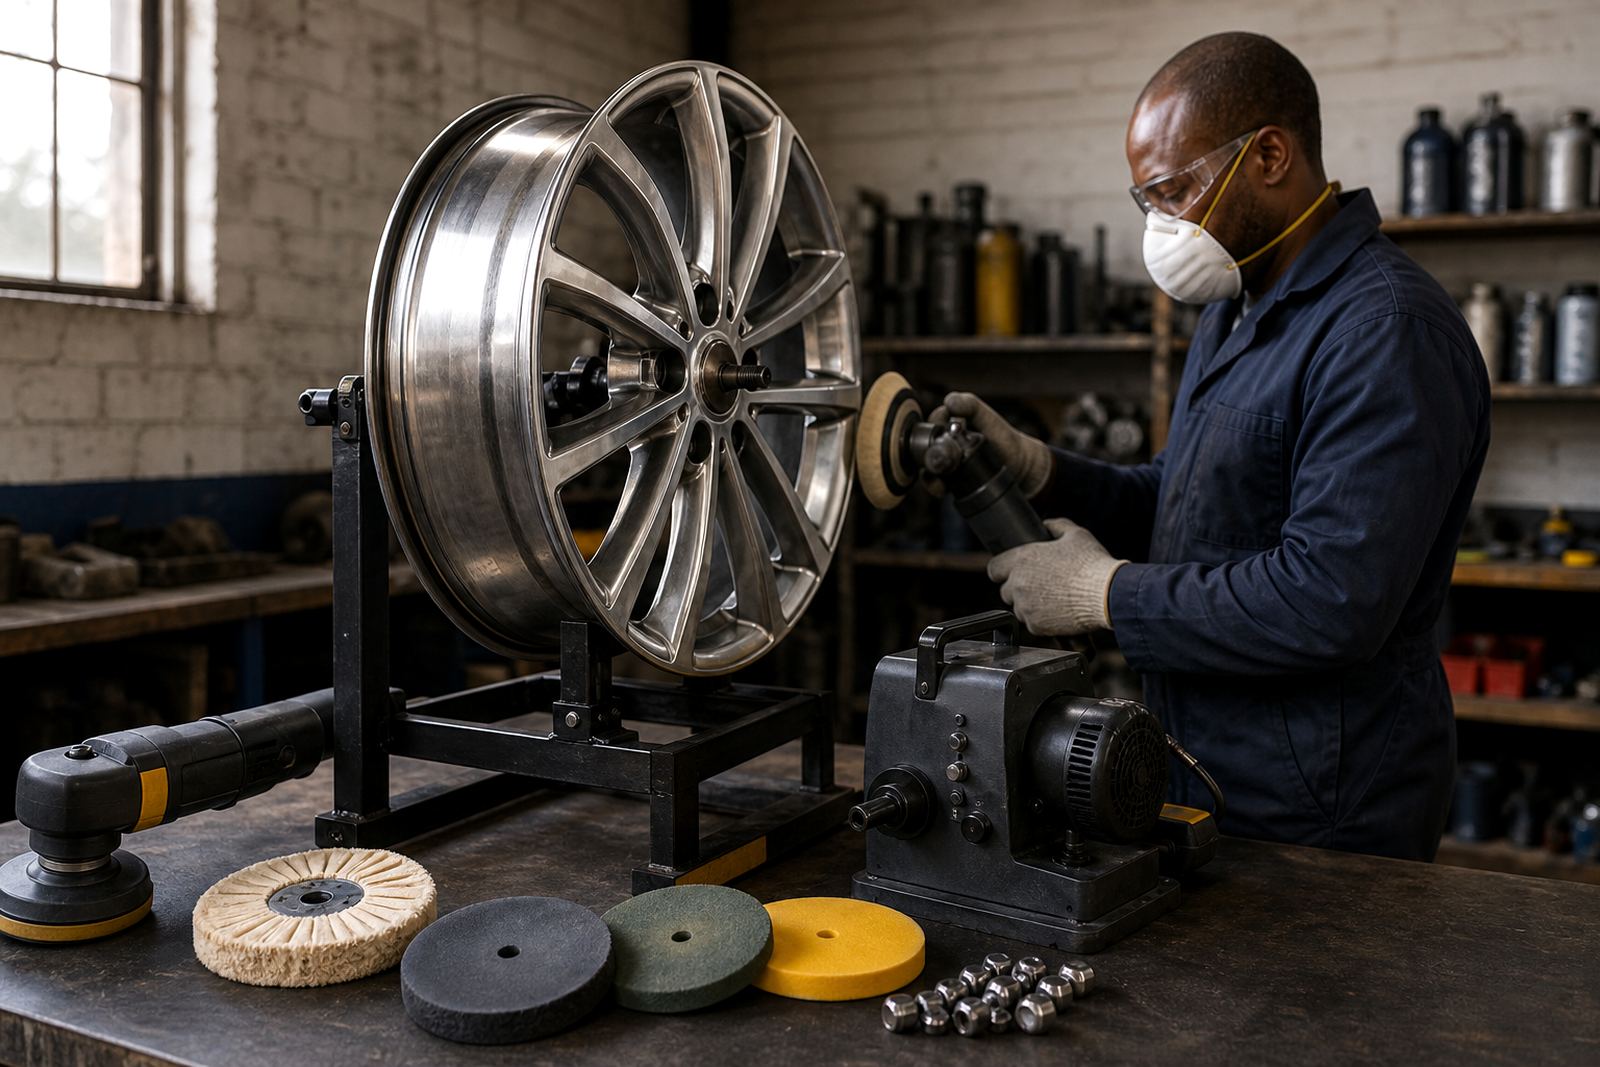
Rim shapes create their own problems. A flat face is straightforward, but the moment the wheel has a lip, recessed spokes, bolt holes, or narrow channels, access becomes limited. That is where many people leave swirl marks, missed patches, or burned corners because they push too hard with the wrong pad size. Smaller pads, folded microfibre cloths, and hand finishing around tight spots can make a big difference.
Edges need extra care because they heat up fast and lose material quicker than the centre of the face. When polishing a lip or outer barrel, keep movement constant and avoid hanging on one point. If the rim has a sharp decorative edge, protect it from over-polishing by reducing pressure and checking the reflection often. For painted wheels, avoid crossing onto rubber tyres with aggressive compounds because residue is hard to remove and can stain the sidewall.
- Use narrow applicators for spoke corners and valve areas.
- Mask off nearby trim if the wheel sits close to painted bodywork.
- Inspect the rim under side light to spot dull strips and missed sections.
- Finish by hand where a machine cannot reach safely.
Compounds and Pads That Match the Job
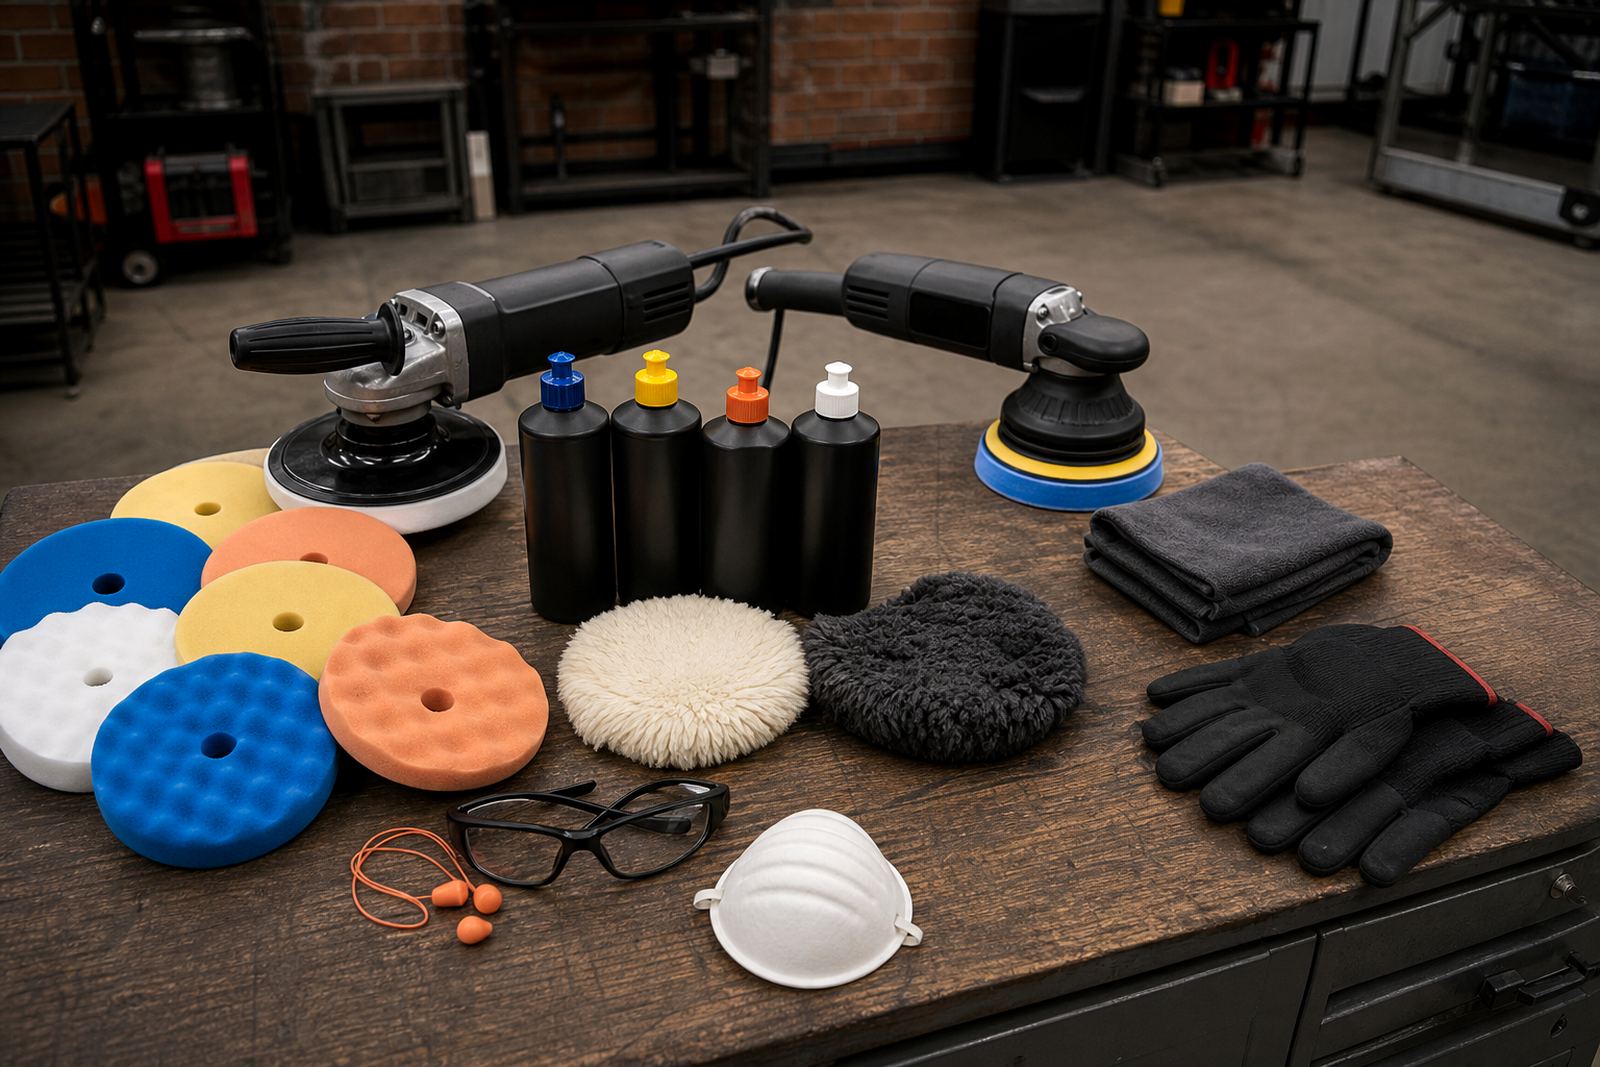
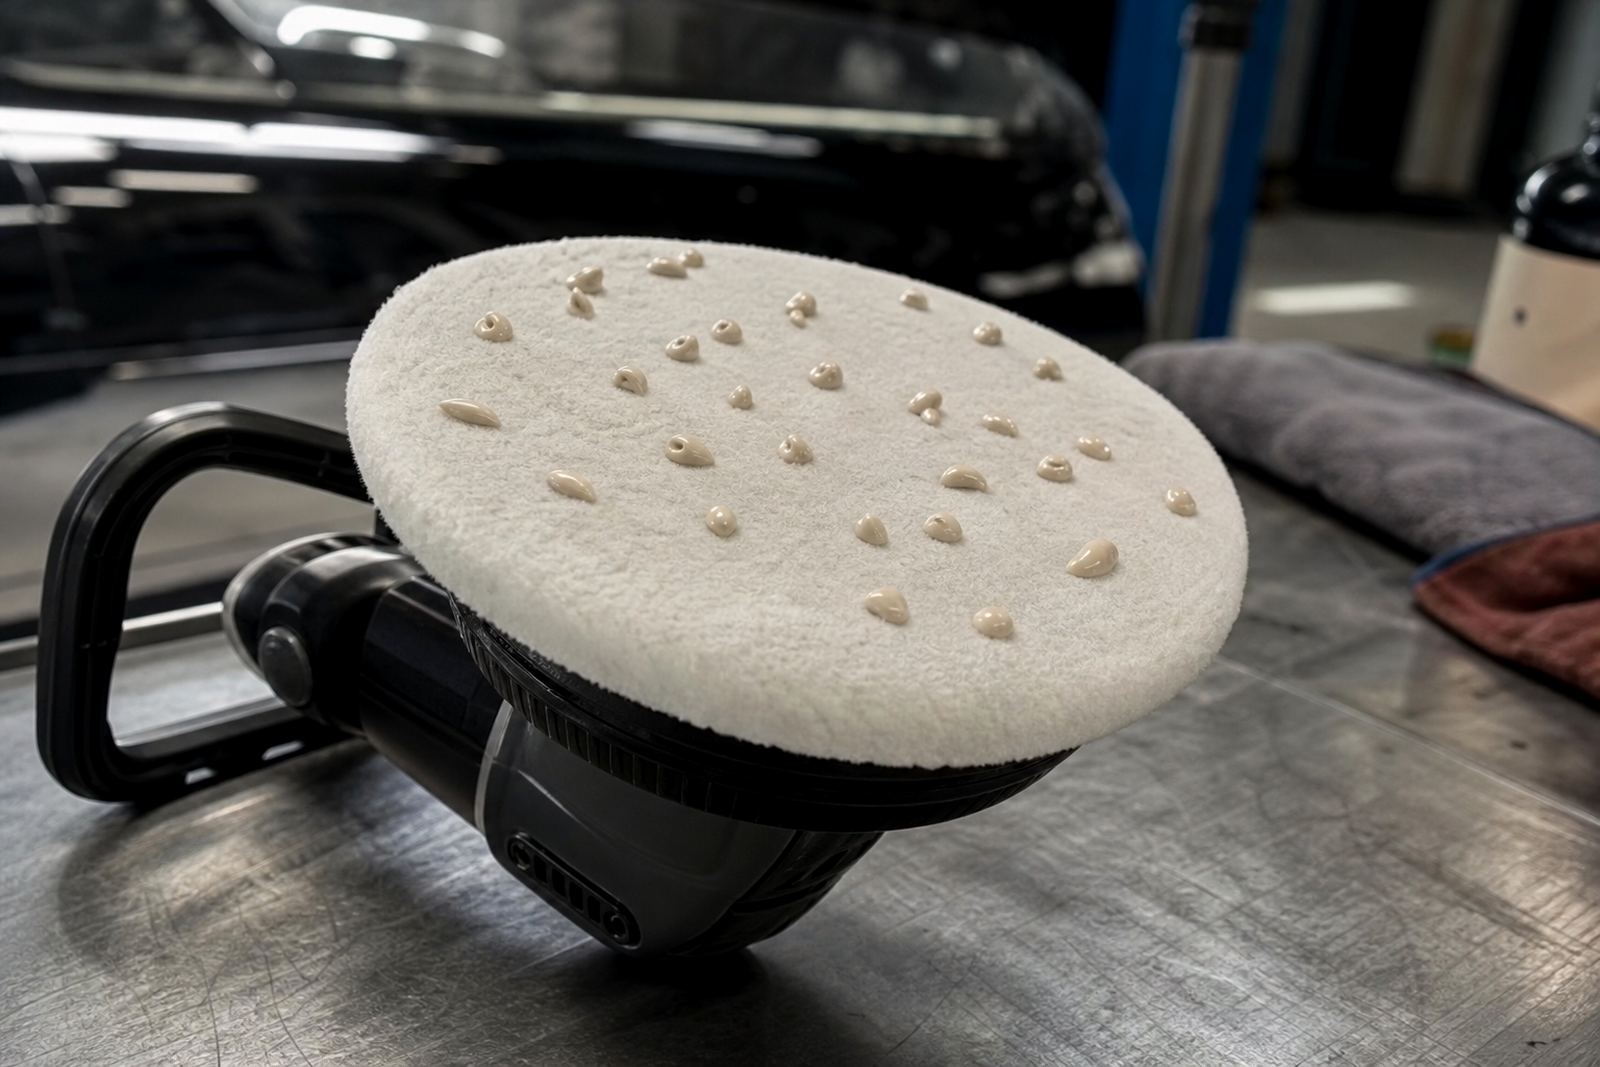
Pad and compound matching decides whether the job improves quickly or turns into a fight. A cutting compound removes heavier marks and oxidation, while a finishing compound refines the gloss and removes micro-marring left behind by the first stage. The pad matters just as much. Foam, microfibre, and wool each behave differently, and the best choice depends on the wheel material and the level of correction needed.
On bare metal, people often start with a more aggressive combination and then step down to a softer pad and finer compound. On coated or painted wheels, that same approach can be too harsh. A safer method is to begin conservatively and only increase cut if the surface still shows sanding lines or oxidation. This saves time and prevents unnecessary heat. For operators working in busy shops around Gauteng, a simple pad system and clear labelling also helps avoid mix-ups between metal work and paint work.
Good compound control also matters in dusty workshops. If the product dries too fast, it can grab and leave residue in corners. If it is too wet, it can sling onto tyres, calipers, or the floor. Keep towels clean and change them often. Coarse debris in a cloth can scratch an otherwise well-prepared surface.
Safety, Dust Control and PPE on the Shop Floor
Wheel polishing creates fine residue, dried compound, and airborne particles from old coatings or corrosion. That means basic PPE is not optional. Eye protection, a dust mask or respirator suitable for fine particles, gloves, and hearing protection for longer sessions all help reduce risk. Loose sleeves and jewellery are a bad idea around spinning tools, and long hair should be tied back.
If a wheel still has old coating, rust, or contamination from brake dust, treat the debris with respect. Vacuum or wipe down the area before starting, and avoid dry buffing in a way that sends particles into the air. On sites near the coast, where humidity can affect finish quality and the air carries more salt, freshly polished rims should be wiped and protected sooner rather than later. In inland areas around Johannesburg and Pretoria, dust and workshop grit are the bigger concern. Either way, cleanliness between stages is part of the process.
- Wear eye protection before starting the machine.
- Use a dust mask or respirator when sanding or dry finishing.
- Keep a clean floor to reduce slip risk from compound residue.
- Unplug tools before changing pads or inspecting tight areas.
A Practical Local Example from Germiston
Consider a set of alloy rims brought in from a Germiston commuter car that spends weekdays in traffic and weekends on the highway. The outer lips are dull, the spokes have stubborn brake dust build-up, and the clear coat is still intact on most faces. The sensible plan is to wash thoroughly, decontaminate, test one wheel, and then decide whether a light correction is enough or whether a deeper cut is needed.
For that kind of job, the team would normally separate the process into stages. First comes cleaning and inspection. Then a cautious machine pass on the worst areas, followed by a finer compound to bring back clarity. Tight sections near the centre bore and valve area are finished by hand, because a machine can only do so much in small spaces. The final wipe-down is important too, since compound dust hiding in the spokes will spoil the result once the car moves into sunlight.
That is why training matters. A beginner learns where to apply pressure and where to back off. A more experienced operator learns how to read the panel, choose the right pad, and keep the wheel cool.Good habits make the finish repeatable, not just lucky.
When to Stop, Step Back, or Ask for Guidance
Not every rim can be pushed to a mirror finish. Some have deep corrosion, previous kerb damage, or coatings that have failed in patches. If the finish is getting thin, the metal is overheating, or the surface is turning patchy instead of improving, it is time to stop and reassess. That is better than chasing shine and ruining the wheel profile.
For workshops, detailers, and hobby users across Johannesburg, Pretoria, Cape Town, Durban and Bloemfontein, the main challenge is consistency. One wheel that looks good is simple. Four or five wheels that match each other, with even gloss and clean edges, take real method. Starter kit guidance, machine care, and the right training session can save a lot of wasted product and a lot of frustration.
If you are unsure about the best approach for a specific rim or finish, start with a conversation and a clear photo of the wheel. From there, you can match the process to the material, the damage, and the time available. That approach is practical, safe, and far more reliable than guessing.