Why pad priming matters before the first pass
Pad priming is the first step that makes a polishing pad work properly. Whether you are using a rotary polisher on oxidised metal or a dual-action machine on a clear coat, the aim is simple: get the working face ready so the compound or polish spreads across the pad instead of sitting in one heavy patch. When a pad is dry in places, it can grab, skip, and leave patchy correction. It also makes the machine work harder than it should.
In Germiston and across the East Rand, many workshops deal with dry dust, heat, and the odd power interruption that breaks a job into sections. A pad that has been primed well gives a more even start when you return to the panel. On a humid Durban morning, it also helps prevent the product from clumping on one side of the pad and loading up too quickly.
The point is not to soak the pad. It is to condition the fibres or foam so the first contact with the surface is smooth and controlled. That reduces dry buffing behaviour, which is when the pad starts rubbing more than it is polishing.
How to prime foam, microfibre and wool pads correctly
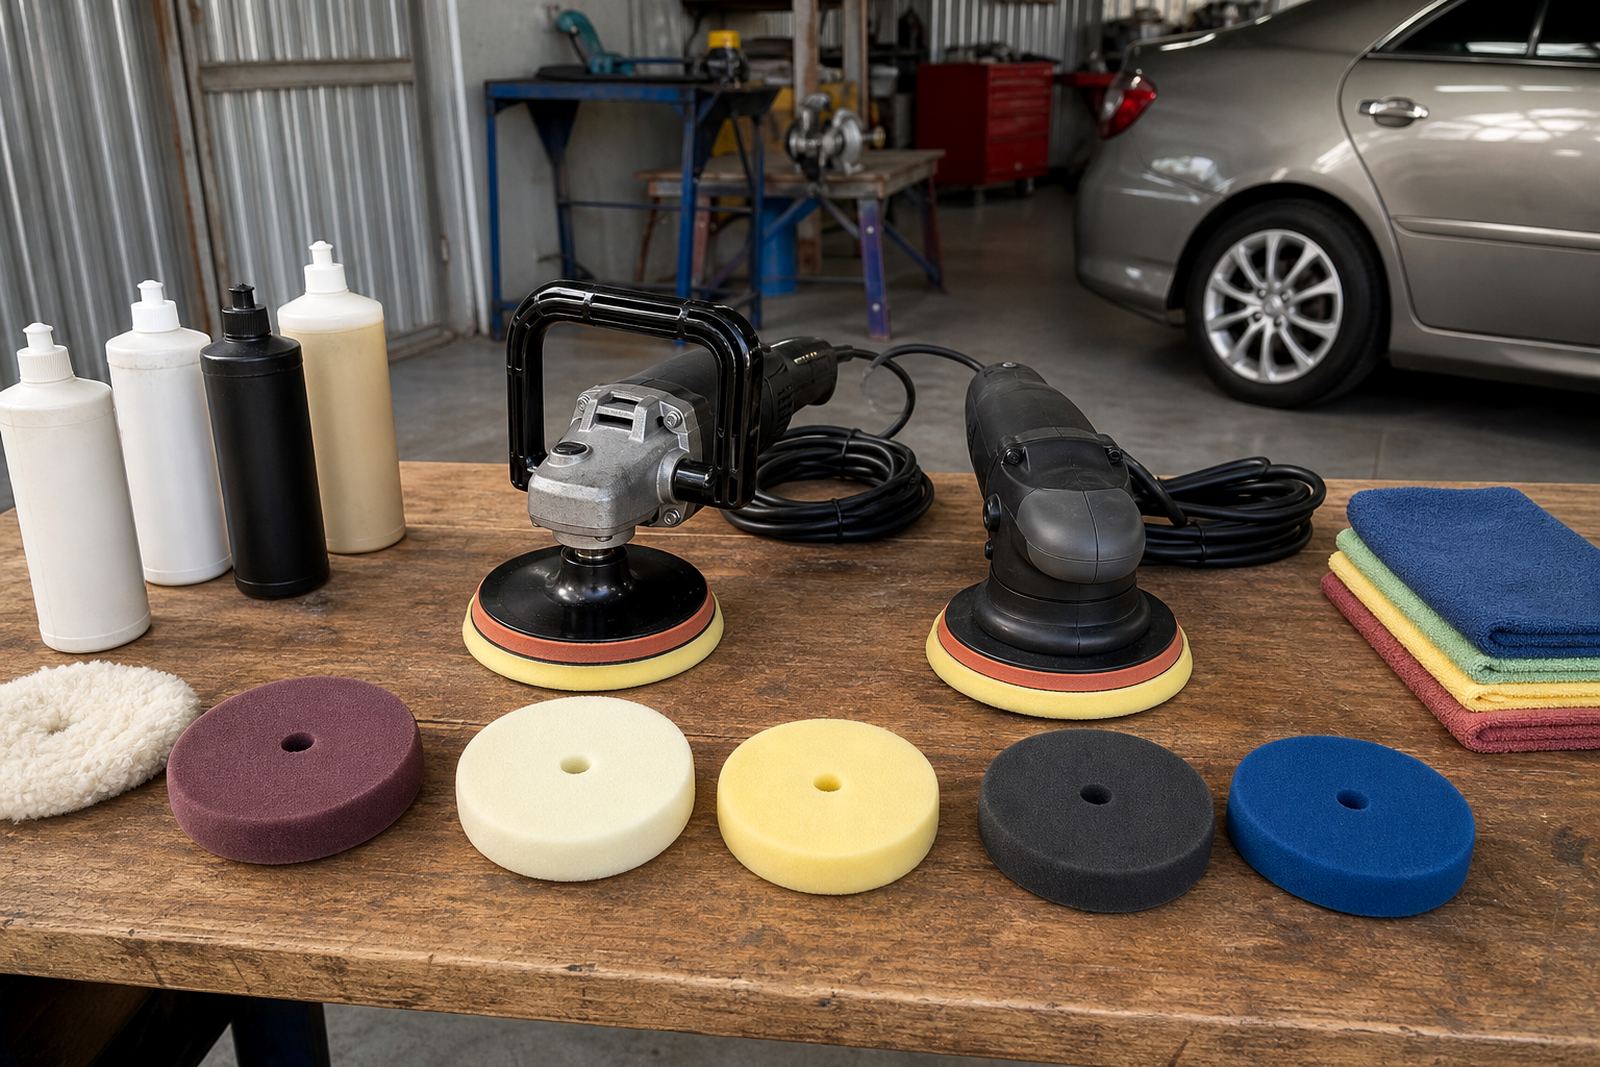
Different pads need different handling. Foam pads usually need a light, even coating across the working face. Microfibre pads need a little more care because the fibres must be loaded without matting down. Wool pads for metal finishing need enough product to lubricate the cut, but not so much that the fibres clog and sling compound around the bay.
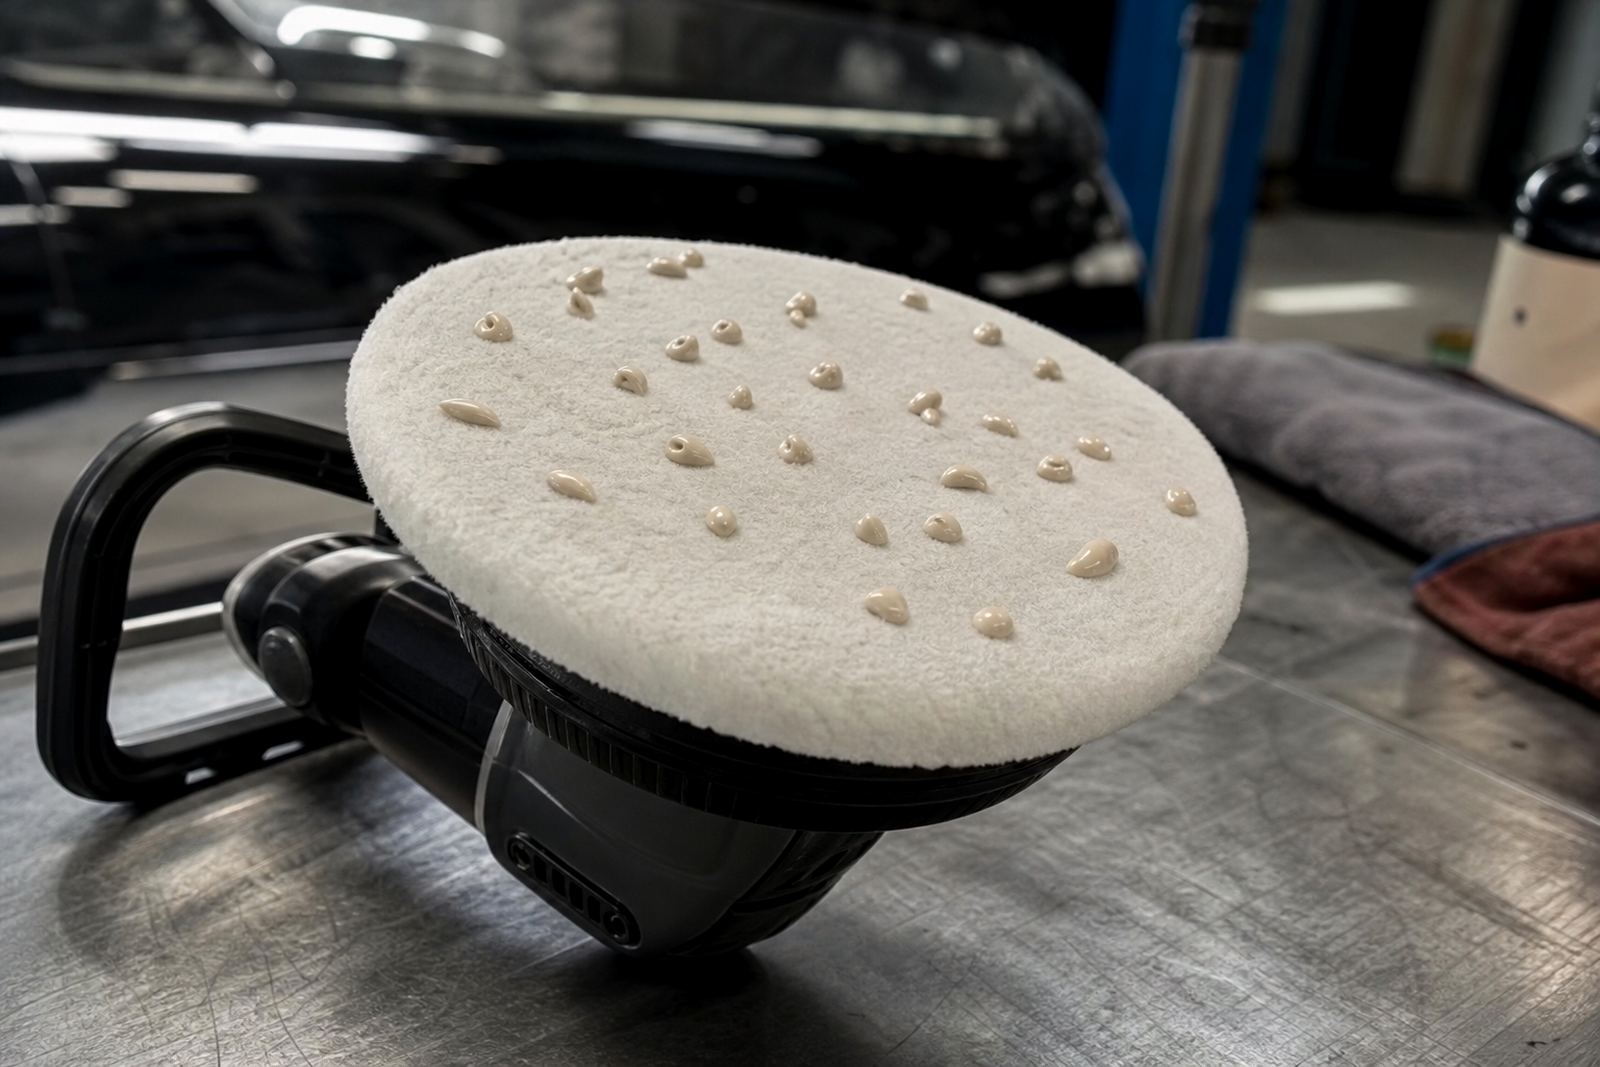
- Apply a small amount of compound to the pad face in several spots, not one large blob.
- Use a gloved finger or clean applicator to spread it lightly across the full face.
- Work the product into the outer working surface, especially on new or dry pads.
- Spin the pad by hand or at very low speed before going to the panel.
- Wipe off any excess from the edges to reduce sling and waste.
For a fresh pad, the first few passes are a conditioning stage. Keep the machine speed low and use light pressure. Once the pad is evenly loaded, you can move into your normal correction or finishing routine.
Rotary and dual-action machines need different starts
A rotary polisher cuts fast and can generate heat quickly, so a poorly primed pad on paint may leave holograms or mark the surface if the operator is too aggressive. On metal, it can create uneven compound build-up that makes the pad feel sticky. Start with less product than you think you need, then add a touch more only if the pad begins to dry out.
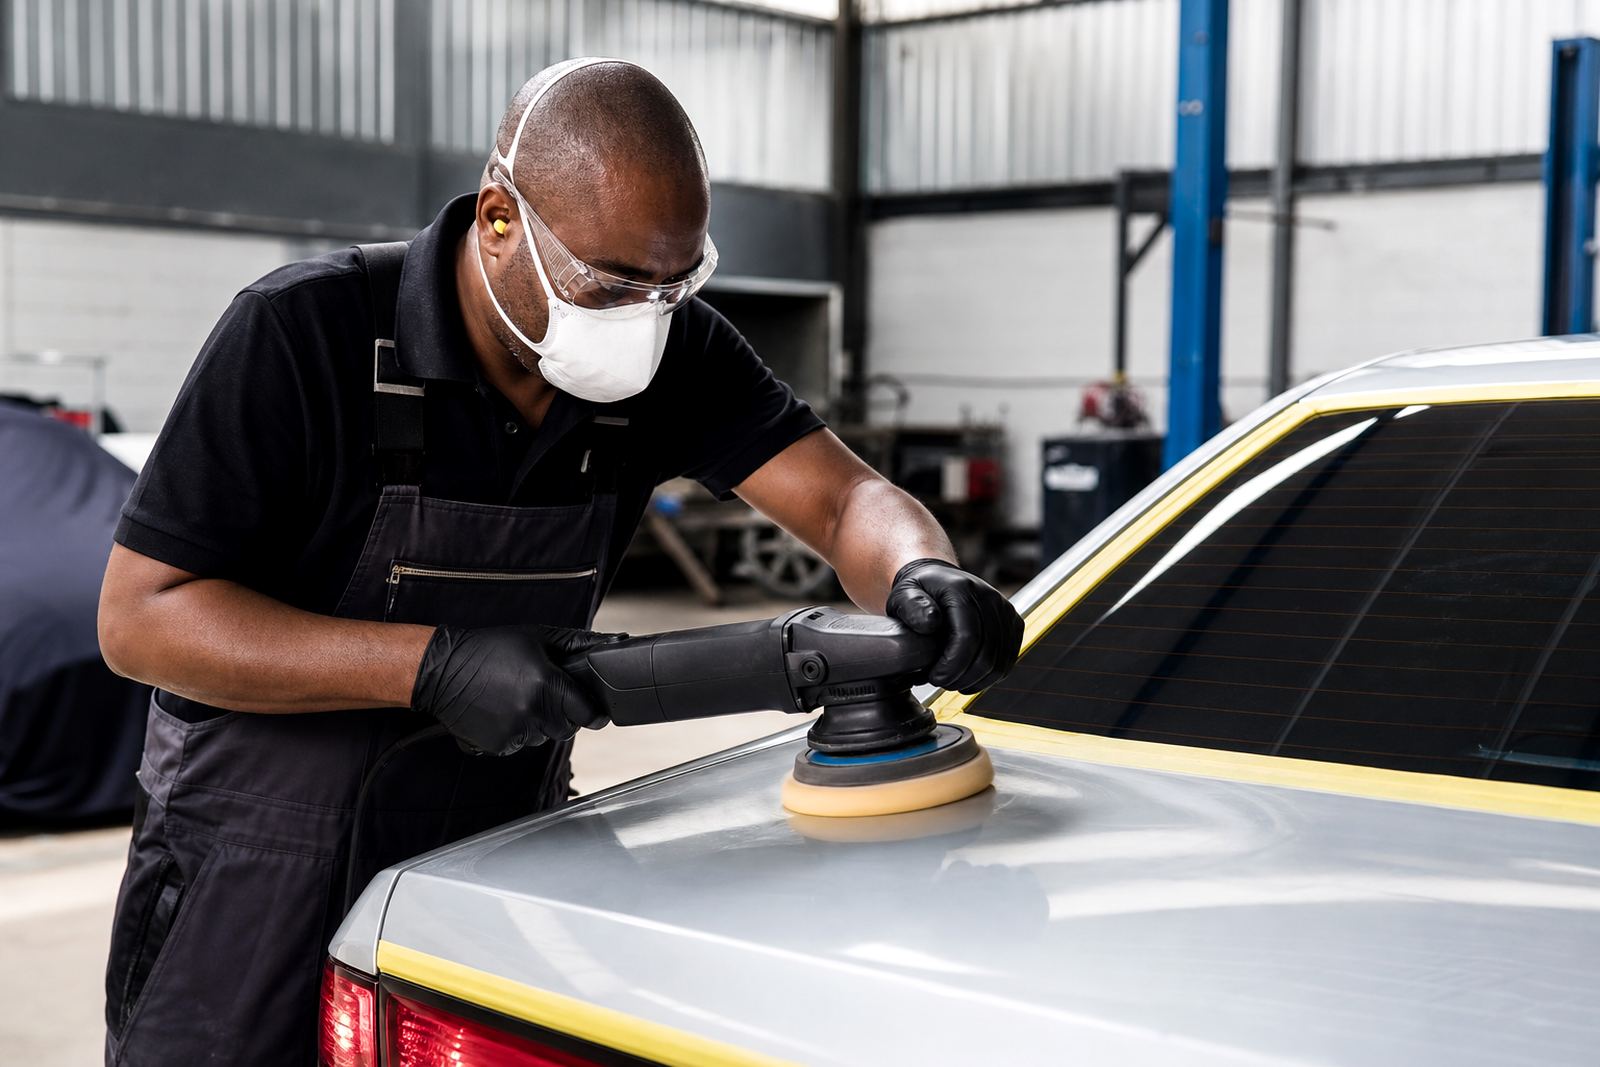
A dual-action machine is more forgiving, but it still benefits from proper priming. If the pad face is too dry, the machine can chatter on curved panels, especially on bonnet edges, door tops, and wheel arches. That is common on vehicles that have sat outside in Pretoria or Bloemfontein where dust settles into the paint and the first pass has to do most of the work.
For both machine types, the pad should glide, not drag. If you hear a rough, squeaky sound or see dry dust building up too early, stop and reload the pad before it starts chewing through the finish.
The balance between enough product and too much
There is a fine line between a properly primed pad and an overloaded one. Too much compound will reduce cut, make the pad heavy, and increase mess. Too little will leave dry spots that behave almost like sandpaper. The goal is a thin, even film over the active face of the pad, with enough product available to keep the abrasive moving.
When teaching beginners, we often see the same pattern: they start with a dry pad, add too much product after the first sign of resistance, then fight sling and clogging. A better method is to prime once, then inspect the pad after a short working section. If the face looks patchy or the fibres are standing up in random directions, it needs a small top-up.
- Dry-looking foam means the pad needs more conditioning before the next section.
- Clogged fibres mean there is too much product or too little cleaning between passes.
- Patchy finish can point to uneven loading or inconsistent pressure.
- Excess sling often means the machine started too fast or the pad was overfilled.
Surface prep, dust control and PPE before you prime
Pad priming works best on a clean surface. Remove loose dust, road film, sanding residue and metal particles before you start. If you are correcting paint after panel work, inspect the area carefully for grit. A primed pad cannot fix contamination trapped under the face, and in some cases it can spread that grit across a wider section.
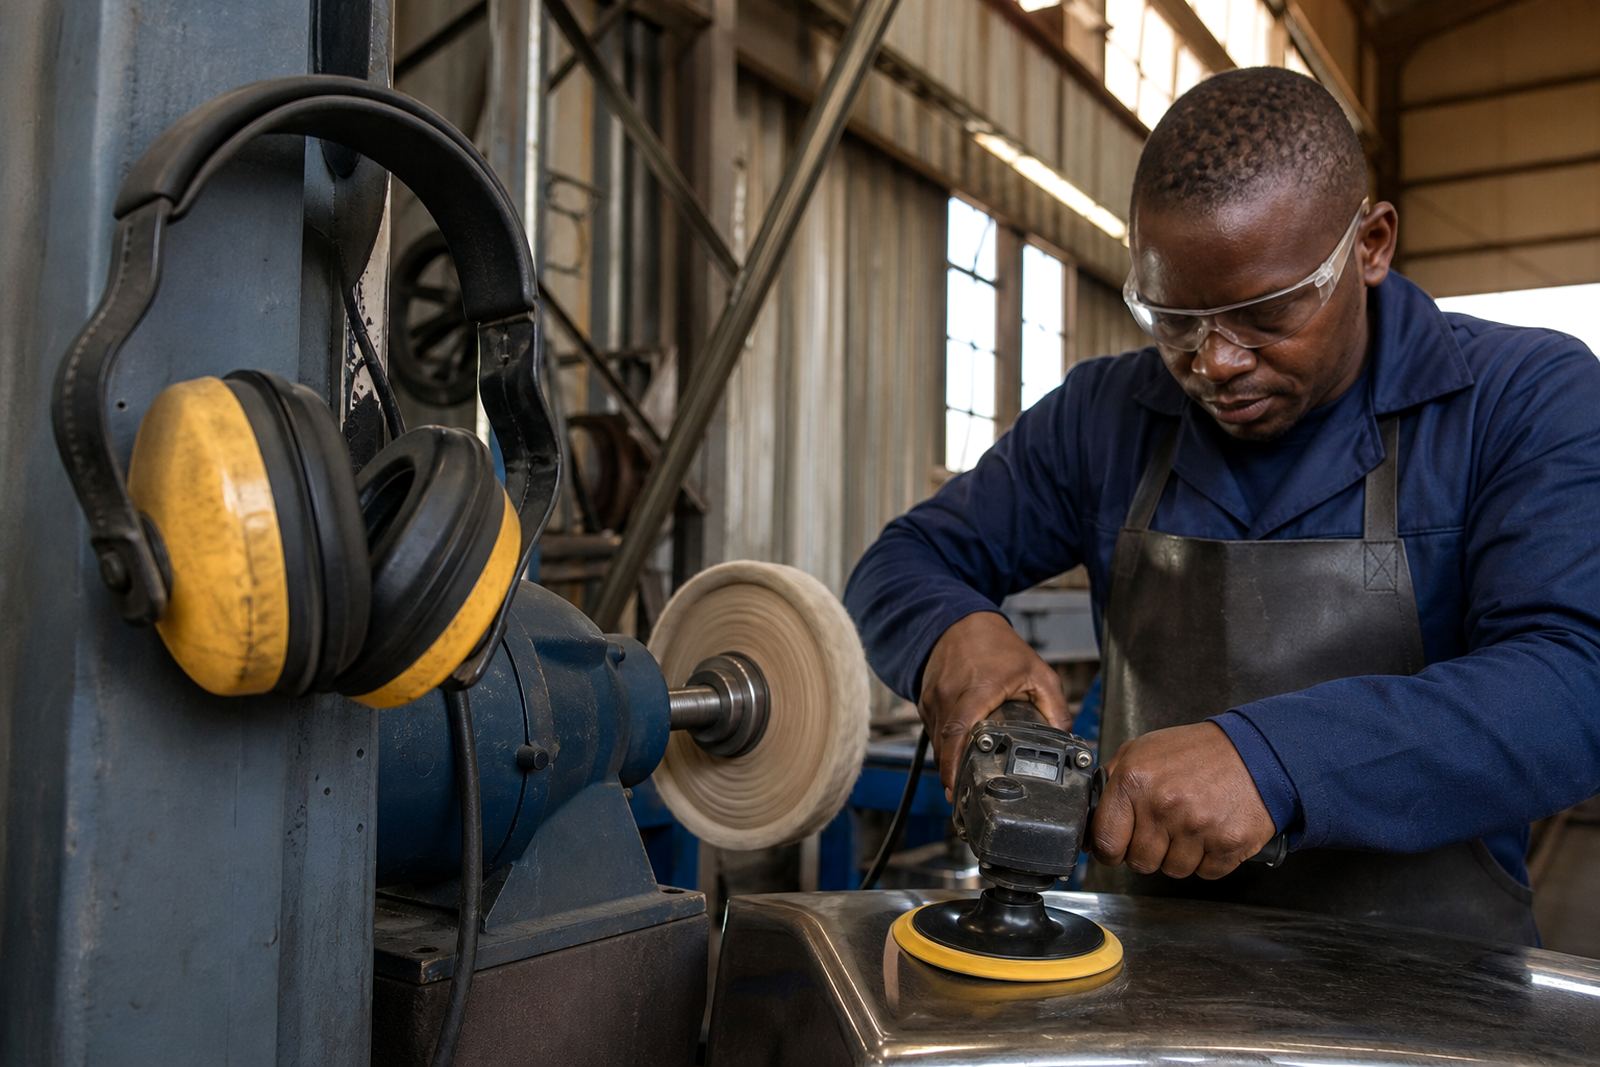
Use PPE every time. Eye protection matters because compound can flick off the pad during the first burst of speed. A dust mask or suitable respirator helps when working on dry compounds or when polishing around sanding residue. Gloves improve grip, especially during long sessions in a hot workshop where perspiration can make the machine harder to hold.
For metal buffing, keep the work area tidy and avoid loose rags that can catch in the pad. On paint, make sure trim edges and badges are masked where needed. A primed pad should never be the first line of defence against poor preparation. Clean, safe working habits are what keep a polishing job under control.
A Germiston workshop example: saving time on a faded bonnet
Picture a faded bonnet coming in from the East Rand after weeks of dust and sun. The paint is dry, the panel has light oxidation, and the customer wants a cleaner finish without heavy material removal. If the pad is not primed, the first section will often grab and dust up before the polish has had time to break down properly. That wastes time and makes the finish less even.
With proper priming, the pad contacts the surface smoothly from the start. The polish spreads across the section, the machine feels steadier, and the technician can judge the paint response more accurately. On a busy day in Germiston, that kind of control matters because you are not just chasing shine, you are trying to get repeatable results across several vehicles and jobs.
The same approach helps on older steel parts, alloy components, and stainless trim where metal polishing needs an even, measured cut. If the pad is primed correctly, you spend less time correcting mistakes and more time refining the finish.
Simple checks before every polishing pass
Before you place the pad on the panel, do a quick check. It takes less than a minute and can save you from dry buffing, sling and unnecessary heat.
- Is the pad face evenly loaded, with no dry patches?
- Have you used the right compound for the pad type and surface?
- Is the machine speed still low for the first contact?
- Is the panel clean and free of grit or loose dust?
- Do you have eye protection, gloves, and a dust mask ready?
Pad priming is not a fancy extra. It is a basic technique that improves control, reduces waste, and helps the finish come out cleaner. Once the habit is in place, you will notice the difference on every job, from a quick paint correction to a full metal polishing session.