Why the last wipe matters more than most people think
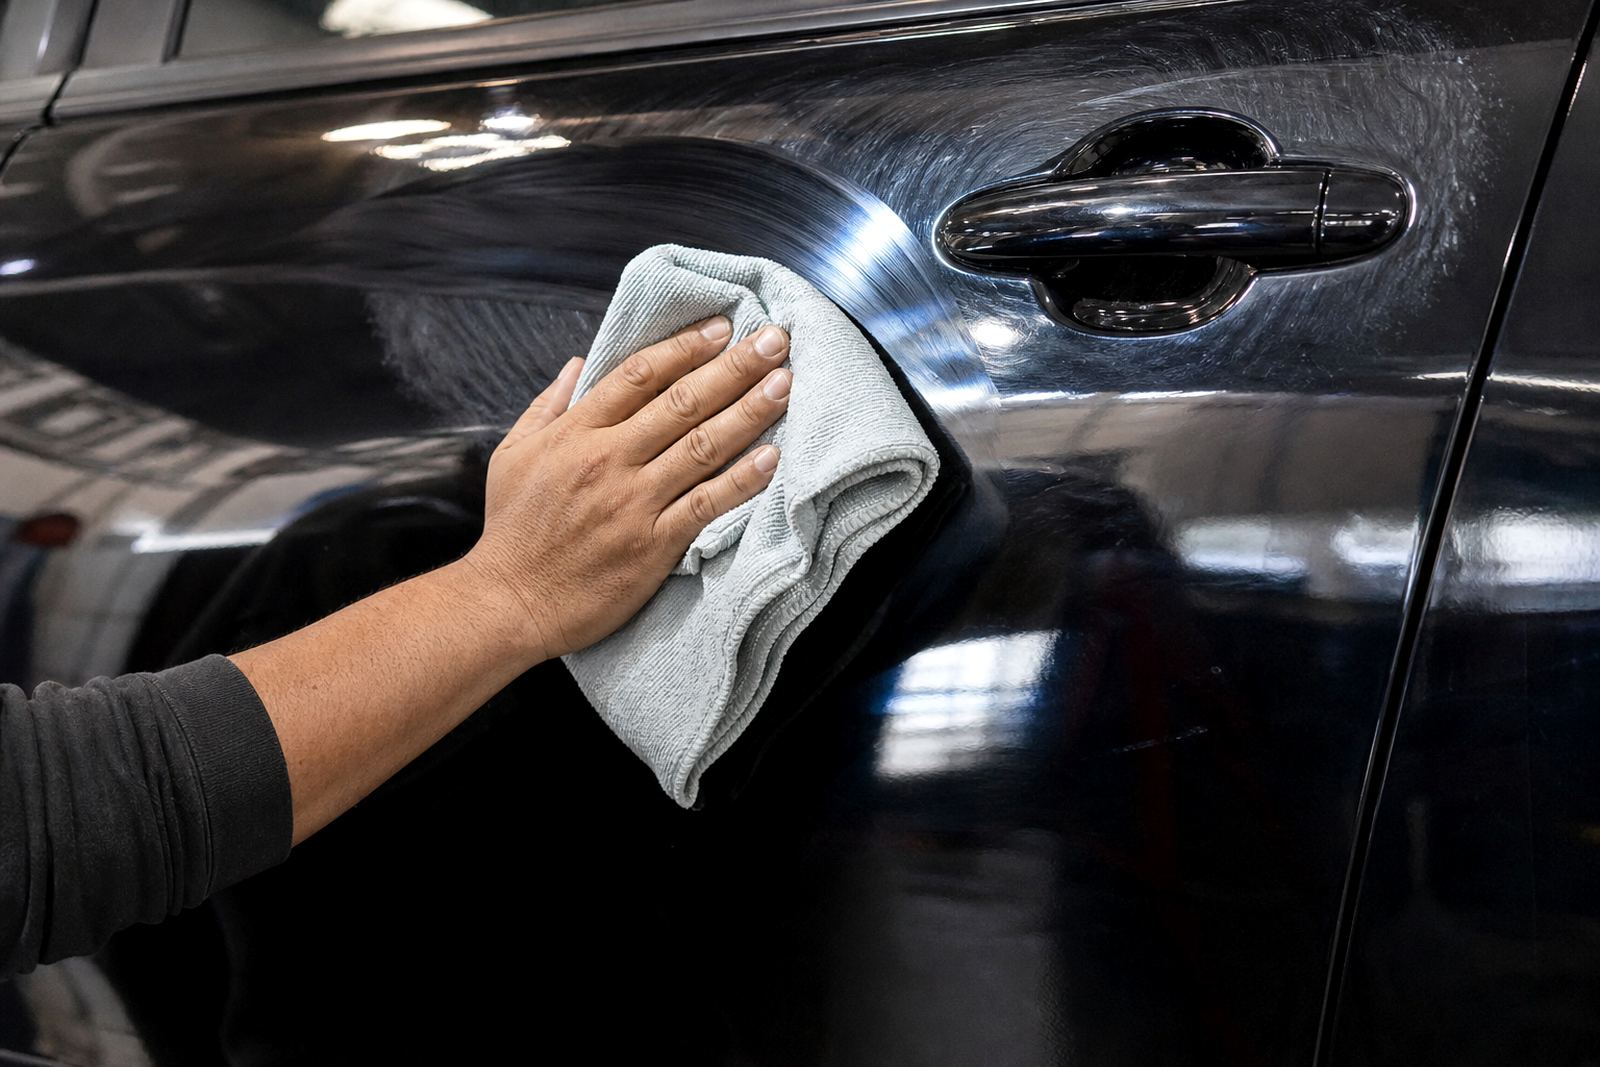
Residue wipe technique is the step that removes spent compound, carrier oils, and fine dust without putting fresh marks back into the surface. On polished metal and corrected paint, the wrong cloth or too much pressure can leave faint trails that only show up when the sun hits at an angle. That is why many experienced technicians slow down for the final wipe, even when the correction itself is already complete.
In Germiston workshops and in home garages across Gauteng, the common mistake is to treat the wipe as an afterthought. A panel or metal section may look good under shade, then show haze once it is moved into daylight. Timing matters too. If residue is left too long on a hot bonnet or a warm alloy rim, it can bind and become harder to lift cleanly. On a humid Durban morning or in coastal air, that can happen quicker than expected, so the wipe has to be controlled and consistent.
- Use a clean, soft microfibre cloth with a short, even pile.
- Fold the cloth so you always have a fresh face ready.
- Work in small sections rather than trying to clear a whole panel at once.
- Change cloths as soon as they start loading up with residue.
Choose the cloth and timing that suit the finish
Not every residue wipes the same way. Fine finishing compounds on painted panels usually wipe easier than heavier metal polishes, which can leave oily films and dark residue. The cloth matters because a rough edge or a dirty seam can drag across the finish and leave micro-marring. For sensitive paint work, a plush microfibre is safer. For metal, a slightly denser cloth can help lift residue without smearing, provided it is kept clean and dry enough.
Timing is just as important as cloth choice. Wipe too soon and you may smear the product while it is still wet. Wipe too late and the residue can harden, especially on sun-warmed steel or aluminium.The safest approach is to test one small area first and adjust your pace from there.
- If the residue feels greasy, use a fresh side of the cloth and lighten the pressure.
- If it drags, give it a little more dwell time before wiping again.
- If the surface starts to haze, switch to a second clean cloth for the final pass.
- Keep separate cloths for metal work and painted surfaces to avoid cross contamination.
Work with the machine finish, not against it
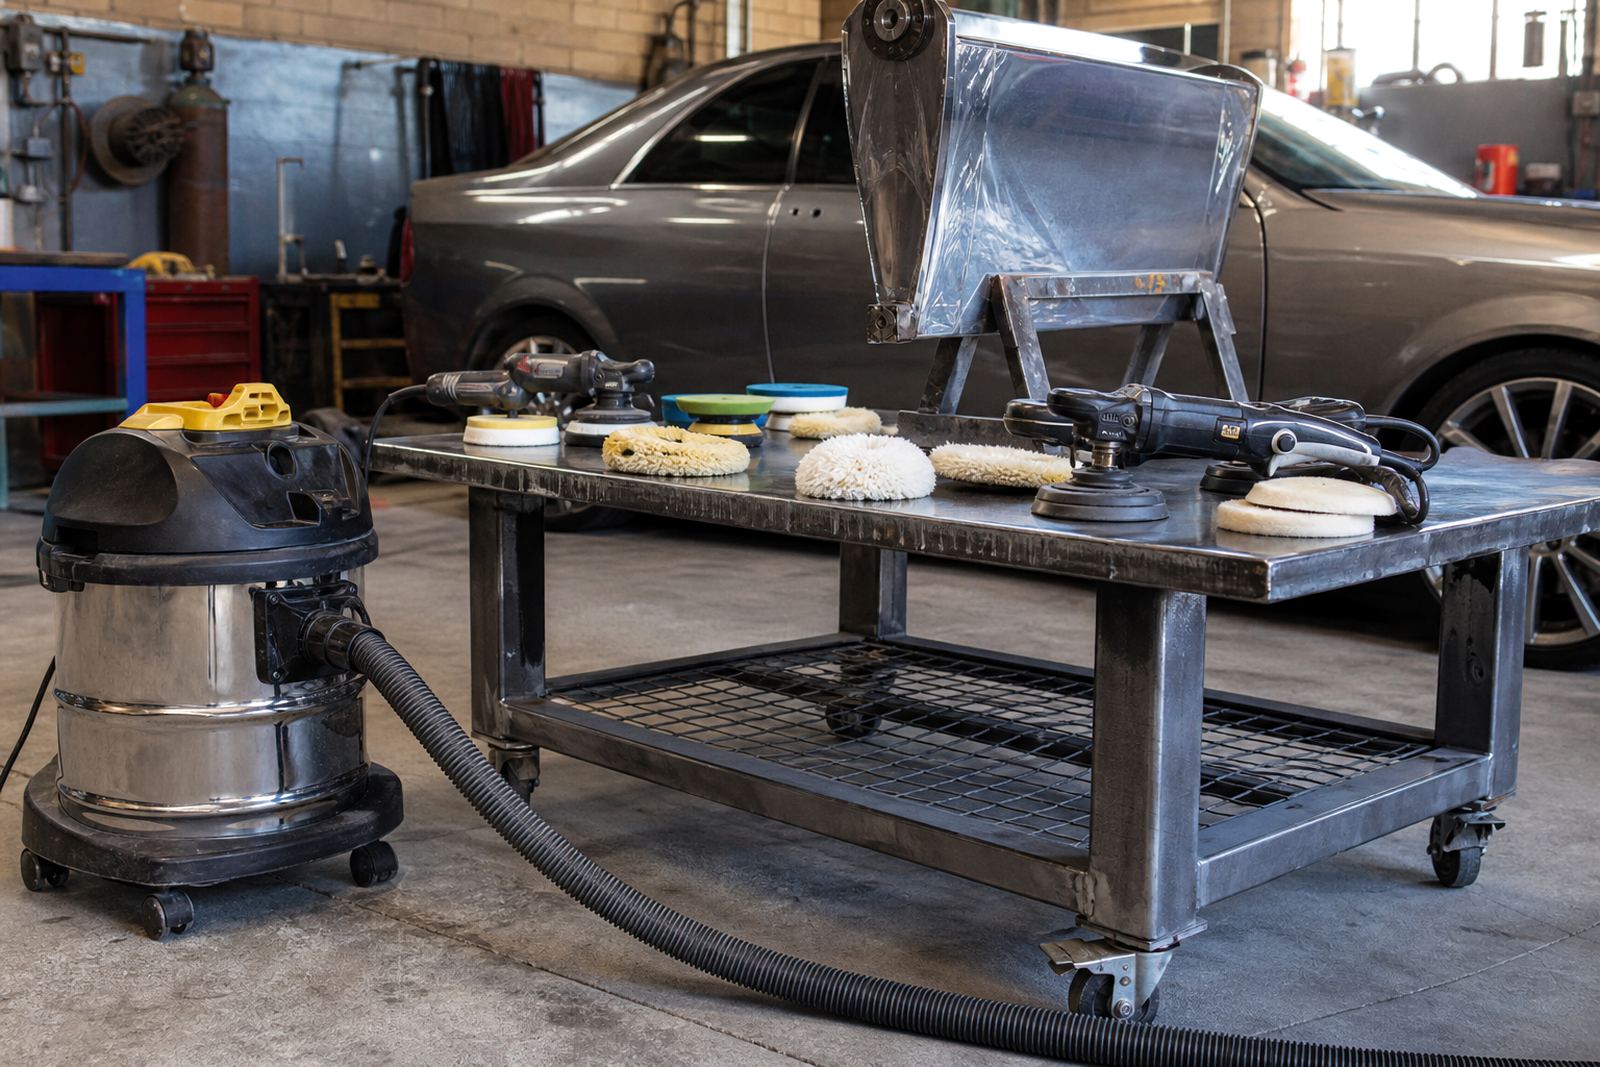
Whether you are using a rotary polisher or a dual-action machine, the wipe-off should suit the finish left behind. Rotary work can leave a tighter, warmer finish on metal and a clearer cut on paint, but it often leaves more product build-up at the edges of the work area. Dual-action polishing tends to spread residue more evenly, though it can leave a broader film if the pad was overloaded. The final wipe should follow the pattern the machine created, not fight it.
After a polishing pass, stop and inspect the surface in natural light if possible. Move the panel slightly or change your angle so you can see streaking, high spots, and leftover residue around handles, badges, seams and swage lines. Those tight spots are where wiping gets rushed and where re-marring often starts. A careful wipe around edges with the cloth wrapped over one finger is better than pressing hard across a whole panel. Less pressure usually gives a cleaner result, and your hands will thank you at the end of a long day.
- At edges, use lighter contact and shorter strokes.
- On flat areas, fold the cloth and wipe in straight lines.
- Check around trim, rubber seals and recesses where residue collects.
- Do a second inspection before moving the vehicle or part into storage.
Technique for metals, paint, and mixed surfaces
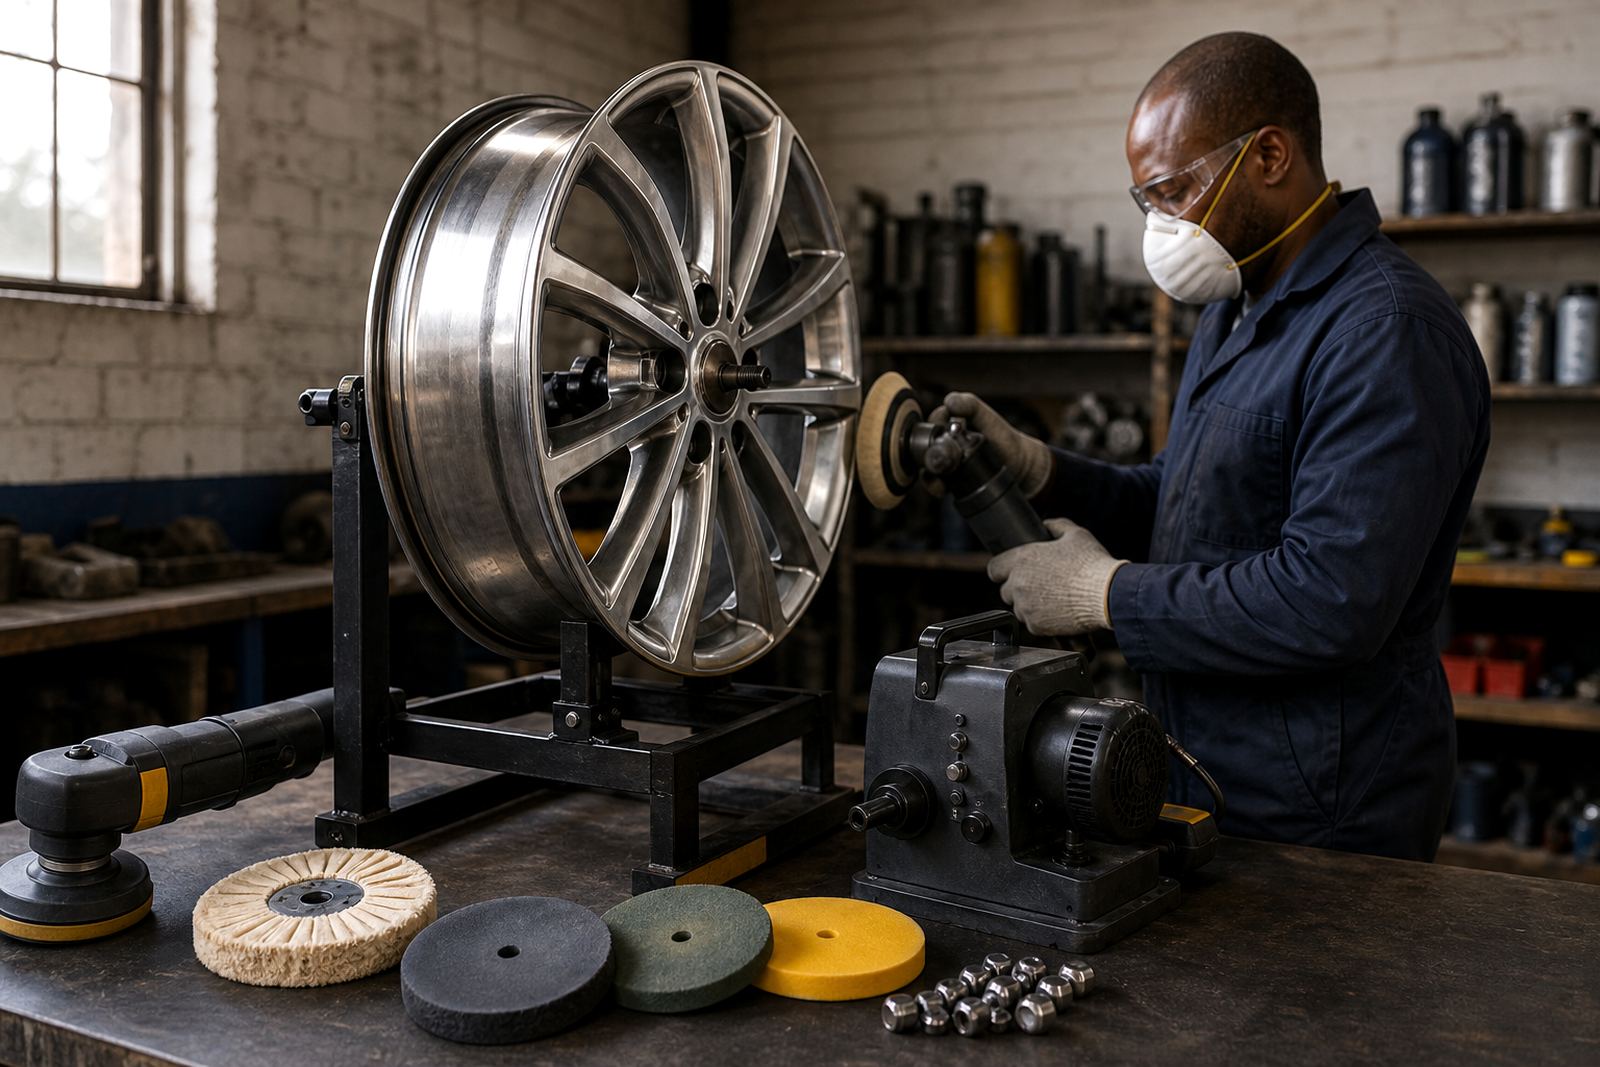
Metal polishing and paint correction need similar discipline, but the residue itself behaves differently. On stainless steel, aluminium, or chrome-type finishes, polishing residue can be heavier and more visible, so a slow overlap wipe works well. On automotive clear coat, the goal is to remove all film without disturbing the corrected surface underneath. If you use one method on every surface, you will eventually get uneven results.
A practical method is to lift rather than scrub. Place the cloth flat, make one controlled pass, then turn to a clean side and repeat. For narrow parts like mirror caps, trims, exhaust tips or polished brackets, use a smaller folded section so your fingers do not touch the working face. This small adjustment can prevent accidental marks. In a busy Germiston bay where jobs move quickly between prep, polishing and handover, that little habit saves time because there is less rework later on.
Training sessions often show that the wipe is where confidence either grows or drops. If a learner can remove residue cleanly from a bonnet edge, a metal rail, and a curved panel without streaks, they are usually ready to handle more complex work. That is also where starter kit advice helps, because the right towels, products and pad choice make the final wipe easier from the start.
PPE, dust control and safe workshop habits
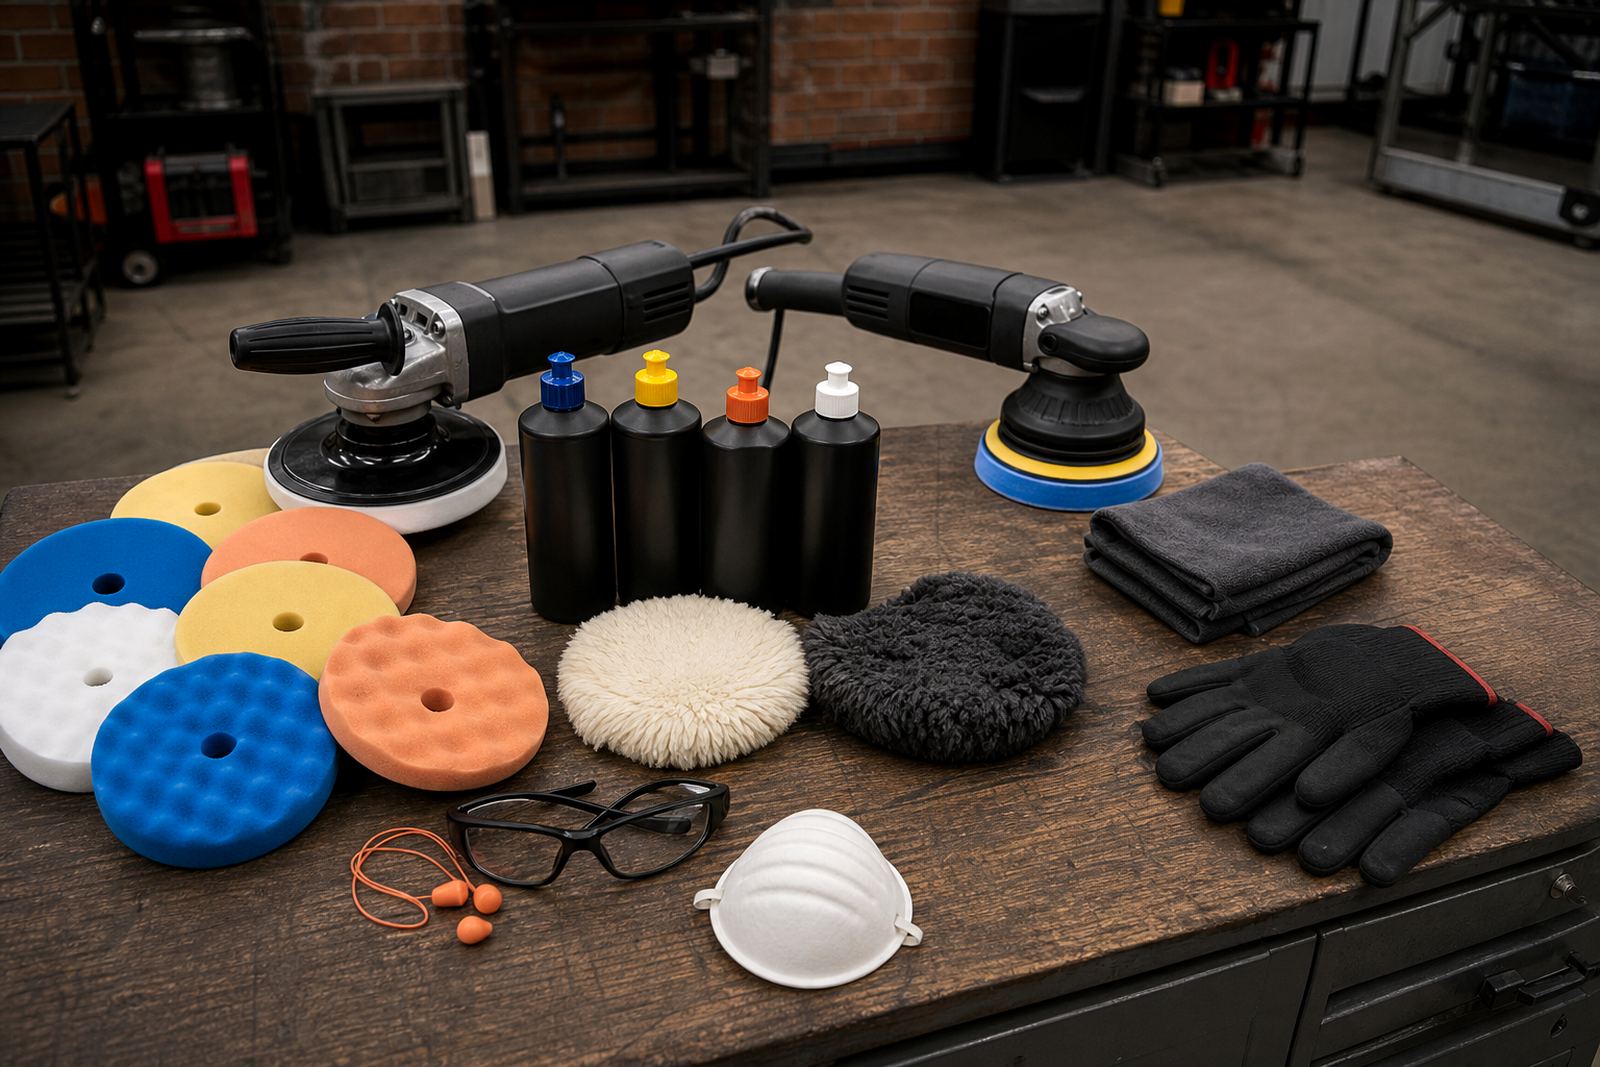
Polishing produces fine dust and spent compound that should not be breathed in or left floating around the workshop. Good residue wipe technique is part of a wider safety routine. Wear eye protection when working overhead or near spinning pads, and use a suitable dust mask when dry residue is present. Gloves can help during metal work, but they should not be so bulky that they make you clumsy around sharp edges or hot panels.
Keep the area tidy before you begin wiping. A cloth dropped on the floor picks up grit fast, and that grit can scratch the finish on the next pass. In South African workshops, where weather, dust and traffic grime can all come through the roller door, it is worth keeping a clean towel stack and a lidded bin close by.Poor light leads to missed spots, and missed spots lead to repeat work.
- Use a clean cloth only, never one that has fallen on the floor.
- Keep the work area free of loose compound dust and metal filings.
- Wear PPE when polishing overhead or during heavy residue removal.
- Let hot surfaces cool slightly before the final wipe.
A practical Germiston example for local workshops and enthusiasts
A small body shop in Germiston might finish a bonnet repair in the morning, then receive a customer vehicle for machine polishing later that day. If the operator rushes the residue wipe on the bonnet after compounding, the panel can look good in the bay but show faint smear marks outside in bright daylight. The fix is not more pressure. It is better timing, a cleaner cloth, and a slower first pass followed by a second dry pass to clear the last film.
That same approach helps hobbyists at home in Johannesburg, Pretoria, Cape Town, Durban, Bloemfontein and the surrounding areas. The conditions change from place to place. Coastal humidity in Cape Town and Durban can make residue feel tacky. Dry inland air in Pretoria or the Vaal Triangle can make some compounds flash off faster. The technique stays the same though: work in sections, keep cloths clean, inspect under good light, and avoid rubbing harder just because the residue is stubborn. If it resists, change the cloth or revisit the timing rather than forcing it.
Residue wipe technique is simple in principle, but it rewards attention. The cleaner the wipe, the better the finish will hold up when the vehicle leaves the workshop or the metal part goes back into service. That is why experienced polishers treat the final wipe as part of the polishing process, not as a separate chore.