Start with a clean surface, not a quick wipe
Paint polishing works best on a surface that has been washed properly and inspected in good light. Dirt, road film, brake dust and tar can hide defects, and if you polish over them you can drag grit across the panel. On daily drivers in Germiston or along the N3 corridor, that means starting with a thorough wash, including wheel arches, lower doors and the boot lip where grime tends to sit.
Use a pH neutral wash soap, clean wash mitts and two buckets if possible, one for wash solution and one for rinse. Rinse the vehicle well before touching the paint. If the car has been standing outside in Gauteng dust or coastal humidity in Durban, give extra attention to badges, trims and panel gaps where contamination builds up.
- Wash top to bottom so the dirtiest areas are last.
- Use separate cloths for lower panels and wheels.
- Dry with a clean microfibre towel or blower to avoid water spots.
- Work in shade where possible, especially on dark paint.
Decontamination removes what washing leaves behind
Even after a careful wash, paint can still hold bonded contamination such as overspray, industrial fallout, road tar and tree sap. These marks are common on cars parked near workshops, construction sites and busy roads in Johannesburg, Pretoria and the East Rand. A decontamination step gives the polishing pad a cleaner surface to work on and helps you feel what the paint is really like.
A clay bar or synthetic clay pad is often used with a suitable lubricant. Work in small sections and feel the panel with your fingertips inside a thin plastic bag if you want to check for roughness. If you hear gritty noise under the cloth, the panel needs more decon before polishing. Do not rush this part, because polished paint can still look dull if contamination remains on top.
- Remove tar spots with a safe tar remover before claying.
- Use light pressure when claying, not heavy scrubbing.
- Wipe the panel clean after each section.
- If the paint feels smooth but still looks hazy, continue with a test spot.
Test spots tell you how far to go
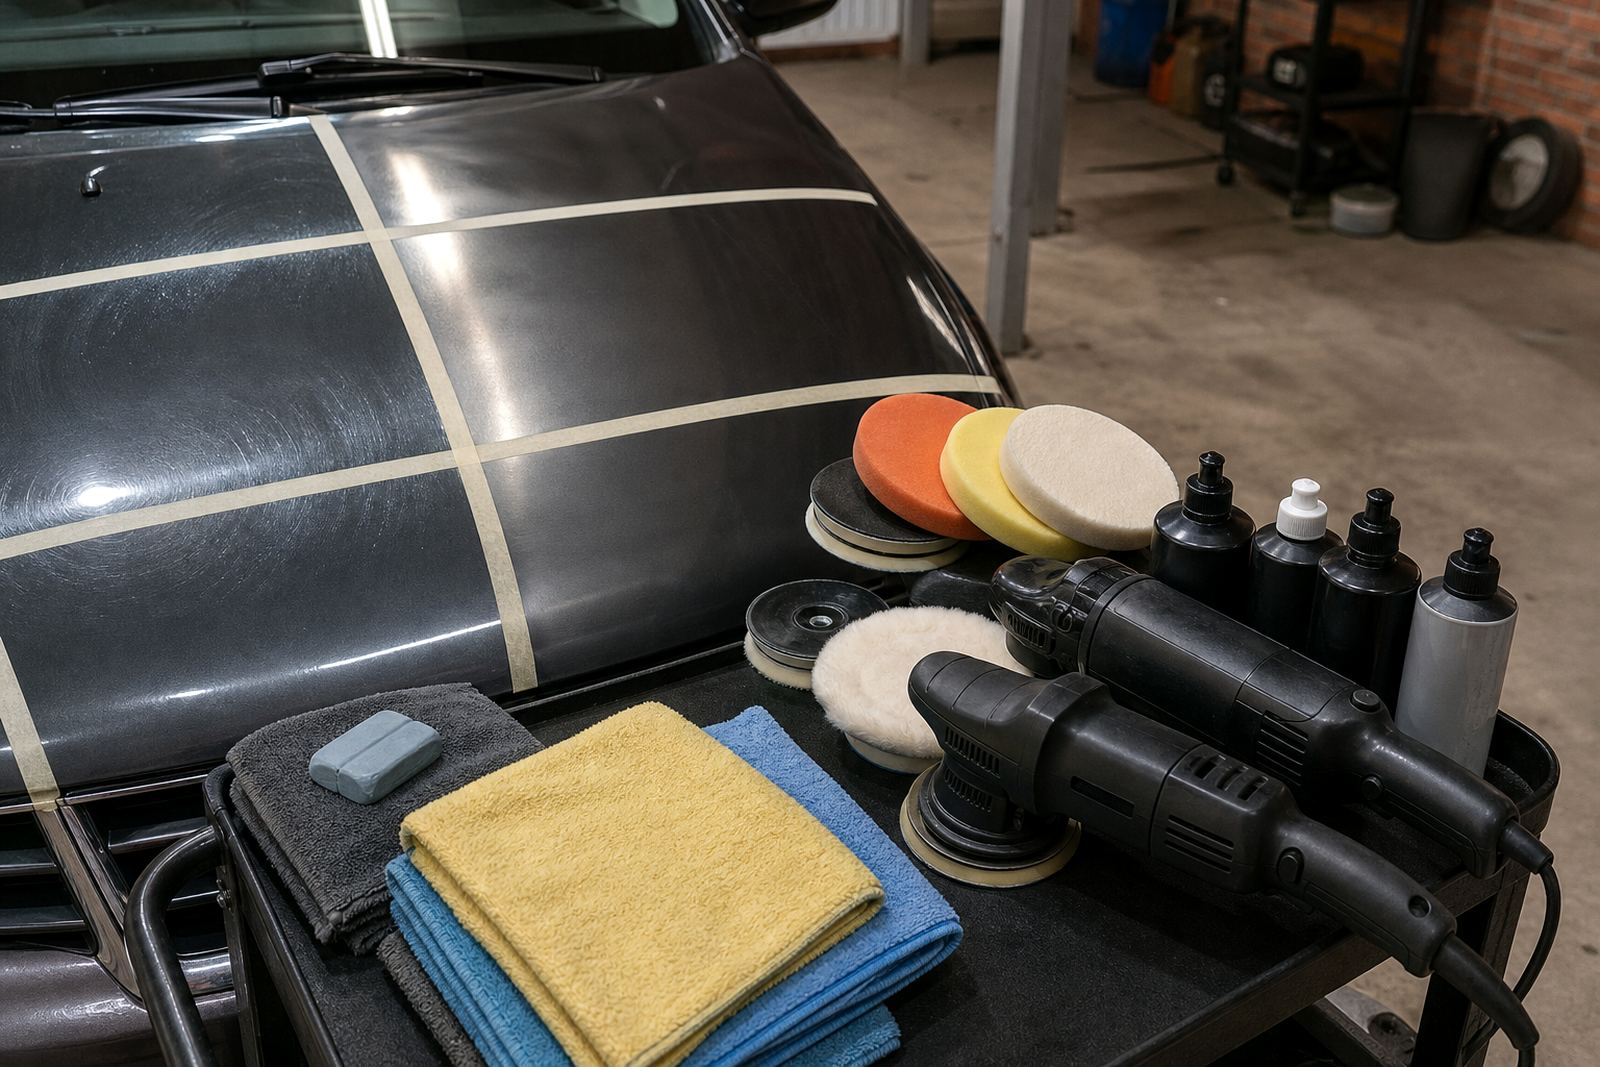
A test spot is one of the most useful habits in paint correction. Instead of starting on the whole bonnet and hoping for the best, you choose a small section, often 40 to 60 centimetres square, and test a pad and compound combination. This shows you how the paint responds and whether you need a rotary polisher, a dual-action machine or a lighter approach.
Some paints are soft and correct quickly, but they can mark easily if the pad is too aggressive. Harder clear coats may need more passes or a firmer pad. That is why the first test should be modest, then adjusted if needed. On a silver sedan in Bloemfontein, for example, you may only need light correction. On a black family SUV in Cape Town, you may need more time to refine swirl marks and restore gloss without chasing every tiny defect at once.
- Start with the least aggressive pad and compound that may work.
- Check the panel in direct light and at an angle.
- Look for haze, swirls, deeper scratches and edge build-up.
- Record what worked so you can repeat it on the rest of the vehicle.
Choose the right machine for the job
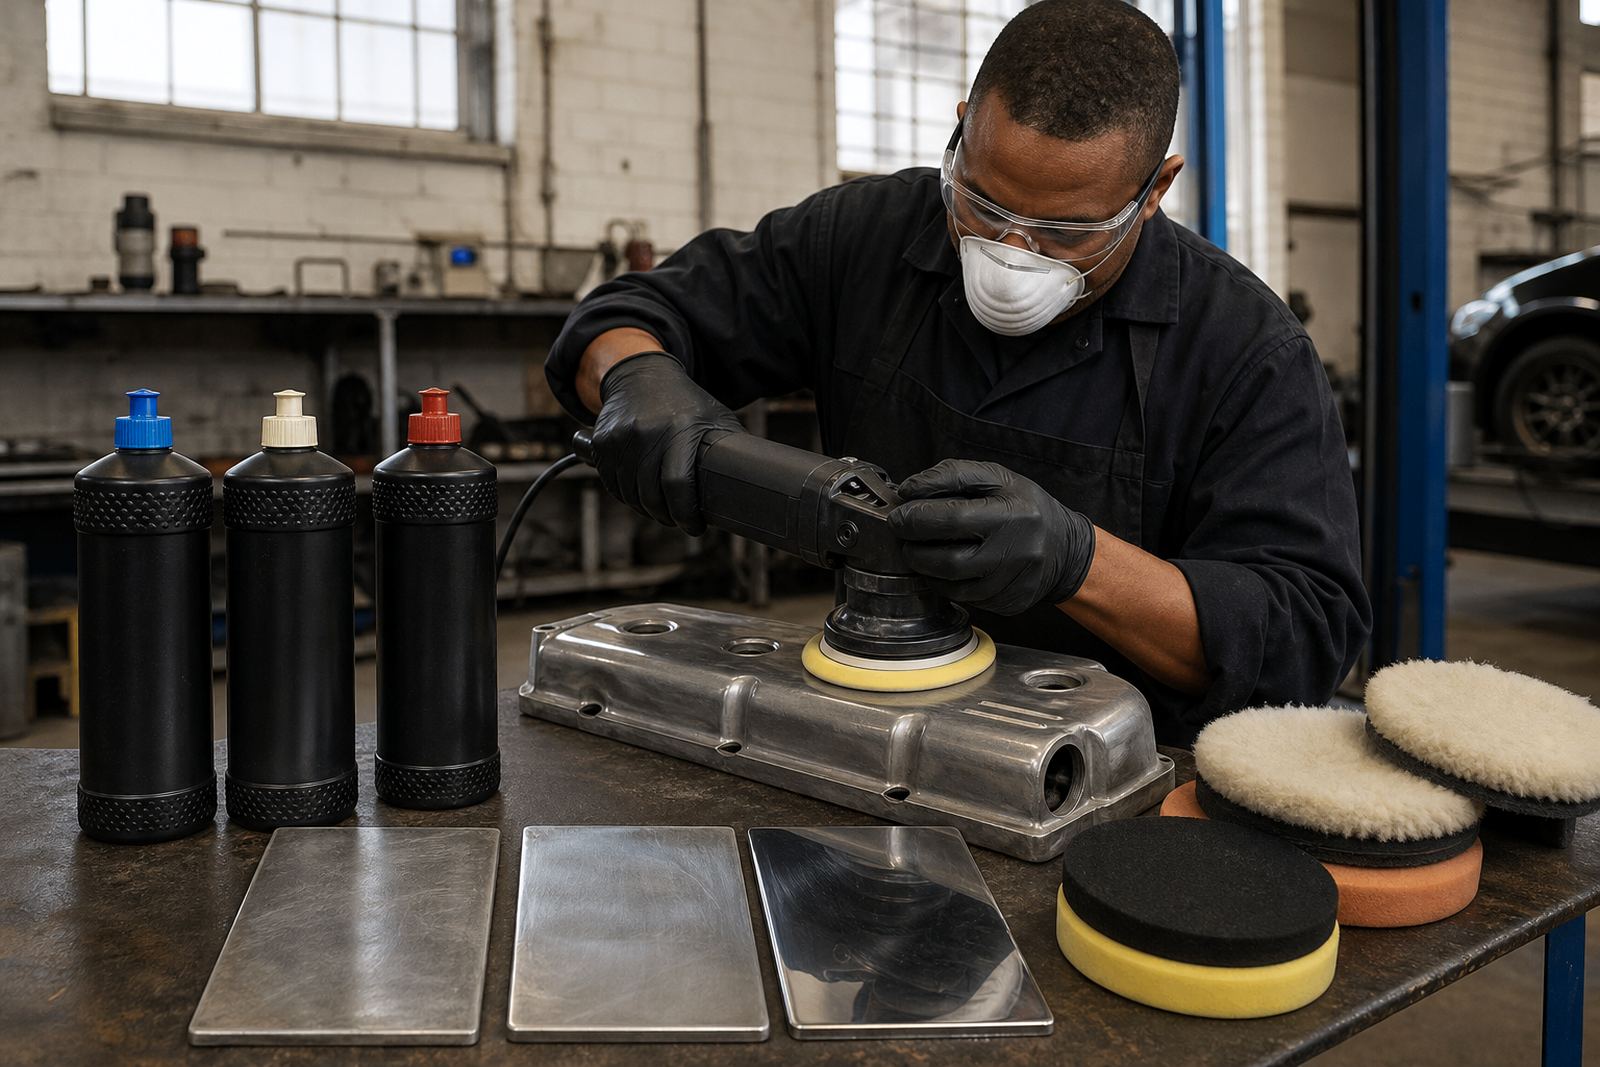
Rotary polishers and dual-action polishers are both used on automotive paint, but they behave differently. A rotary machine spins in one direction and can remove defects quickly in skilled hands. It is useful for heavier correction, but it can also generate heat fast and leave holograms if the technique is poor. A dual-action machine moves in a random orbit pattern and is generally more forgiving for beginners, making it a sensible choice for light to medium correction and maintenance polishing.
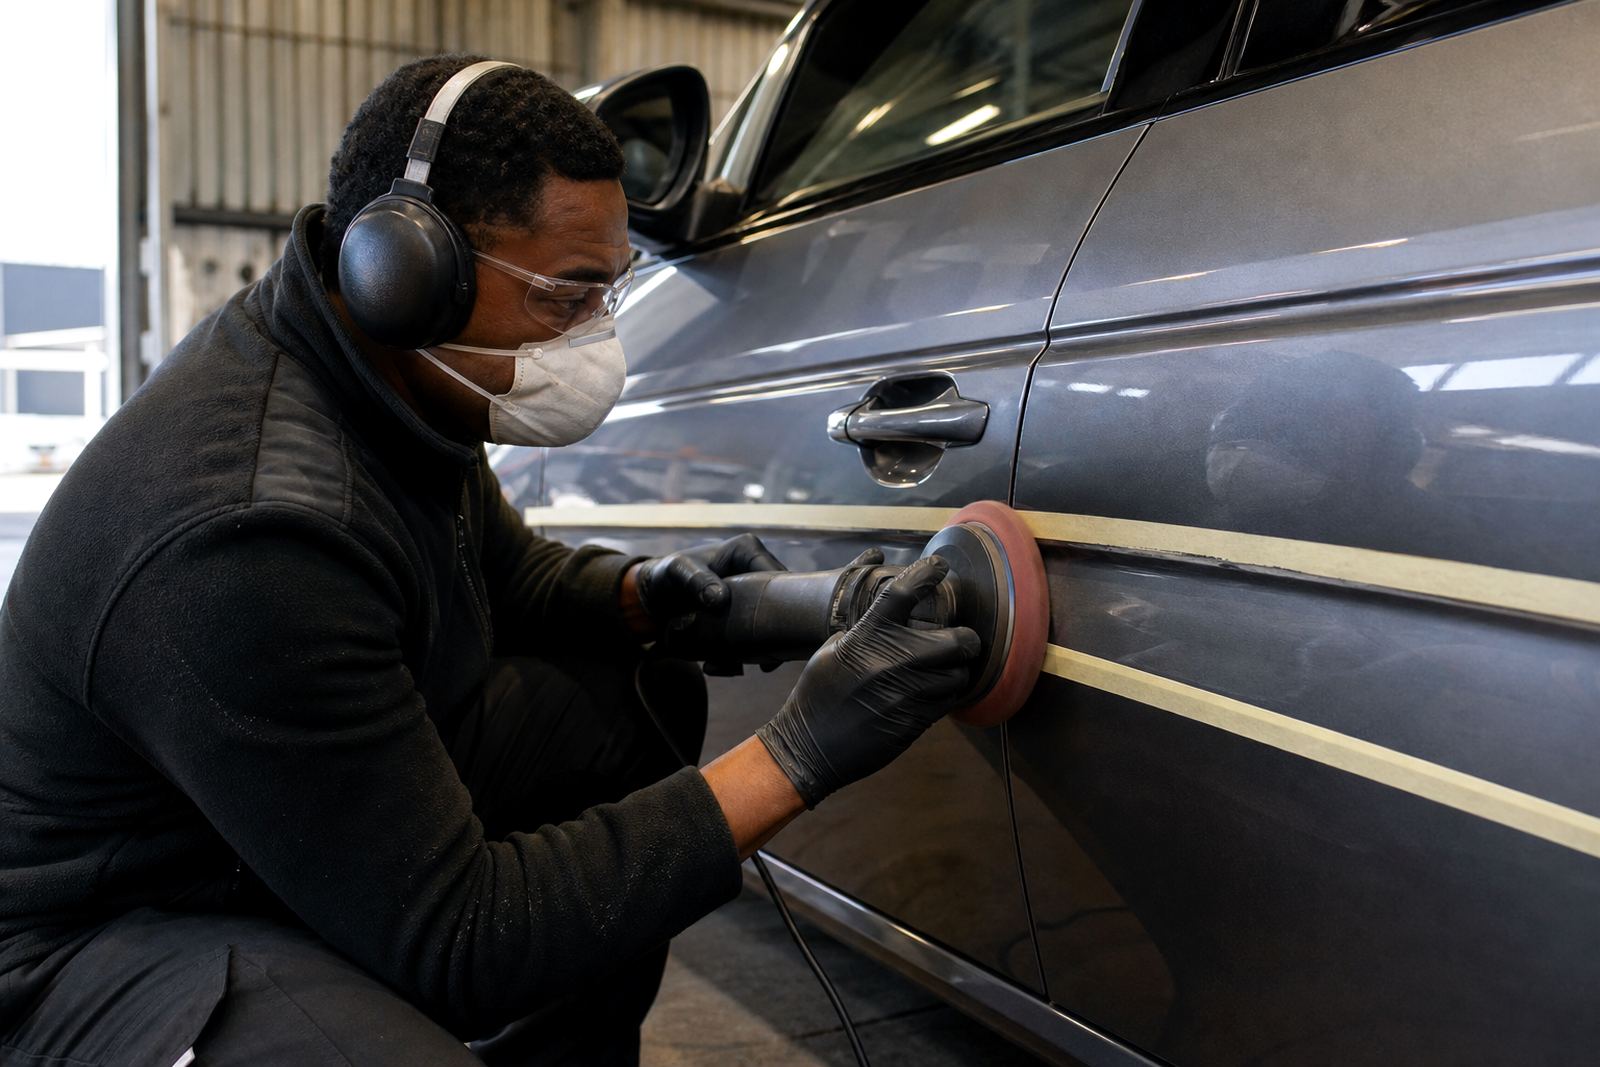
For most owners working at home, a DA machine is the safer starting point. It suits panel-by-panel work on doors, bonnets and bumpers, and it is easier to control around curves and trim. A rotary can still have a place for trained operators, especially where oxidised paint or tougher defects need more direct cutting. The key is to match the machine to the paint condition, the pad and the compound, not just to the size of the job.
- Use a backing pad that matches the polish pad size.
- Keep the machine moving to avoid heat spots.
- Mask sharp edges and badges before polishing.
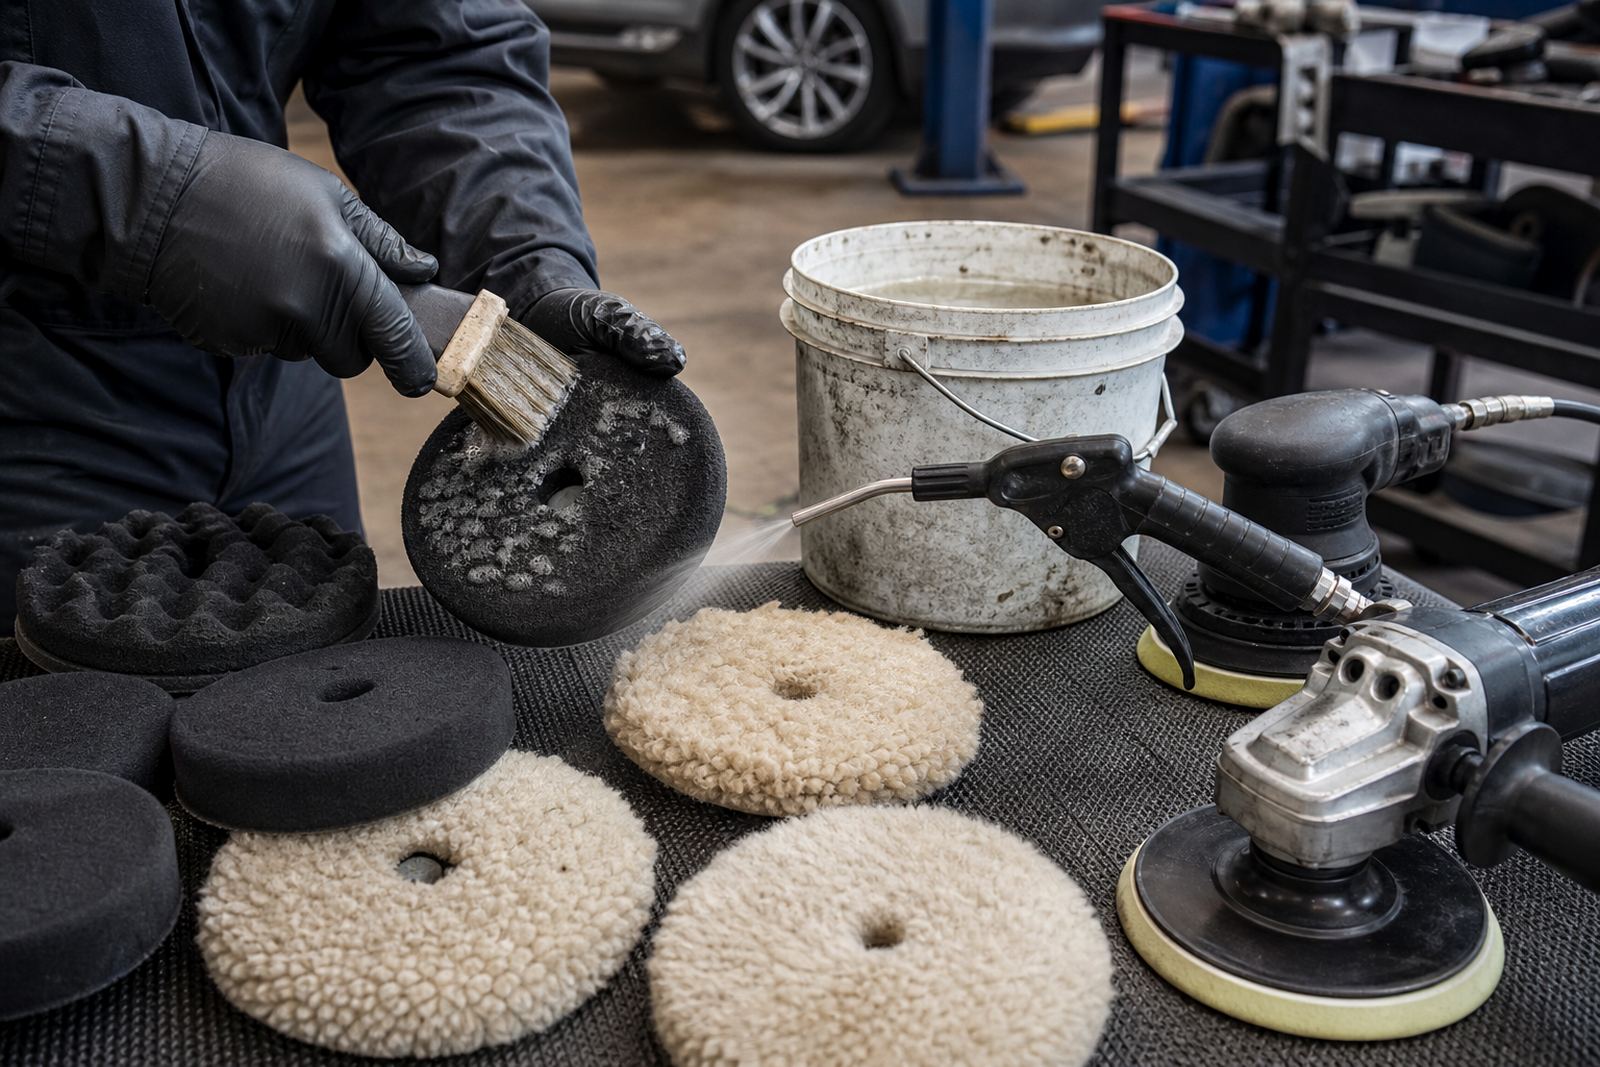
- Check pad condition often, because a clogged pad cuts poorly and can mar the finish.
Pad and compound matching is where the finish changes
The pad and compound combination decides how much paint you remove and how refined the finish becomes. Heavy cutting compounds and firm foam or microfibre pads are used for deeper marks, oxidation or sanding haze. Softer foam pads with finishing compounds are used to increase gloss and reduce micro-marring. On many vehicles, the best result comes from doing one correction step and one finishing step rather than trying to do everything in one pass.
Work a panel in overlapping passes, follow the machine’s normal pad speed and keep a steady arm. You do not need to force the machine into the paint. Let the pad and compound do the work, then wipe away residue and inspect. In warm weather, compounds can dry faster, so smaller sections help. In the coastal air of Durban, keep pads clean and dry between uses, because moisture and dust can shorten pad life and make the finish patchy.
- Prime the pad lightly before the first pass.
- Add only the amount of product needed for the section.
- Use clean microfibre cloths for wipe-off.
- Refine the finish with lower pressure and fewer passes.
Safety, lighting and aftercare keep the result honest
Paint polishing is not only about shine. It also needs proper safety and a good final check. Wear eye protection, gloves where needed and a dust mask when working near dry residue or spent compound.Good lighting is essential because defects hide in shade and show up under direct inspection.
Once the panel is polished, inspect it from different angles and then protect the finish with a suitable sealant or wax. This helps keep dust, rain and wash marks from settling in too quickly. If the vehicle is used daily on Gauteng roads, teach the owner to wash gently, avoid household detergents and keep separate towels for paint and wheels. A polished surface lasts longer when the aftercare is simple and consistent, not complicated.
- Use proper lighting before saying a panel is finished.
- Keep pads, cloths and compounds clean between jobs.
- Protect the paint after polishing to slow down new marks.
- Store machines and consumables away from heat and moisture.