Why Light Paint Needs a Different Eye
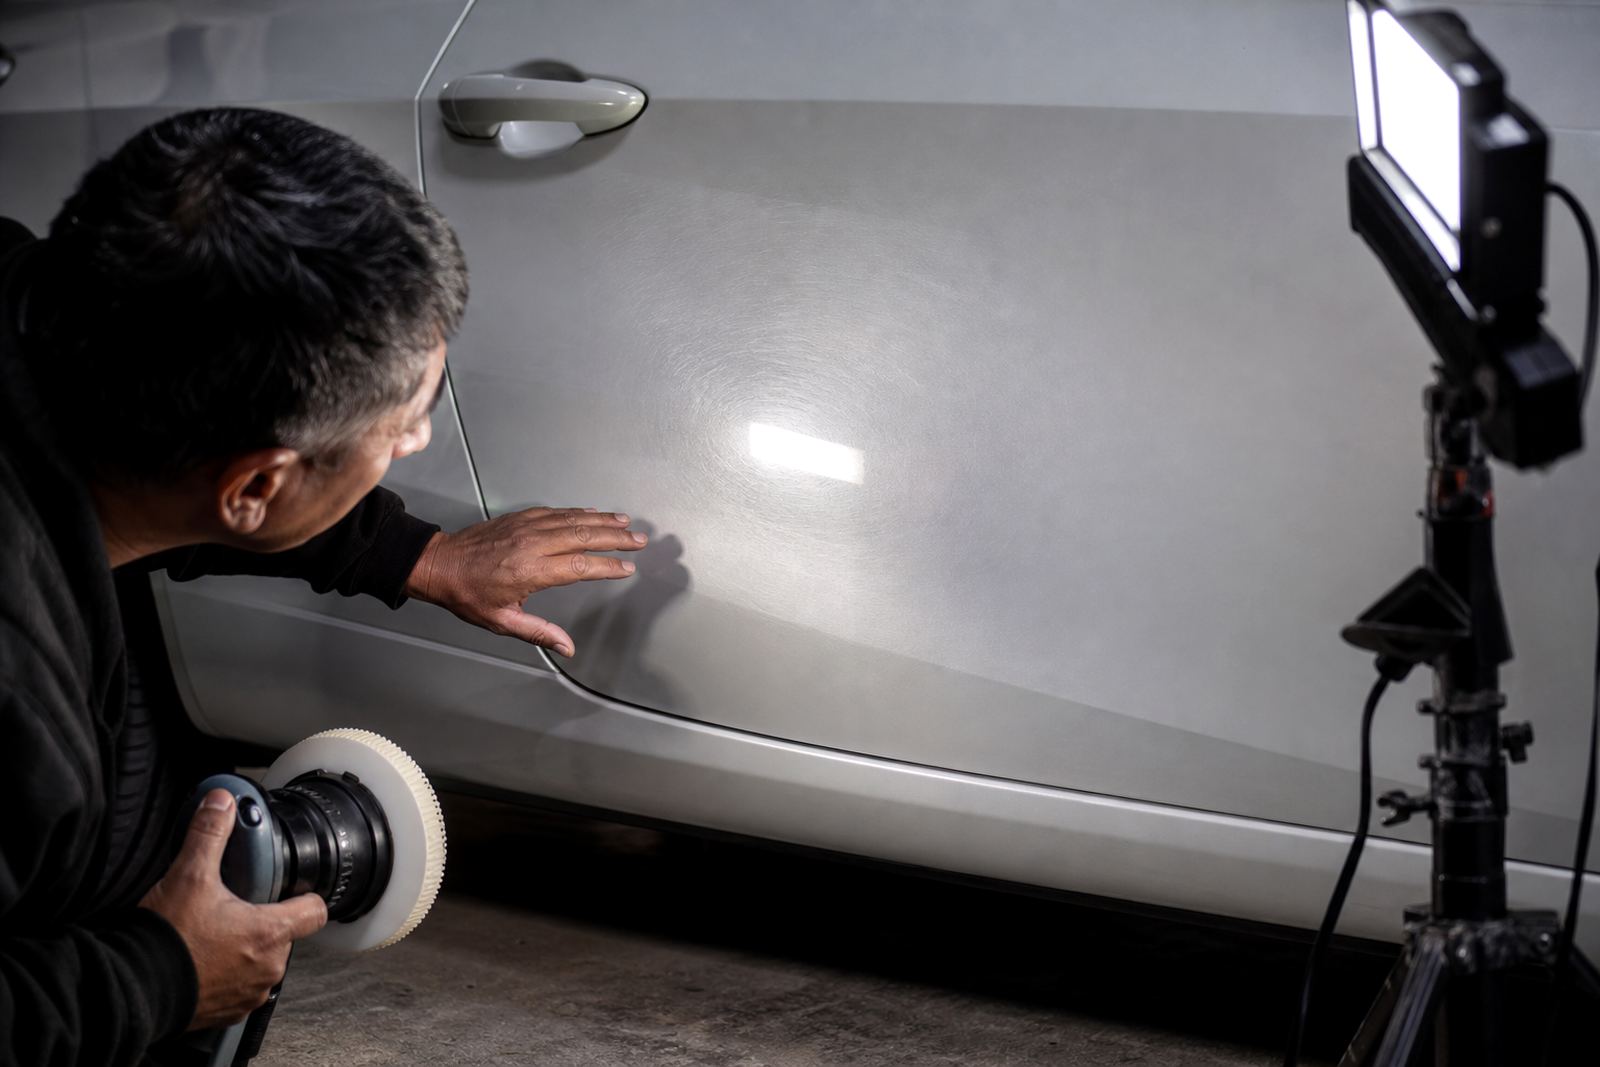
White, silver, champagne and other light colours can hide light marring in a dim garage, but the same panel may show rotary trails, wash marks and sanding haze the moment the sun moves across it. That is why light paint correction is less about dramatic before-and-after looks and more about careful inspection, steady technique and knowing when to stop. You are not trying to make the panel look wet in the shade only, you want it to look clean in direct light as well.
On these finishes, defects often sit in the clearer reflections rather than jumping out at first glance. A panel might look good from three metres away and still show fine cobwebbing around the handles, boot edge or bonnet line. In Germiston workshops we see this often after a quick wash and dry, especially on cars that spend part of the day outside near busy roads where dust settles again before the final check.
Start With Inspection, Not Machine Speed
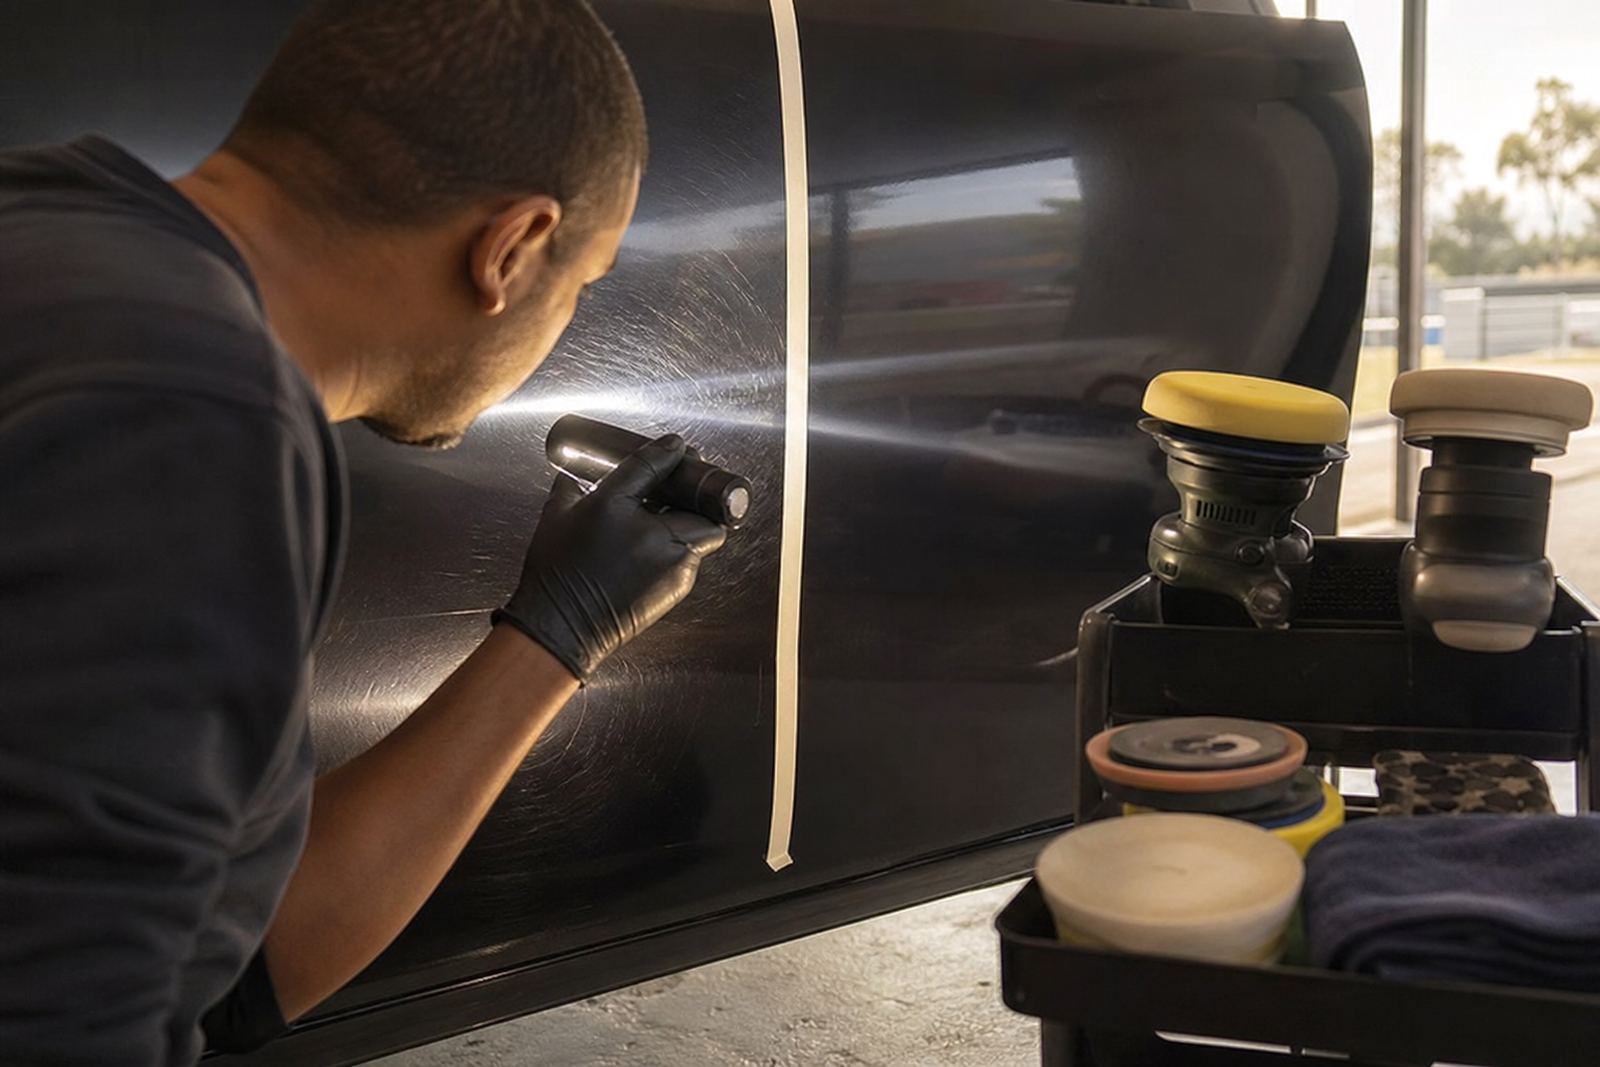
Before a rotary or dual-action polisher touches the paint, inspect the vehicle under strong LED light, sunlight if possible, and from different angles. Mark the worst areas with masking tape if needed. On pale paint you need a honest read of the surface because over-polishing can remove too much clear coat without giving a clear visual return.
- Wash thoroughly and remove tar, iron fallout and bonded grime before you start.
- Dry the vehicle fully so water spots do not confuse your inspection.
- Check edges, body lines and repainted panels more carefully than flat sections.
- Use a mild test spot first rather than jumping straight to a heavy cut.
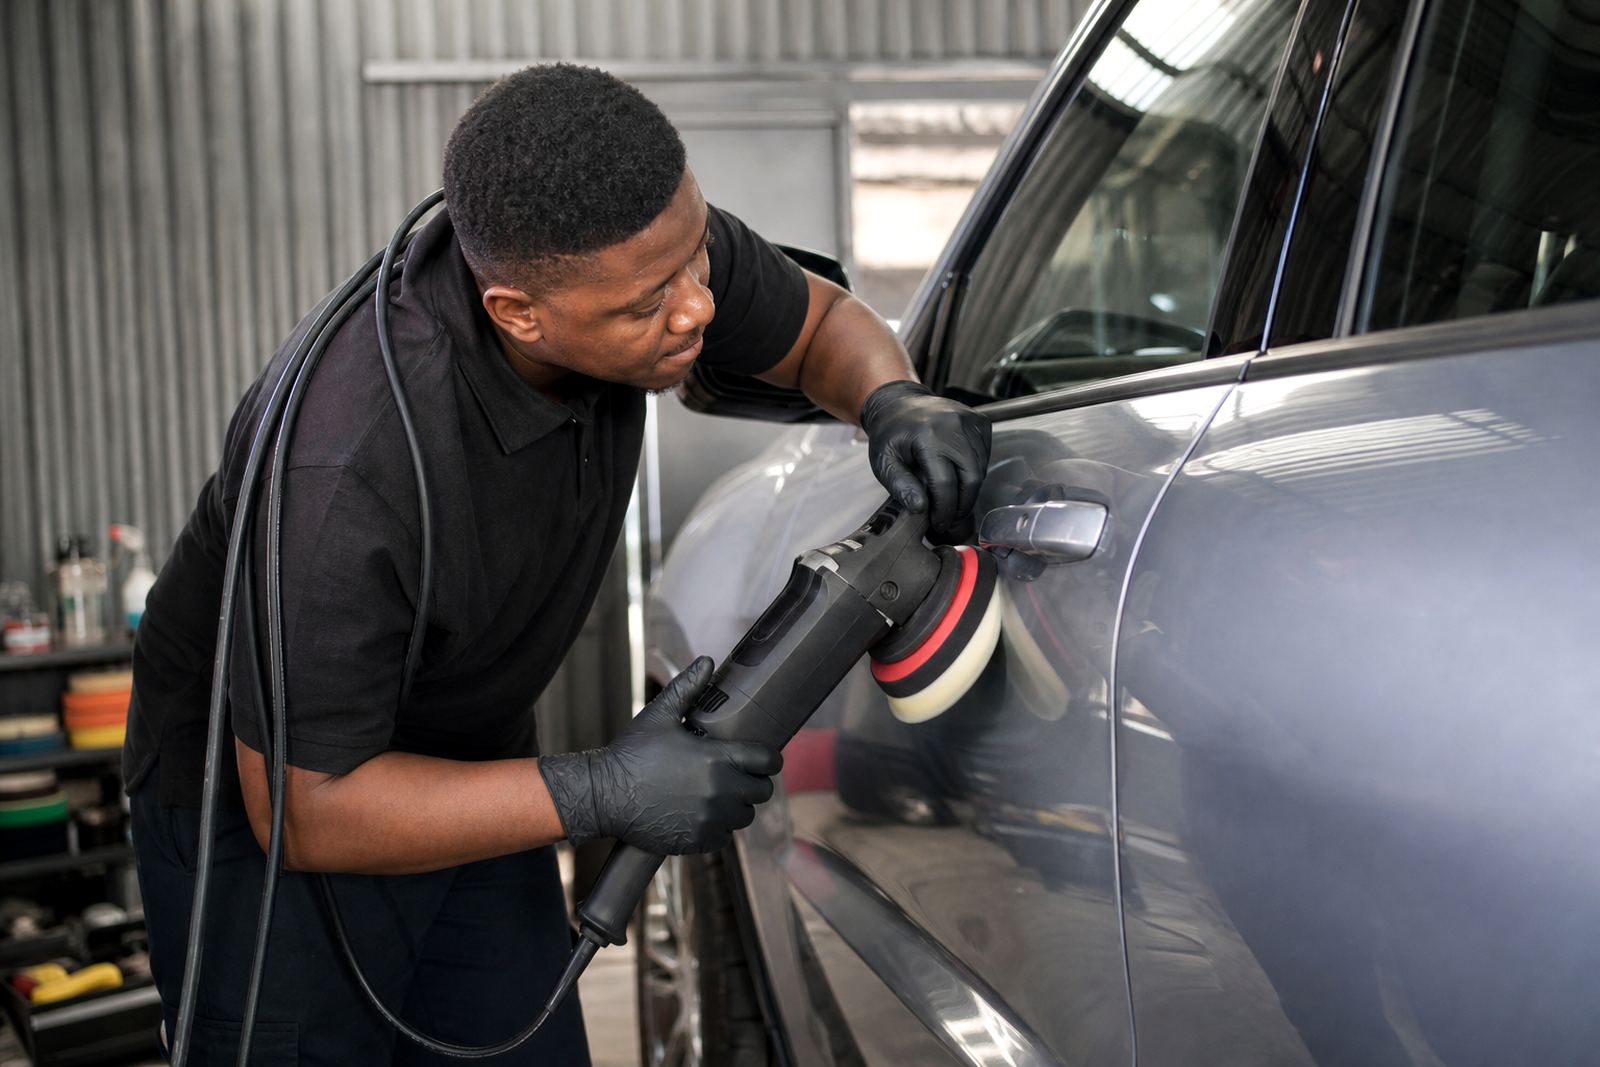
A dual-action machine is often the safer starting point for lighter defects because it gives more control and less heat build-up. A rotary machine can still be useful for deeper marks or heavy oxidation, but it demands more experience because it moves differently and can warm the paint faster. A light colour will not hide the result if the finish turns patchy, so pad choice and pressure matter more than speed alone.
Compounds, Pads and the Test Spot
For light correction, the goal is to use the least aggressive combination that gets the job done. Start with a finishing or light cutting pad and a fine compound or polish, then assess the result. If the mark remains, move up in steps rather than making one big jump. That approach saves time and reduces the chance of hazing a panel that already looks clean enough to most customers.
Pad and compound matching is where many first-time users go wrong. A pad that is too firm can leave micro-marring on soft clear coats, while a very soft pad can struggle to remove wash swirls on harder paints. Some vehicles need a medium foam pad with a finishing compound, others need a microfibre cutting pad followed by a softer finishing pass. On light paint you may need that final pass even when the panel already looks corrected, because a faint haze can still show under harsh light.
- Use a small test area on the bonnet or rear quarter first.
- Wipe residue fully between passes so you can judge the finish properly.
- Keep pads clean, because spent compound can create extra haze.
- Do not overload the pad with product, it only makes cleanup harder.
Technique That Protects the Clear Coat
Light paint correction is about control rather than force. Work a panel in manageable sections, keep the machine flat where possible and avoid rushing over edges and raised body lines. Cross-hatch movement helps to cover the area evenly, but the pressure should stay light enough that the pad keeps moving without stalling. On a rotary, slower hand movement and careful pad angle reduce the chance of heat rings and holograms.
Heat is a real issue in South African conditions, especially on dark metal panels that sit in the sun, but even pale paint can soften if you keep the machine parked in one spot.If the panel is warm to the touch, let it cool before you continue.
After compounding, wipe the area with a clean microfibre and inspect again. If the finish is acceptable but not quite crisp, switch to a softer pad and a light finishing polish. That final step can lift clarity on white and silver cars where the difference is subtle but important, especially on bonnet tops, roof panels and boot lids where the sun shows everything.
Metal Work and Paint Work Are Not the Same Job
Many customers ask for polishing help on both bodywork and metal trim, but the technique is different. Bare metal, alloy pieces and chrome-like finishes need a separate approach from painted panels. Metal buffing can remove surface tarnish and light oxidation, but you need to keep dust under control and wear PPE because compound residue and fine particles can travel quickly in a busy workshop.
Paint correction requires more caution around trim, badges and edge details. Metal parts may tolerate a firmer buffing process, while paint needs controlled cutting and a finish that does not leave swirls visible in sunlight. If a vehicle has both polished metal accents and light-colour paint, work each section with the correct pad, compound and cleaning method rather than treating the whole job the same.
- Wear eye protection, a dust mask and fitted gloves where needed.
- Keep loose clothing away from rotating pads and backing plates.
- Use clean towels for each stage so you do not drag grit back onto the panel.
- Vacuum compound dust from the workspace before finishing trim or interiors nearby.
A Germiston Example That Many Workshops Know
A common local case is a white hatchback from Germiston or the East Rand that has spent months under a tree or in a carport. The owner washes it regularly, yet the bonnet still shows faint swirls when parked outside a shopping centre in midday sun. In the shade it seems fine, but once it is moved into direct light the marks return. That is where a careful light correction plan makes sense.
The best result usually comes from a mild wash, decontamination, a test spot, then a measured polishing process rather than an aggressive full cut. For many vehicles that need to go back to daily use in Johannesburg, Pretoria, Cape Town, Durban or Bloemfontein, that balanced approach gives a clean appearance without unnecessary material removal. It also helps the owner keep the finish in better condition between washes, especially in coastal humidity or dusty inland weather.
Training That Builds Confidence on Pale Finishes
Beginners often assume light paint is easy because the defects are hard to see at first. In practice, that is what makes it tricky. You must know how to inspect, test, correct and finish without leaving a trail of haze that only appears at sunset. Good training covers rotary control, DA use, pad and compound matching, starter kit selection and basic workshop setup, plus the safety habits that keep the job clean and safe.
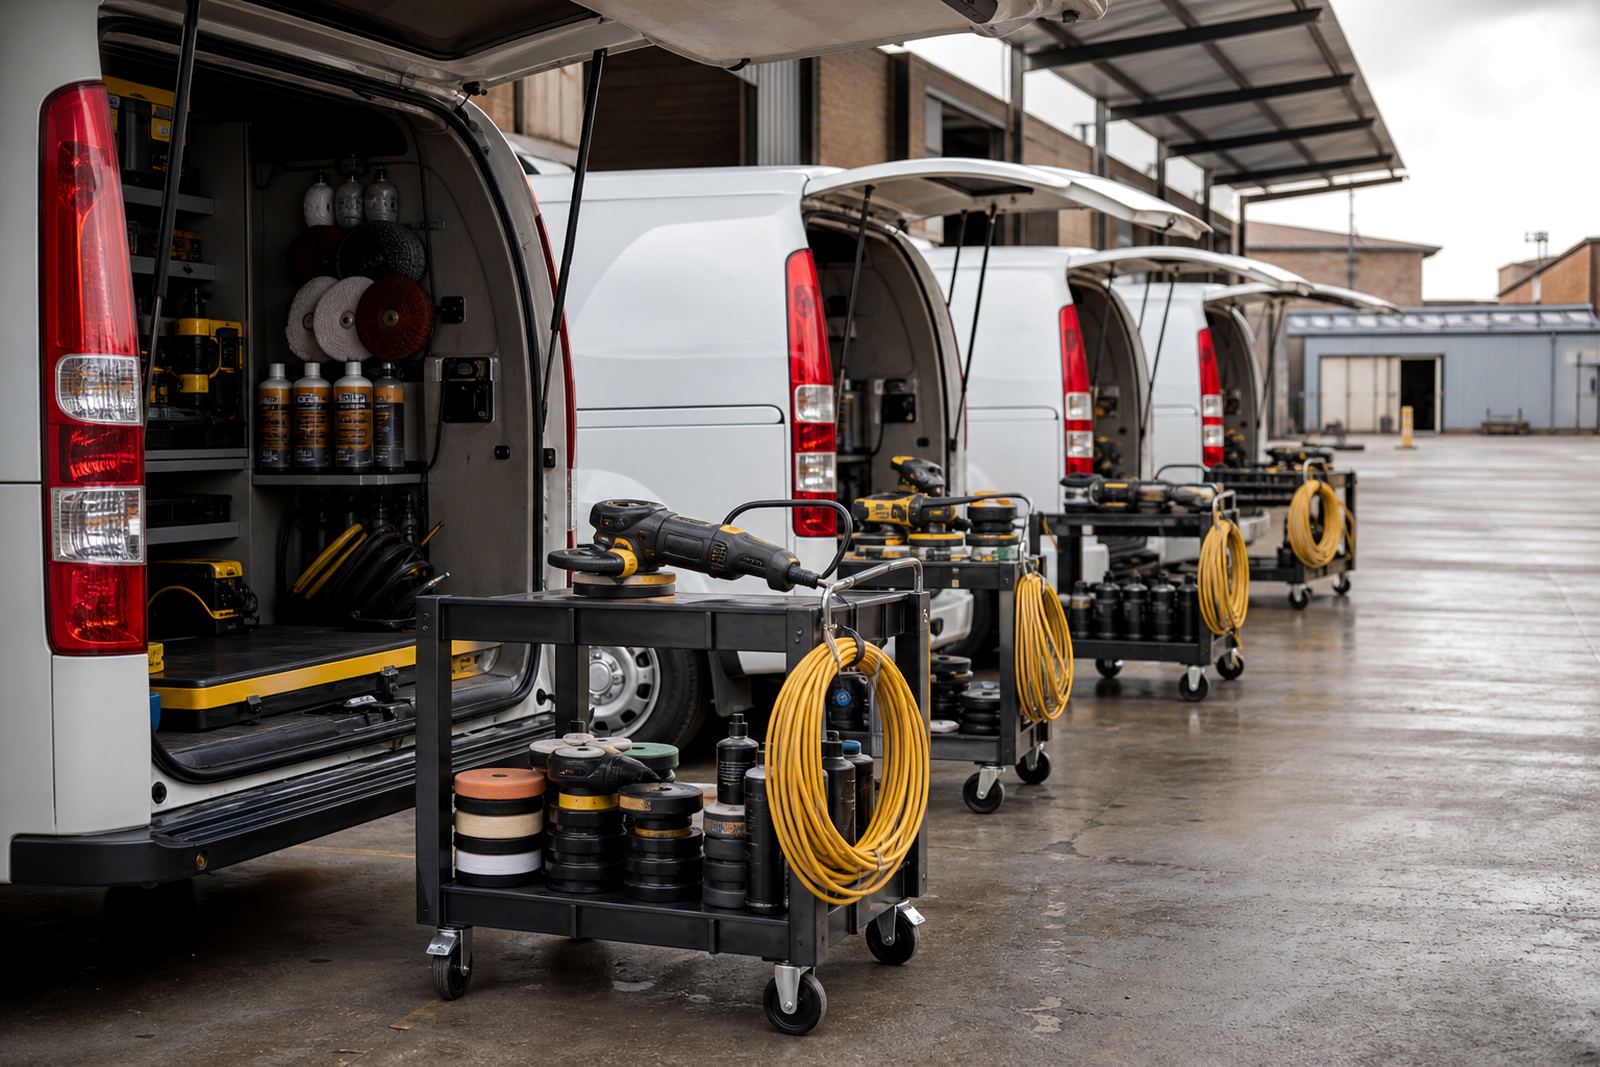
At Polisher in Germiston, the focus is practical support for hobbyists and working detailers across South Africa. Whether you need guidance on a light correction job, help choosing consumables for your next batch of work, or advice on setting up a small polishing station, the aim is to match the method to the paint and the finish you need. If you are unsure where to start, begin with a test spot and work from there, not the other way round.