Know What Brass You Are Working On First
Before any polish touches brass, check what you are actually holding. Solid brass, brass plated items, lacquered surfaces and heavily oxidised fittings all behave differently. If a piece is plated, an aggressive compound can cut through quickly and expose the base metal. On solid brass, you have a little more room to work, but corners, engraving and raised detail still need a light touch.
Many brass items in South African homes and workshops are mixed with steel screws, plated handles or decorative inserts. Those joins often react differently to heat and friction, so it helps to test a small area first. A careful first pass tells you whether the surface is soft, if old lacquer remains, and how deep the scratches are.
For older pieces, ask whether the goal is restoration or maintenance. A church fitting in Germiston, for example, may need a gentle clean and a soft glow, while a brass door pull in a retail space in Pretoria may need a more consistent finish for daily handling. The method changes with the use case, and that decision saves time later.
Choose Between Rotary and Dual-Action Machines
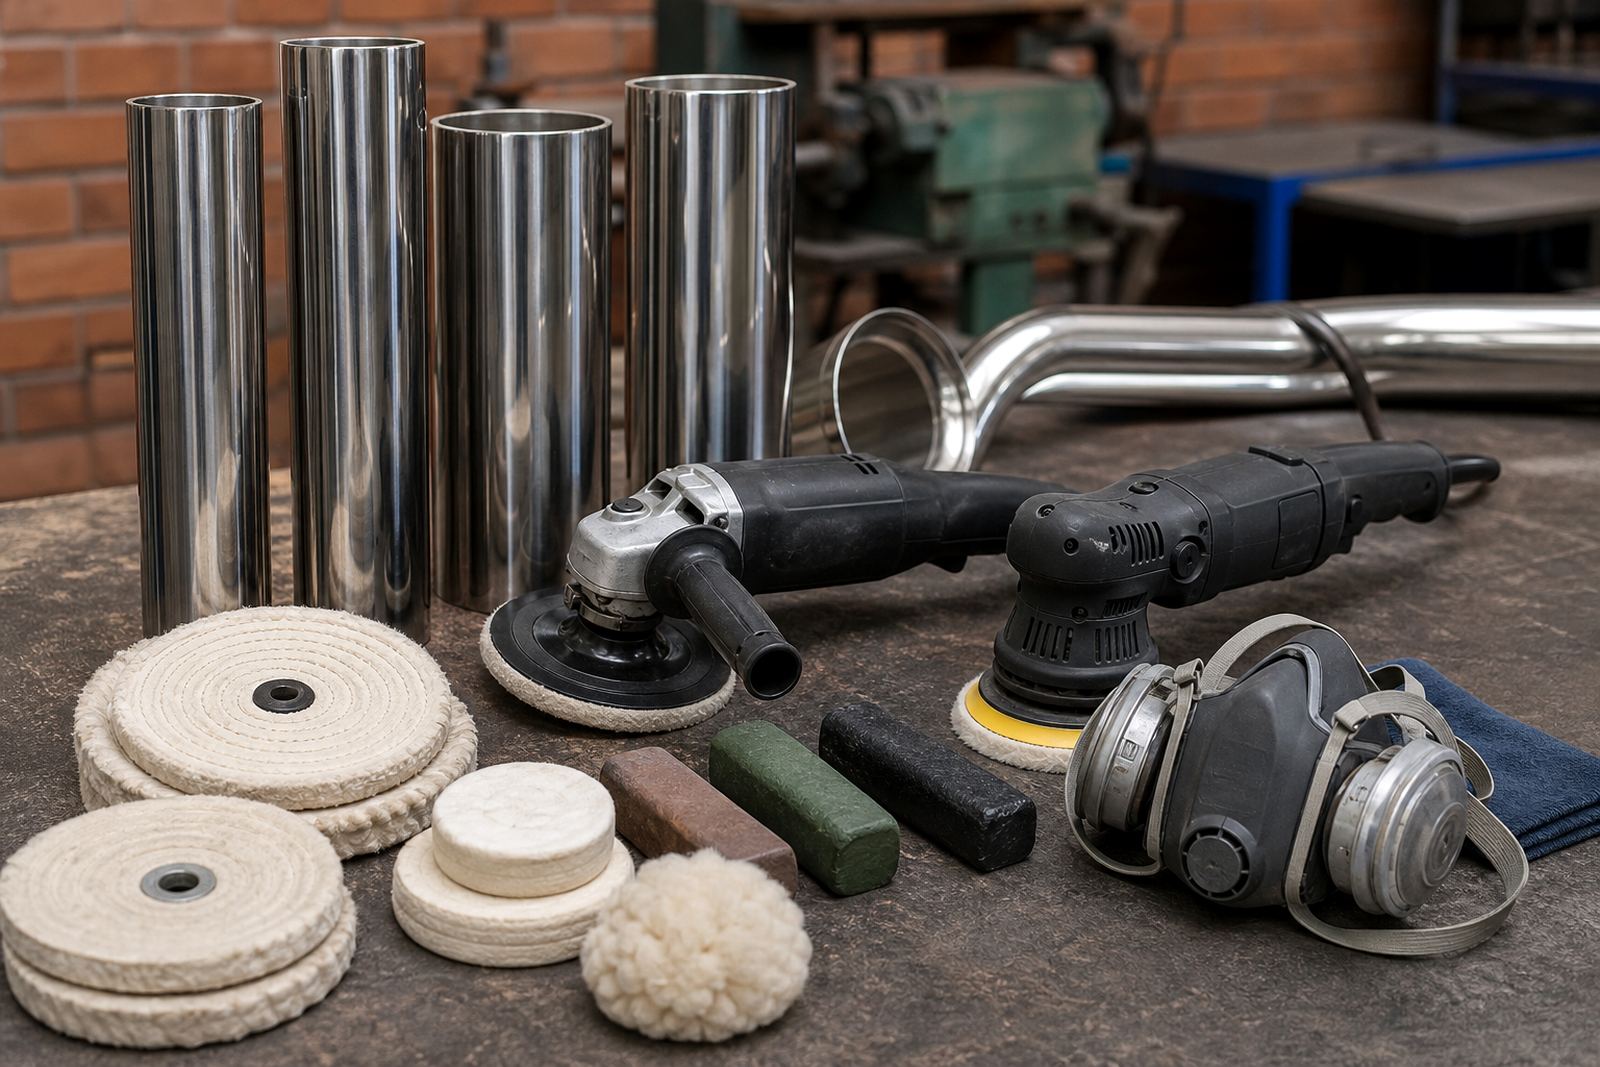
For brass, both rotary and dual-action polishers have a place. A rotary machine gives direct cutting power and works well when you need to remove heavier marks, light oxidation or older compound residue. It is also the better choice when you need to follow the shape of a curved fitting or get into tighter decorative sections. The trade-off is heat, so keep the pressure modest and move often.
A dual-action polisher is kinder on softer surfaces and is often easier for beginners. It reduces the chance of burning an edge and helps maintain a more even finish across broader areas. On flat brass plates, brushed covers or larger panels, DA work can be a good starting point before any final hand finishing.
- Use rotary when the surface needs more cut or when oxidation is stubborn.
- Use dual-action for safer finishing on broad, flatter areas.
- Keep the machine moving, dont dwell on one spot.
- Watch edges, lettering and corners closely because they heat up faster.
In both cases, the machine should assist the process, not force it. If the brass starts to feel hot to the touch, pause and let it cool. Heat can smear residue, soften old coatings and make fine marks more visible, which defeats the point.
Buff Selection Matters More Than Many People Think
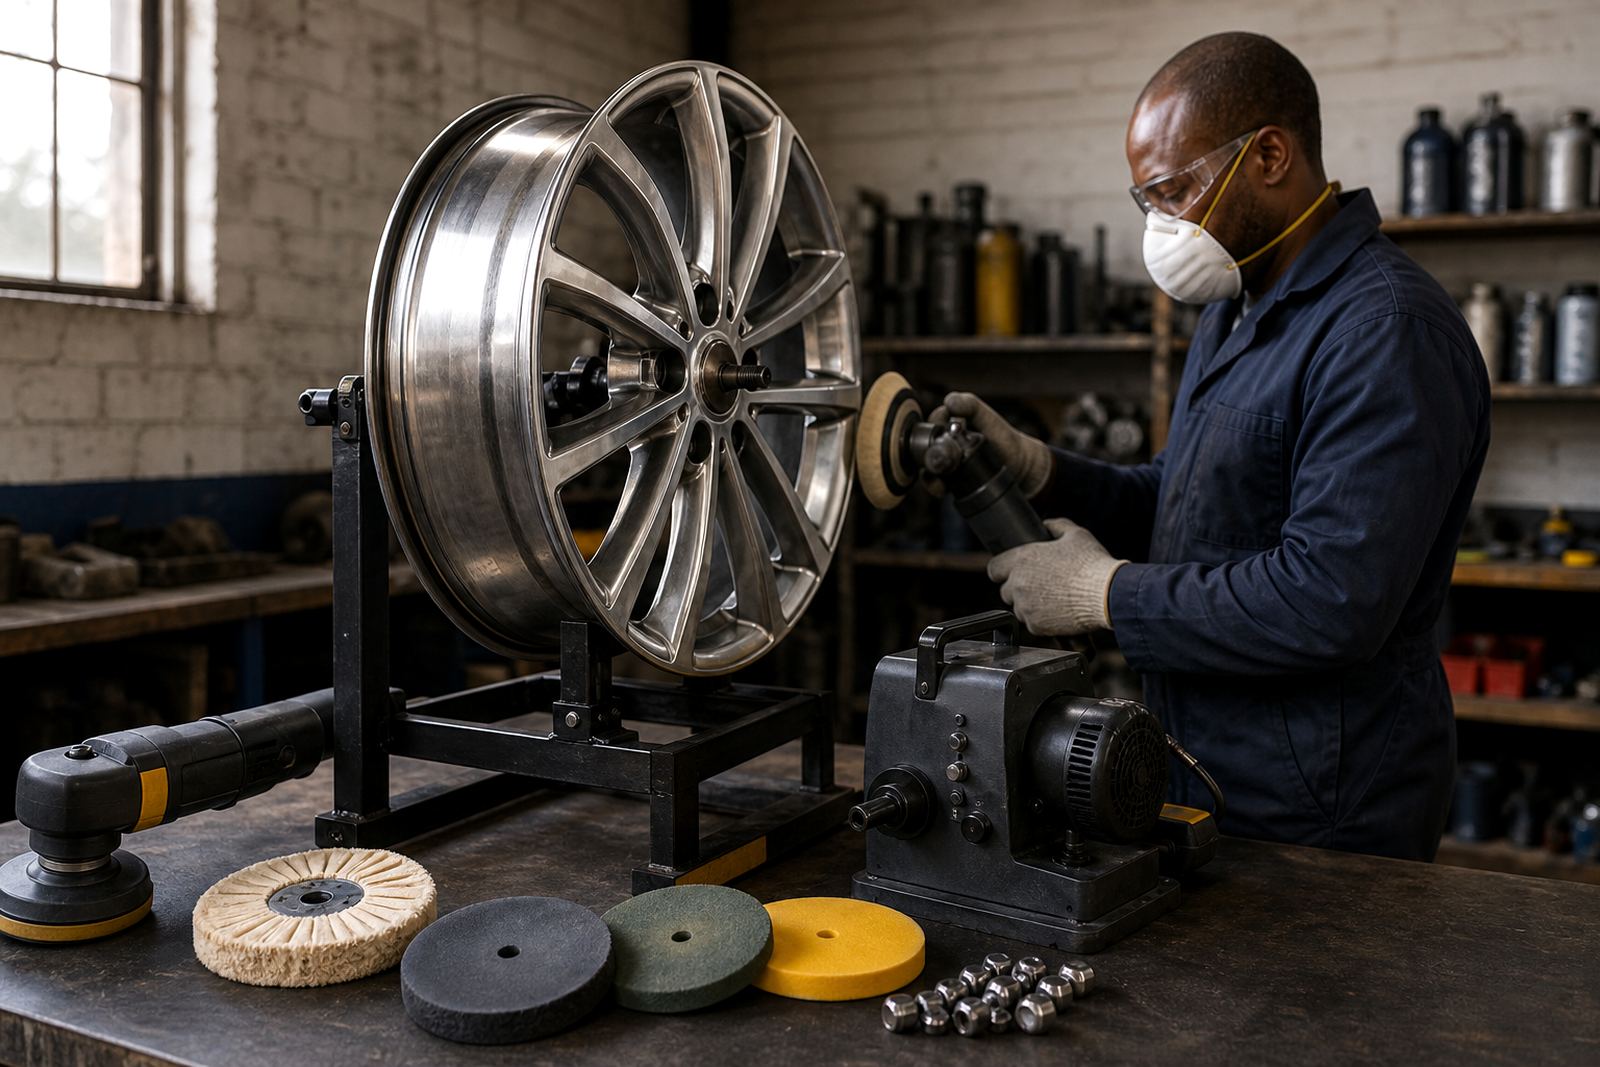
The wrong buff can make a brass job look patchy. Softer finishing buffs are usually better for the final pass, while firmer buffs help with earlier correction. Loose cotton, stitched cotton and foam all behave differently, and the choice should match the size of the item and the stage of the job.
For detailed brass pieces, a smaller buff gives better control. For panels and larger fittings, a larger wheel or pad can cover the surface more evenly. Keep separate buffs for different compounds so grit does not get dragged from one stage to the next. That small habit makes a big difference to finish quality and helps prevent fresh scratches.
- Firm buffs: better for cut and initial correction.
- Soft buffs: better for final glow and uniform appearance.
- Small buffs: useful for engraving, edges and curved details.
- Dedicated buffs: reduce contamination between compounds.
If a buff looks glazed, loaded or dirty, replace or clean it before continuing. A worn buff can smear old polish back onto the surface, leaving dull patches that are hard to see until the piece dries. A clean buff gives more predictable results and less frustration.
Compound Choice Should Match the Stage of Work
Brass polishing is usually done in stages. A coarser compound removes marks left by sanding or previous wear, while a finer compound builds clarity and warmth. If the surface already has fine scratches only, you may not need an aggressive compound at all. Going too coarse can create more work than it removes.
When polishing decorative brass, start with the least aggressive option that still gives progress. Too much cutting can flatten detail, blur edges and leave the piece looking overworked. That is especially important on handles, plaques and fittings with raised patterns. The cleaner the base prep, the better the final result, and that is true whether the piece is going back into a home in Cape Town or onto a gate in Bloemfontein.
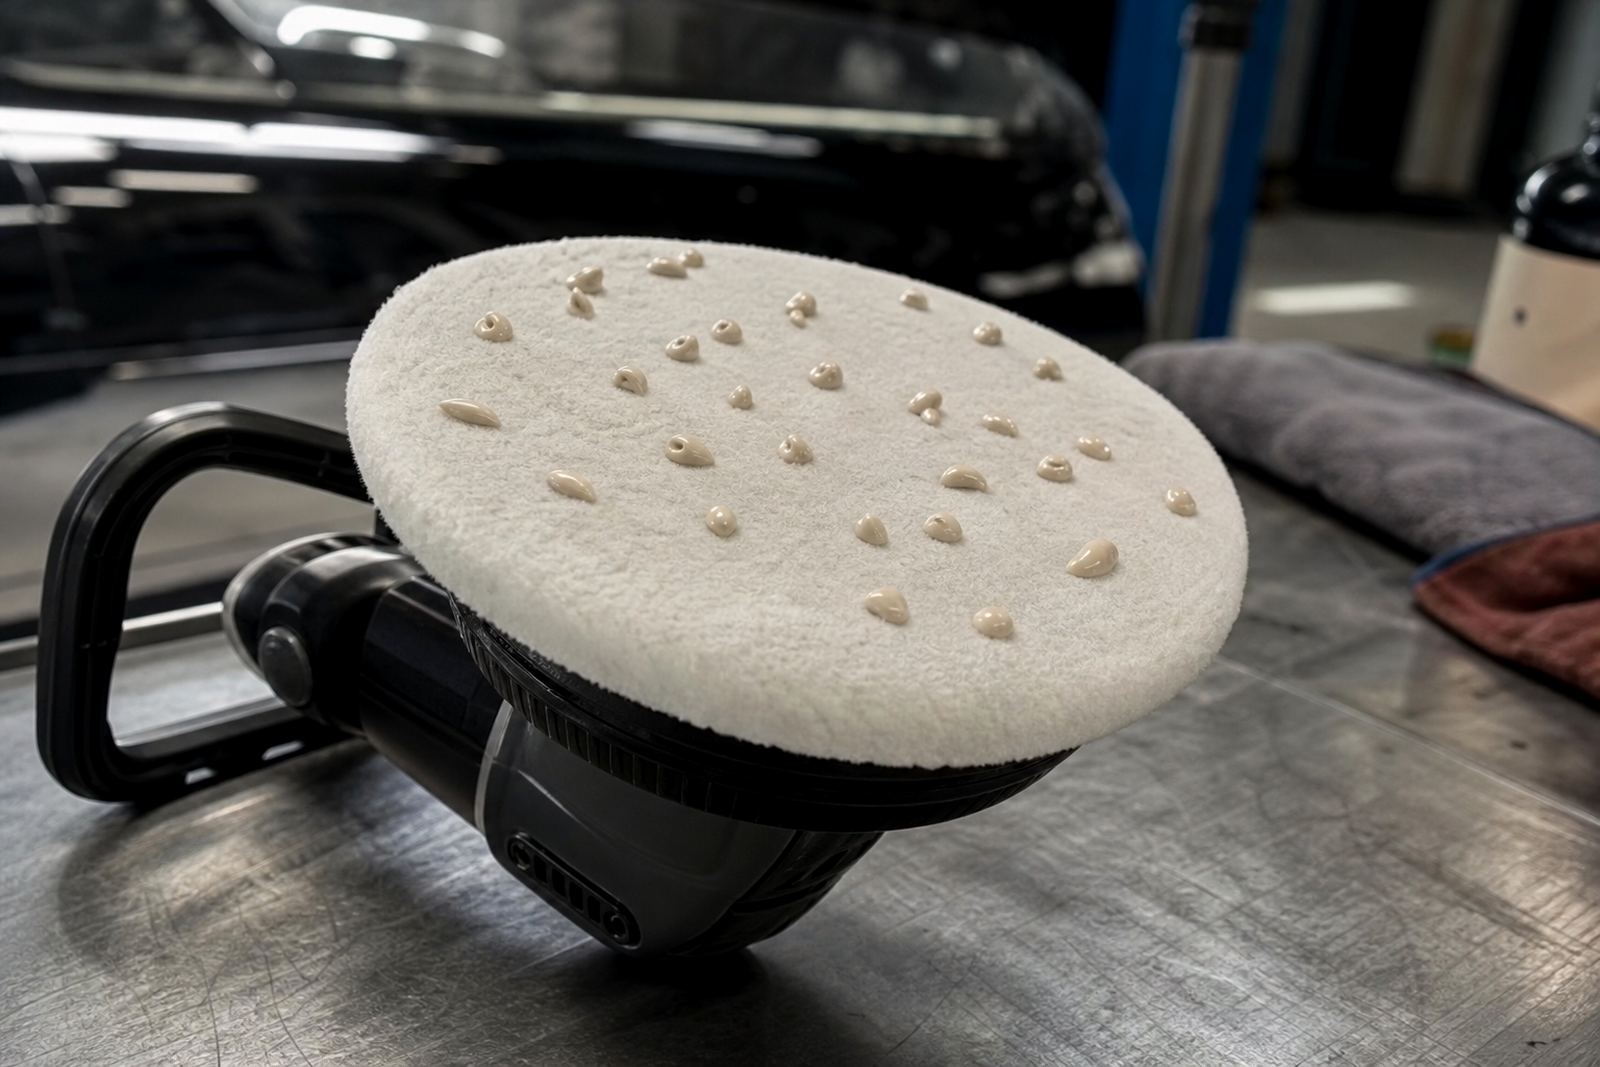
Always apply compound sparingly. More product does not mean more speed. In fact, an overloaded buff often slips over the surface, generates heat and leaves residue in corners. A little goes a long way if the pad is spinning at the right speed and the pressure is controlled.
Technique for a Warm Shine Without Overcutting
The best brass finish usually comes from restraint. Work in overlapping passes, keep the pad flat where possible and reduce pressure near edges. If the surface has visible scratches, work through them gradually instead of trying to remove everything in one pass. That slower method protects detail and gives a more even sheen.
For hand finishing, soft cloths and small applicators help around logos, grooves and tight corners. On curved brass pieces, rotate the item rather than forcing the machine into an awkward angle. Small changes in position often make the difference between a clean finish and a patchy one.
Wipe residue between stages. Leftover compound can hide scratches and make you think the job is better than it is. Once the piece is clean and dry, you can judge whether it needs another light pass or whether the warmth of the shine is already where you want it.
- Use light to medium pressure.
- Move continuously and overlap passes.
- Stop often to inspect under natural light.
- Do a final wipe with a clean cloth before calling it done.
Dust, PPE and Workshop Safety Around Brass
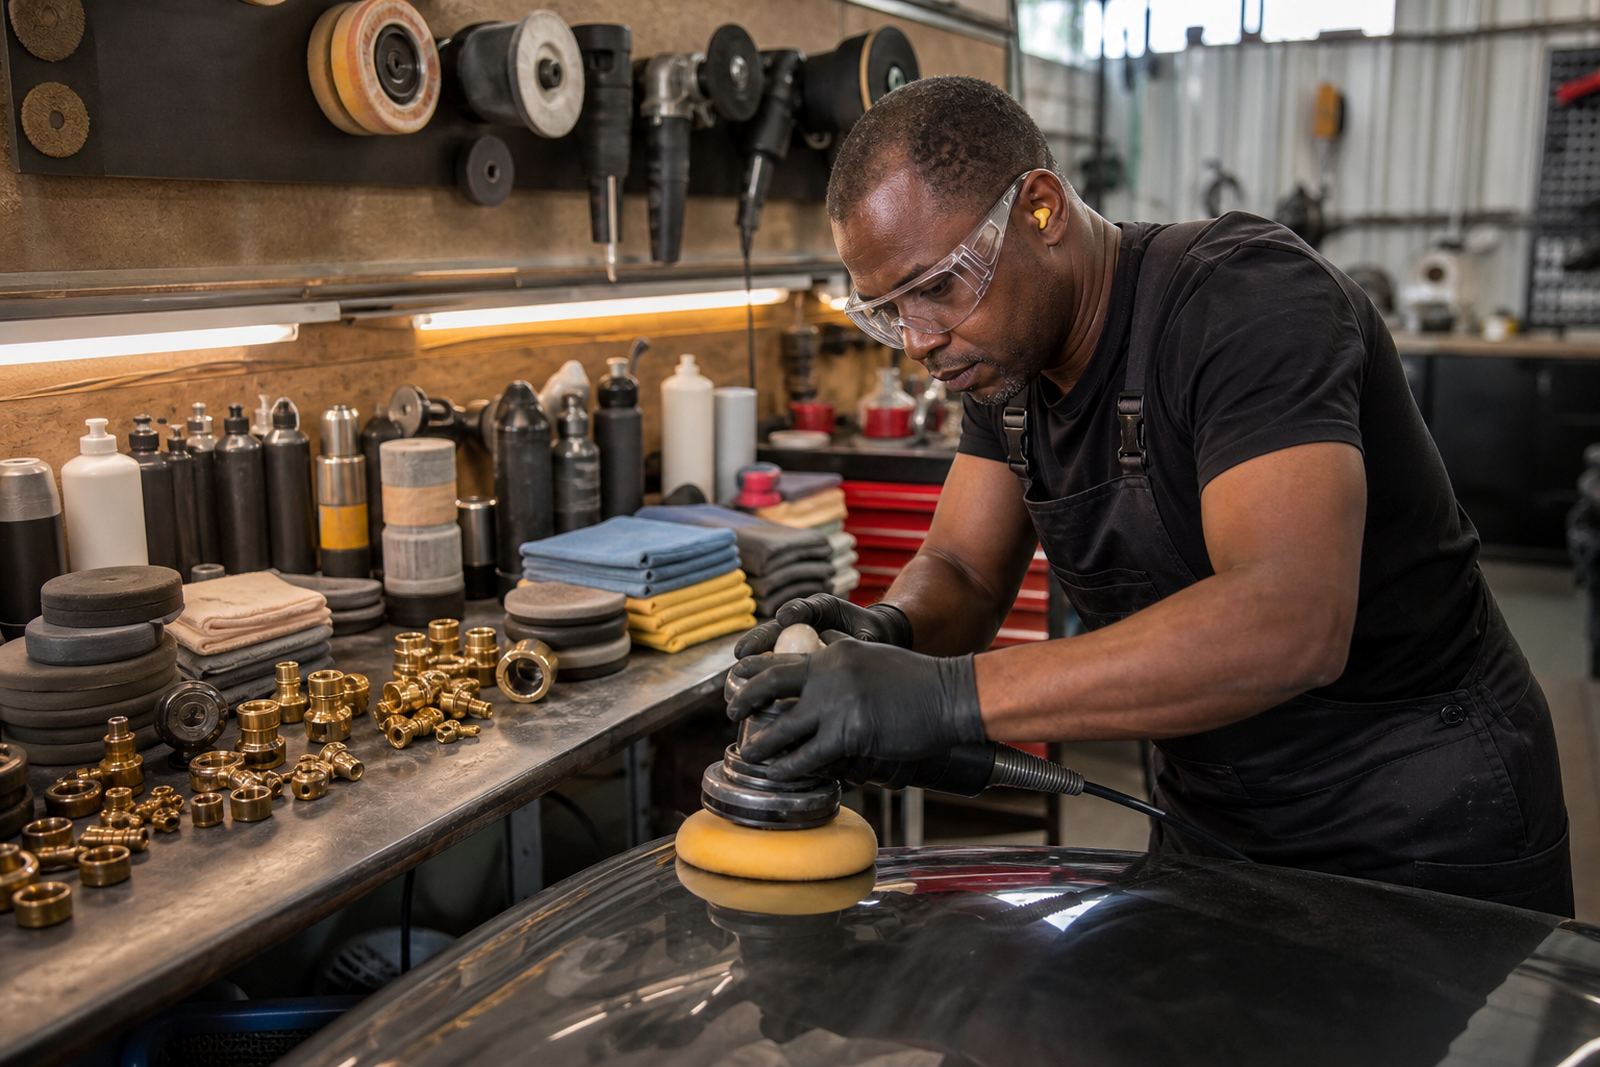
Polishing brass creates fine residue, and any old lacquer, grime or sanding dust should be treated carefully. Wear eye protection, gloves suited to the task and a dust mask when dry debris is present. If the item has been sanded before polishing, clean up the area properly so the dust does not spread across nearby surfaces or into the machine bearings.
If you are working in a garage or small prep room, keep the floor clear, manage cables carefully and make sure the item is clamped or supported properly. A slipping fitting can damage the brass and injure hands.
Do not polish near loose fabrics, open containers of solvent or cluttered benches. Brass is not heavy like steel, but it is easy to drop or scratch if the work area is cramped. A tidy set-up usually gives a cleaner result and fewer mistakes. It also makes the next stage, whether sealing or fitting, far easier.
A Germiston Example: Decorative Brass in a Busy Building
A common local job is a brass plaque, handle set or decorative strip in a commercial building around Germiston or the East Rand. These pieces often collect fingerprints, dust and a dull film from daily use. The right approach is usually a gentle clean, a test pass with a suitable compound and then a careful finish that respects the existing shape.
On a site like that, time is limited and access can be awkward. A practical workflow is to assess the piece, mask nearby trim if needed, and polish in small sections so the finish stays even. If the brass has been coated in the past, the coating may need to be removed first. If not, the job may only need maintenance polishing and a final wipe down. Either way, communication with the client helps avoid surprises, especially where the fitting has both visual and functional value.
Brass looks best when the shine still feels natural. A good finish shows depth, warmth and clean reflections without making the piece look stripped or overworked. That balance takes patience, the right compound and a steady hand, but it is very achievable once the process is understood.