Start With the Metal and the Finish You Need
Before you choose a machine, look at the job itself. Mild steel, stainless steel, aluminium, brass, chrome and painted panels all respond differently to heat, pressure and pad choice. A gate hinge in Germiston does not need the same approach as a motorcycle tank in Cape Town or a stainless handrail in Durban where coastal humidity can bring oxidation back quickly.
For general metal finishing, ask whether you are removing sanding marks, correcting light oxidation, cutting down weld discoloration, or bringing a surface to a mirror finish. The bigger the defect, the more controlled cut you need. If the workpiece has edges, curves or tight corners, the machine and buff size matter even more.
- Light oxide removal: softer buff, lighter compound, moderate speed
- Sand scratch removal: firmer buff, cutting compound, careful pressure
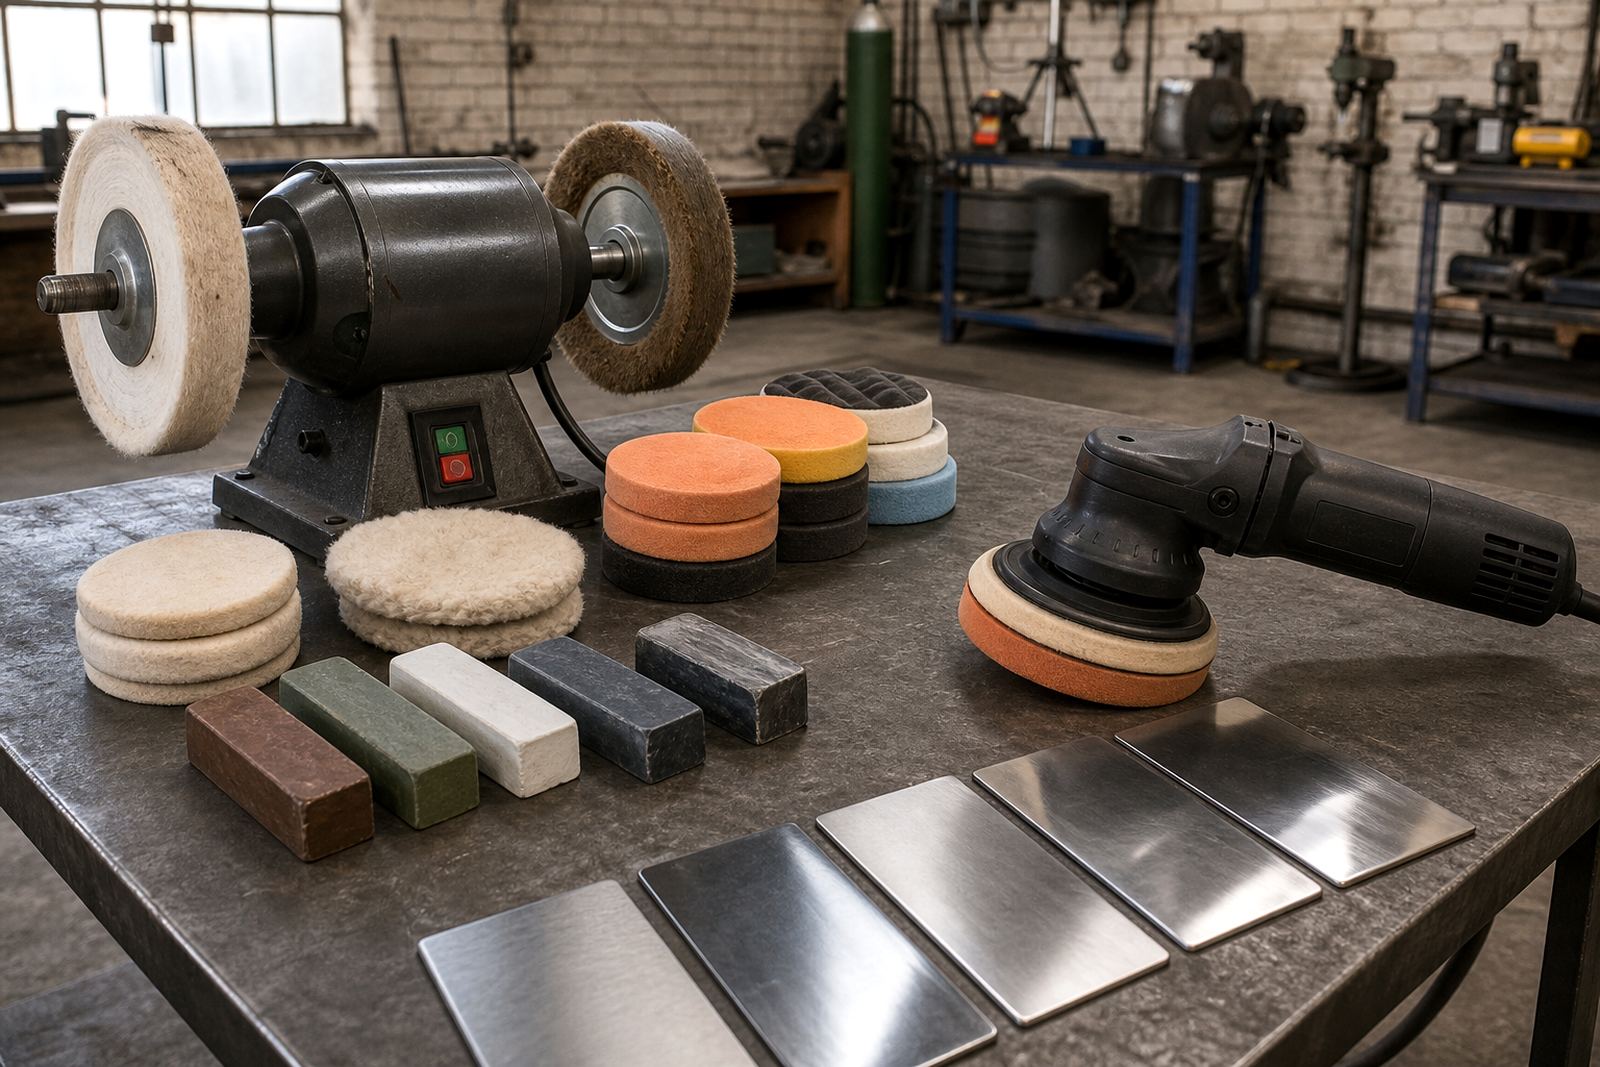
- Mirror finishing: staged process with cut, refine and final polish
- Paint correction: low heat, controlled pad movement and clean pad changes
Rotary or Dual-Action: Which Machine Fits the Job
A rotary polisher gives direct drive and strong cutting power. It is useful for metal work where you need consistent pressure on a flat or slightly curved area. It can also build heat quickly, so hand control matters. For beginners, that means short passes, steady movement and close attention to the surface. Too much pressure or dwell time can burn compounds, mark paint, or overheat thin metal panels.
A dual-action polisher moves in two motions at once, which reduces the risk of heat build-up and makes it easier to learn basic paint polishing. On metal, it is better for lighter refinement, maintenance work and finishing stages rather than heavy cut removal. If your workshop does both car and metal finishing, many teams keep one rotary for cutting and one DA machine for finishing.
- Choose rotary for heavy cut, weld marks and firmer buffing tasks
- Choose DA for safer learning, paint correction and finishing passes
- Check machine weight if you will work overhead or on side panels
- Choose a machine that suits your power supply and the amount of daily work it will handle
A workshop that can switch tasks quickly loses less time.
Buffs, Pads and Compounds Explained Simply
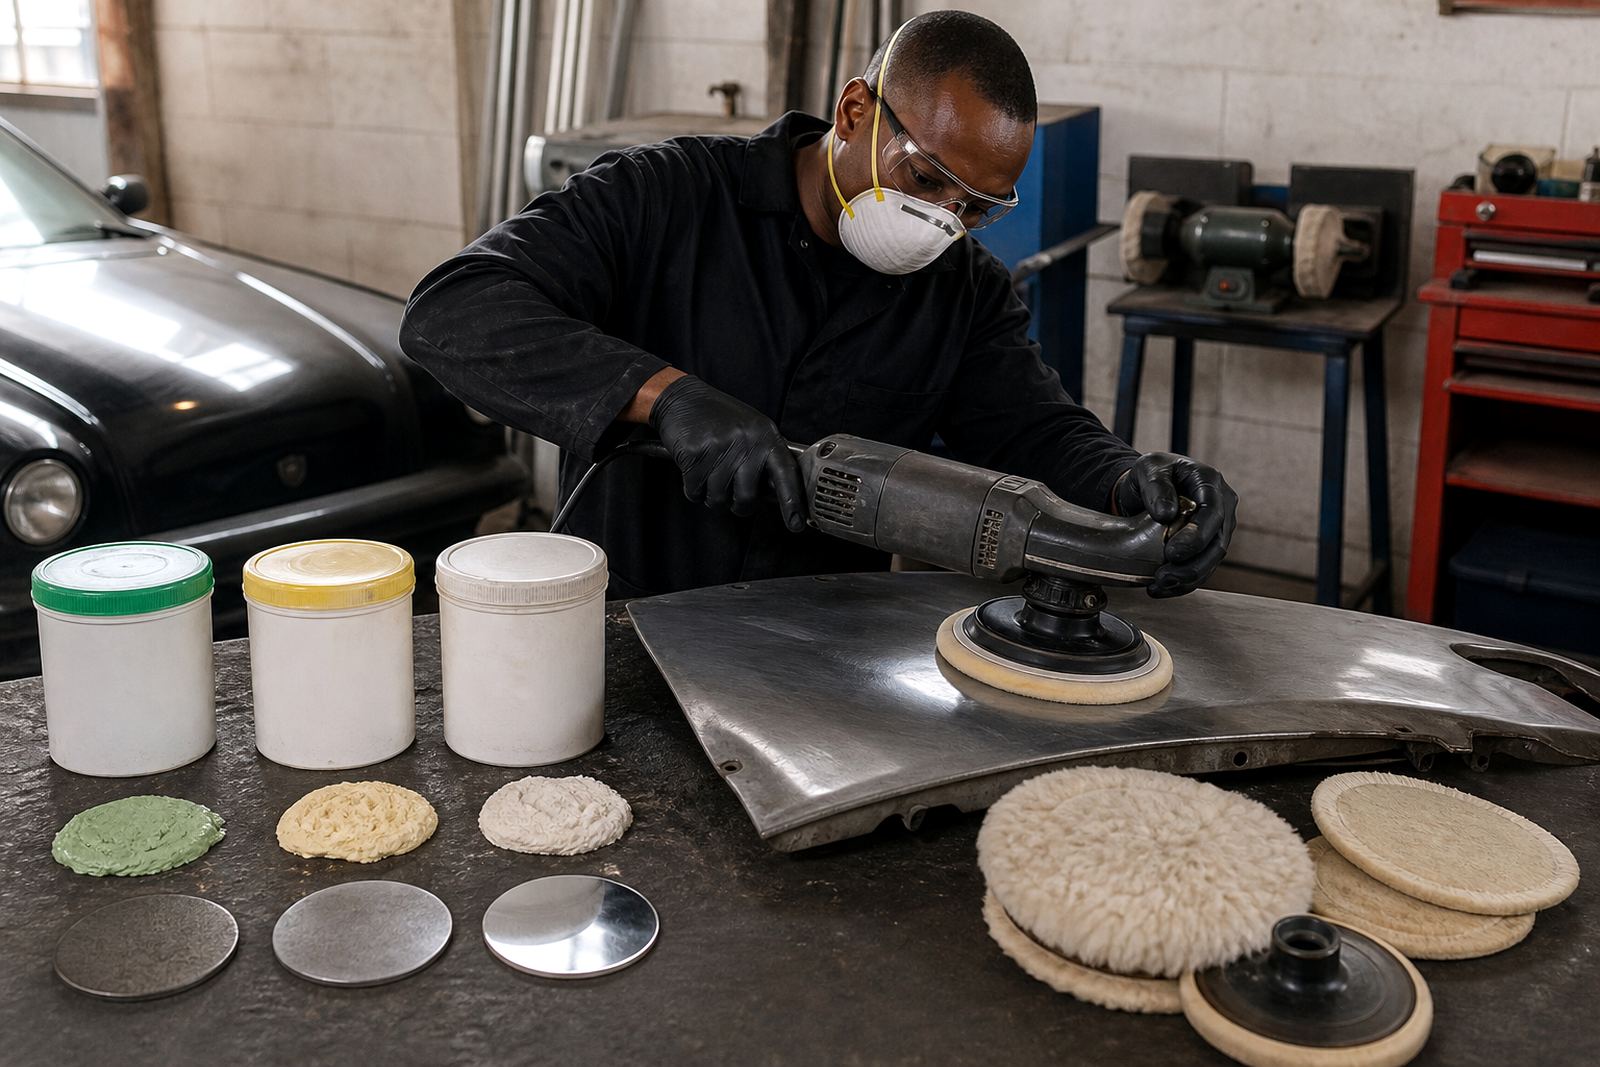
The machine is only one part of the finish. The buff, pad or mop and the compound must match the material and the stage of the job. A cutting compound removes heavier marks. A medium compound refines the surface. A finishing polish brings clarity and gloss. On metal, the wrong mix can leave swirls, haze or black residue that takes extra time to clean off.
For aluminium, stainless steel and painted finishes, start with the least aggressive combination that can still do the job. Test on a small area first. Keep separate buffs for cutting and finishing so you do not cross-contaminate compounds. That simple habit saves time and helps prevent unexpected scratches.
- Cutting compound for deeper marks and dull surfaces
- Refining compound for the middle stage after heavy correction
- Finishing polish for clarity on final passes
- Clean, labelled pads so the wrong compound is not carried over
A Practical Setup for a Small or Busy Workshop
A good workshop layout gives you room to move, clean storage and a safe place for the machine, cords and consumables. Keep polishing separate from grinding and cutting if possible, because dust and metal fines can contaminate pads and scratch finished work. In Johannesburg or Pretoria workshops where work volume changes through the week, a simple layout with a prep area, polishing bay and finishing table can keep things moving.
Use racking or sealed containers for compounds and pads, and keep the floor clear of offcuts, hoses and cords. If the room has poor airflow, add extraction or at least cross-ventilation. Fine dust from compound, sanding residue and dried residue on the panel can affect both finish and breathing comfort.
- Clear bench space for pad changes and inspection lights
- Dedicated storage for clean buffs, compounds and PPE
- Good lighting from more than one angle to spot haze and swirl marks
- Airflow and extraction where sanding and polishing happen in the same space
Technique That Protects the Surface
Good polishing is controlled, not rushed. Keep the pad flat where possible, start the machine before contacting the work and move in overlapping passes. Use enough product to spread evenly but not so much that it cakes on the pad. Wipe the panel often to check your progress. If the surface starts to feel hot, stop and let it cool. Thin sheet metal can distort faster than many beginners expect.
For paint correction, smaller sections are easier to manage. For metal finishing, work in a logical sequence from the roughest area to the cleanest. On curved items, change your angle so the pad follows the shape rather than digging into one spot. If the finish looks patchy, your pad may be loaded or the compound may not suit the stage you are on.
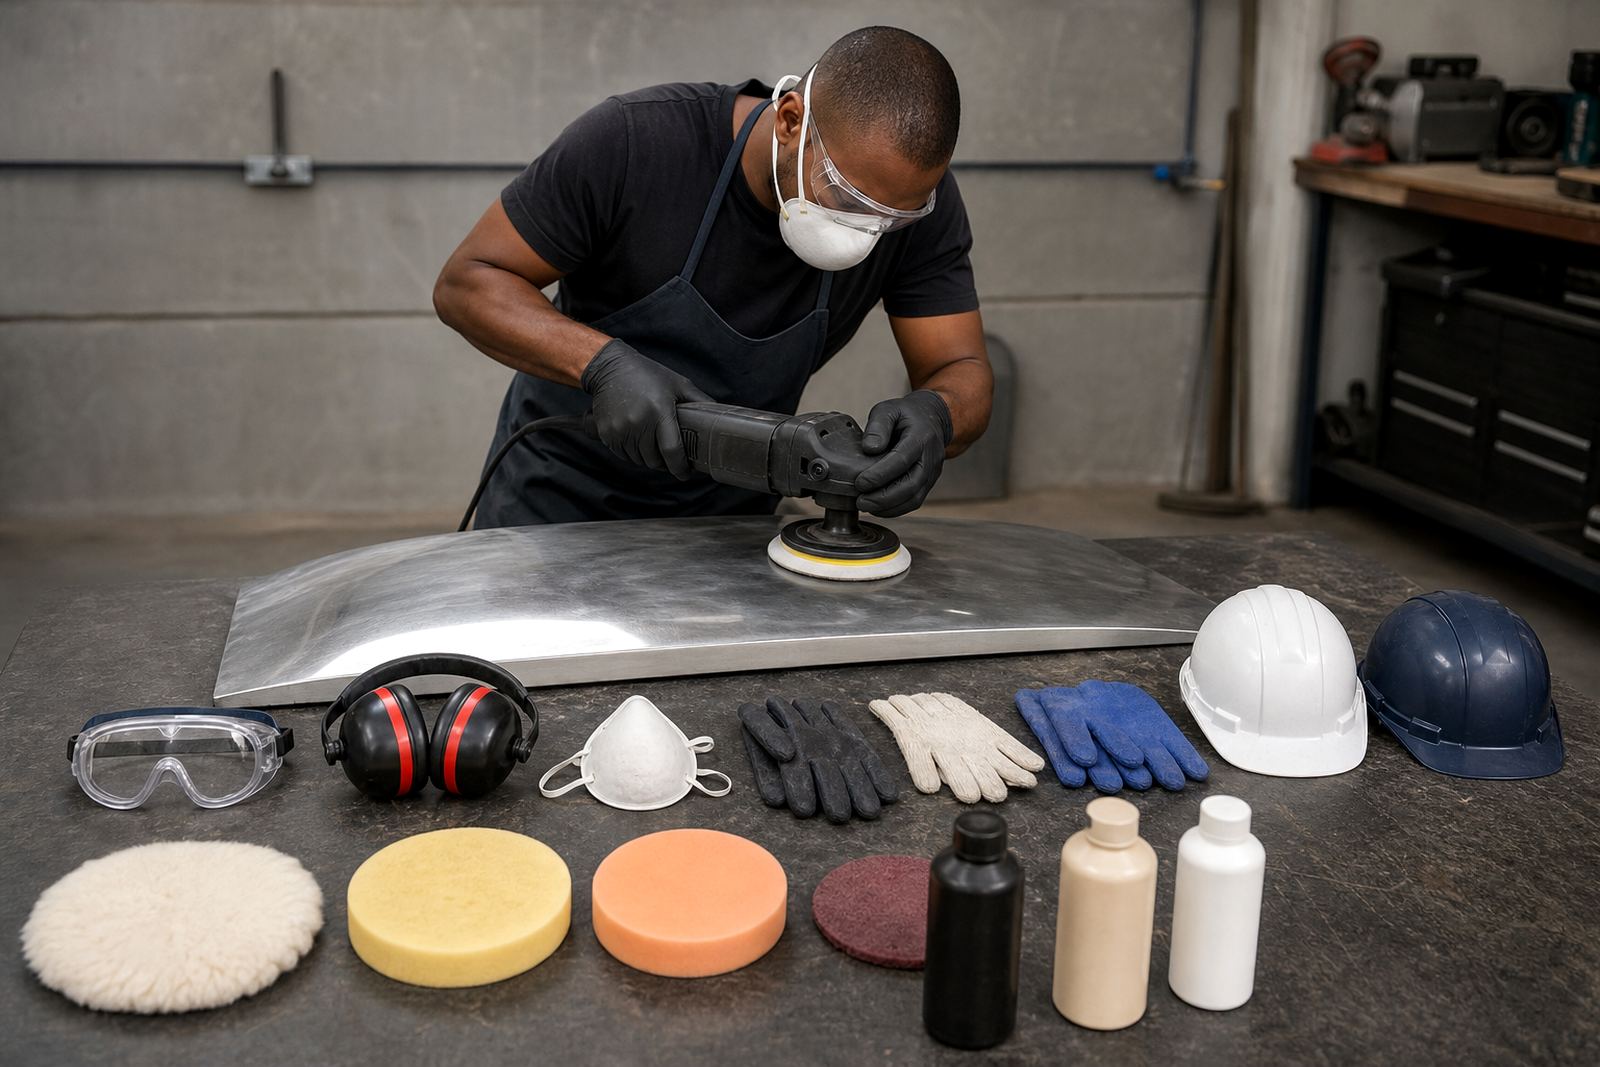
Always wear PPE that suits the task. Safety glasses, a dust mask or respirator where needed, ear protection for longer sessions and fitted gloves for handling sharp or hot parts all help. Loose clothing, jewellery and untied hair can catch on spinning equipment, so keep them out of the way.
Training and Starter Kits for Real-World Jobs
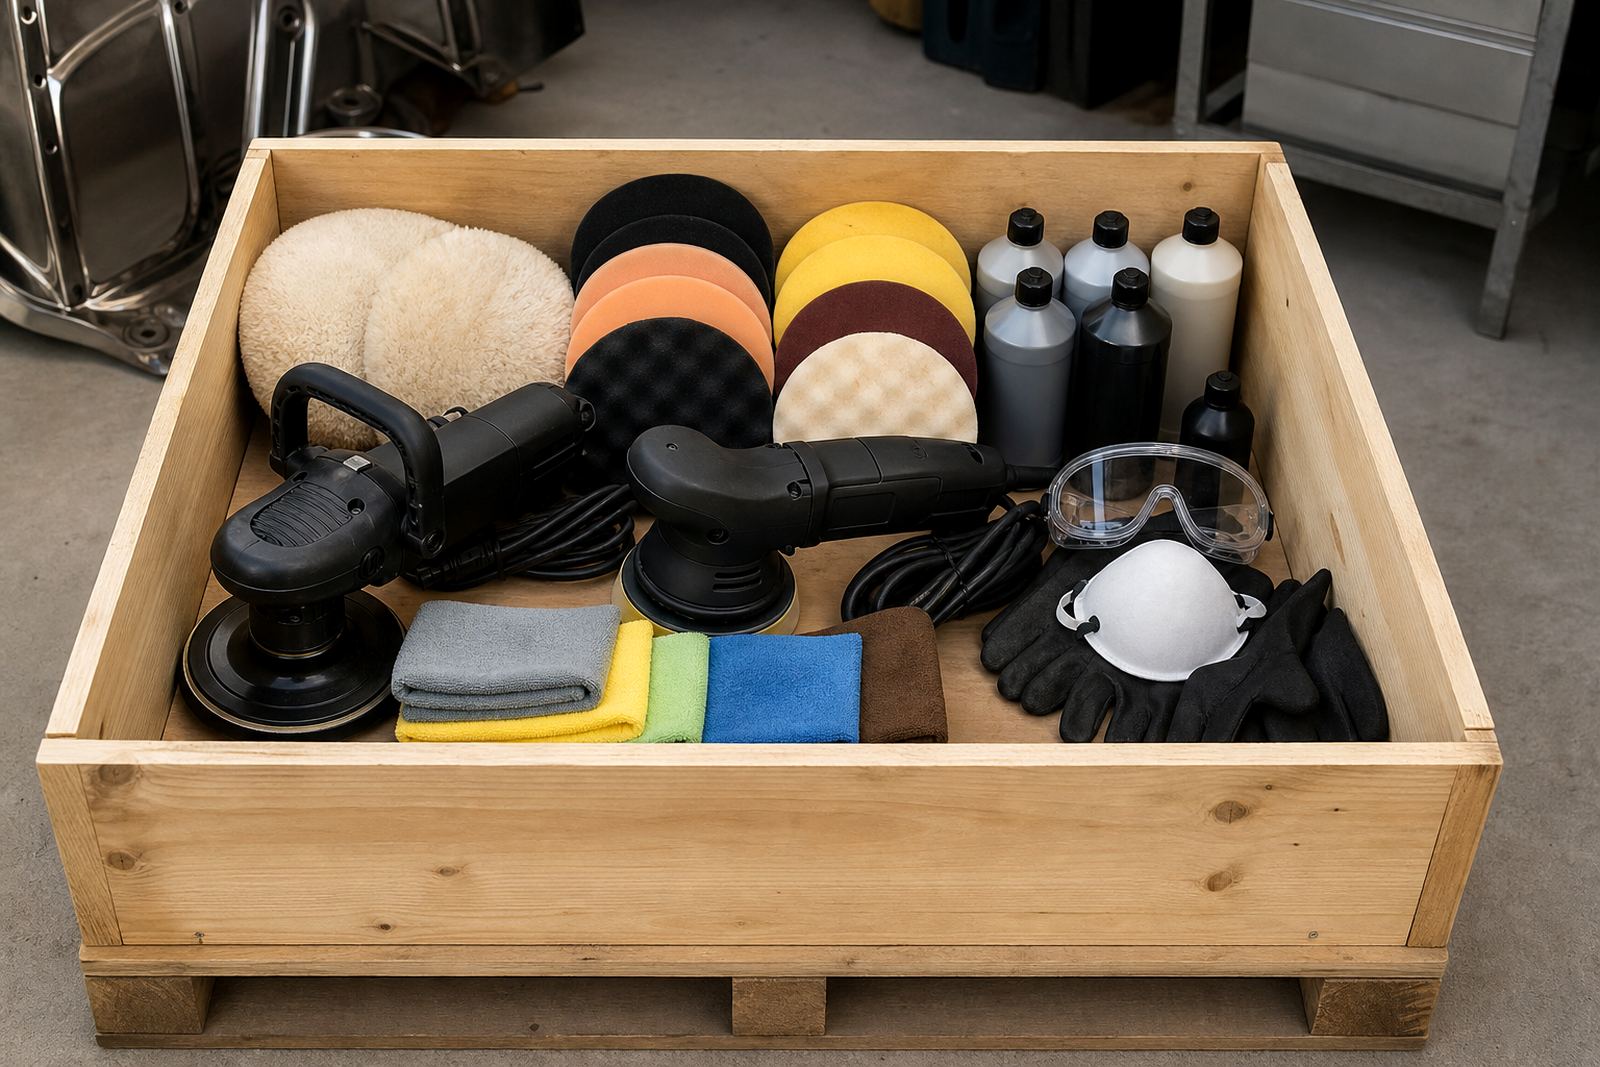
Many buyers do not need the biggest machine, only the right guidance on how to use it. A starter kit should cover the machine, a sensible mix of buffs or pads, a few compounds, cleaning cloths and basic PPE. From there, the next step is learning how to match the tool to the job and avoid wasting product on poor technique.
Our training support covers beginner polishing, rotary skills, DA skills, metal buffing, paint correction coaching, pad and compound matching, starter kit consultation, workshop setup advice, consumables restocking, machine care guidance, onsite team demo, and safety and PPE briefing. If your team is based in Germiston, the East Rand, the Vaal Triangle or further afield in Cape Town, Durban, Bloemfontein, Johannesburg or Pretoria, the same practical rules apply: match the machine to the task, keep the area clean, and work safely.
- Define the finish before you buy equipment
- Keep cutting and finishing tools separate
- Plan storage, airflow and cleaning from the start
- Train new operators before they touch customer work