Start with the job, not the fitting
Before you buy an inspection light, decide where it will be used and what you need to see. Finding defects on a dark panel needs a different beam to final inspection on polished stainless steel, chrome, aluminium or clear coat. A beam that is too broad can wash out fine marks, while one that is too narrow can miss swirls, haze and sanding scratches. In a workshop, mixed lighting from skylights, fluorescent tubes and open roller doors can affect what you see, so choose a light that works well in varied conditions.
For most South African workshops, a mix of handheld inspection lights and a fixed work light gives the best result. Handheld units help you check low panels, door shuts, curves and edges. Fixed lights are useful for repeat checks on a bench, near a polishing station or beside a vehicle on stands. If you handle both metal and paint, choose lights that show surface texture clearly without making every reflection look like a defect.
- Match the light to the task: spotting defects, checking correction progress, or inspecting the final finish.
- Think about the surface colour, because black paint shows marks differently from silver, white or bare metal.
Beam shape, colour and brightness matter
Brightness alone does not tell you much. A very bright light can still hide fine holograms if the beam is too wide or the colour output is not suitable. For defect finding, many technicians prefer a focused beam that can be angled across the surface so scratches cast a small shadow. That side-lighting effect helps reveal swirl marks, sanding lines, polishing trails and uneven buffing on metal.
Colour temperature also matters. A cooler white light can make defects easier to see on paint, while a more neutral light can be easier on the eyes during longer inspections. The best choice often depends on the work you do most often. If you polish mixed fleets, classic cars or stainless parts, try to inspect under more than one light source before deciding. This is especially important when you are checking for heat marks on metal or micro-marring on softer clear coats.
Look for lights that can be moved from close range to a little further back without losing definition. The beam should stay useful on curved panels, curved pipes and painted bumpers. If the light blooms too much on glossy surfaces, it becomes harder to tell whether you are seeing a defect or only a reflection.
Choose a setup that fits workshop realities
Workshops in Gauteng, coastal areas and inland towns all face different conditions. In humid places, a light body that is easy to wipe down helps keep grime from building up. Near the coast, corrosion resistance matters more than many buyers expect because salty air gets onto stands, cords and fittings. In busy premises, a light with a stable base or a strong hook can save time when staff are moving between prep, cutting and final inspection.
Think about corded versus rechargeable as well. Corded lights suit a fixed bay with long working hours. If you choose rechargeable units, make sure charging time, runtime and battery condition are checked regularly. A flat battery at the wrong moment slows down the whole job.
- Check for durable casing that can handle daily use, dust and movement around the bay.
- Choose a form factor that suits your space: handheld, magnetic, stand-mounted or hanging.
- Make sure charging and cable routing do not create trip hazards around polishing machines and air hoses.
What to look for when checking defects
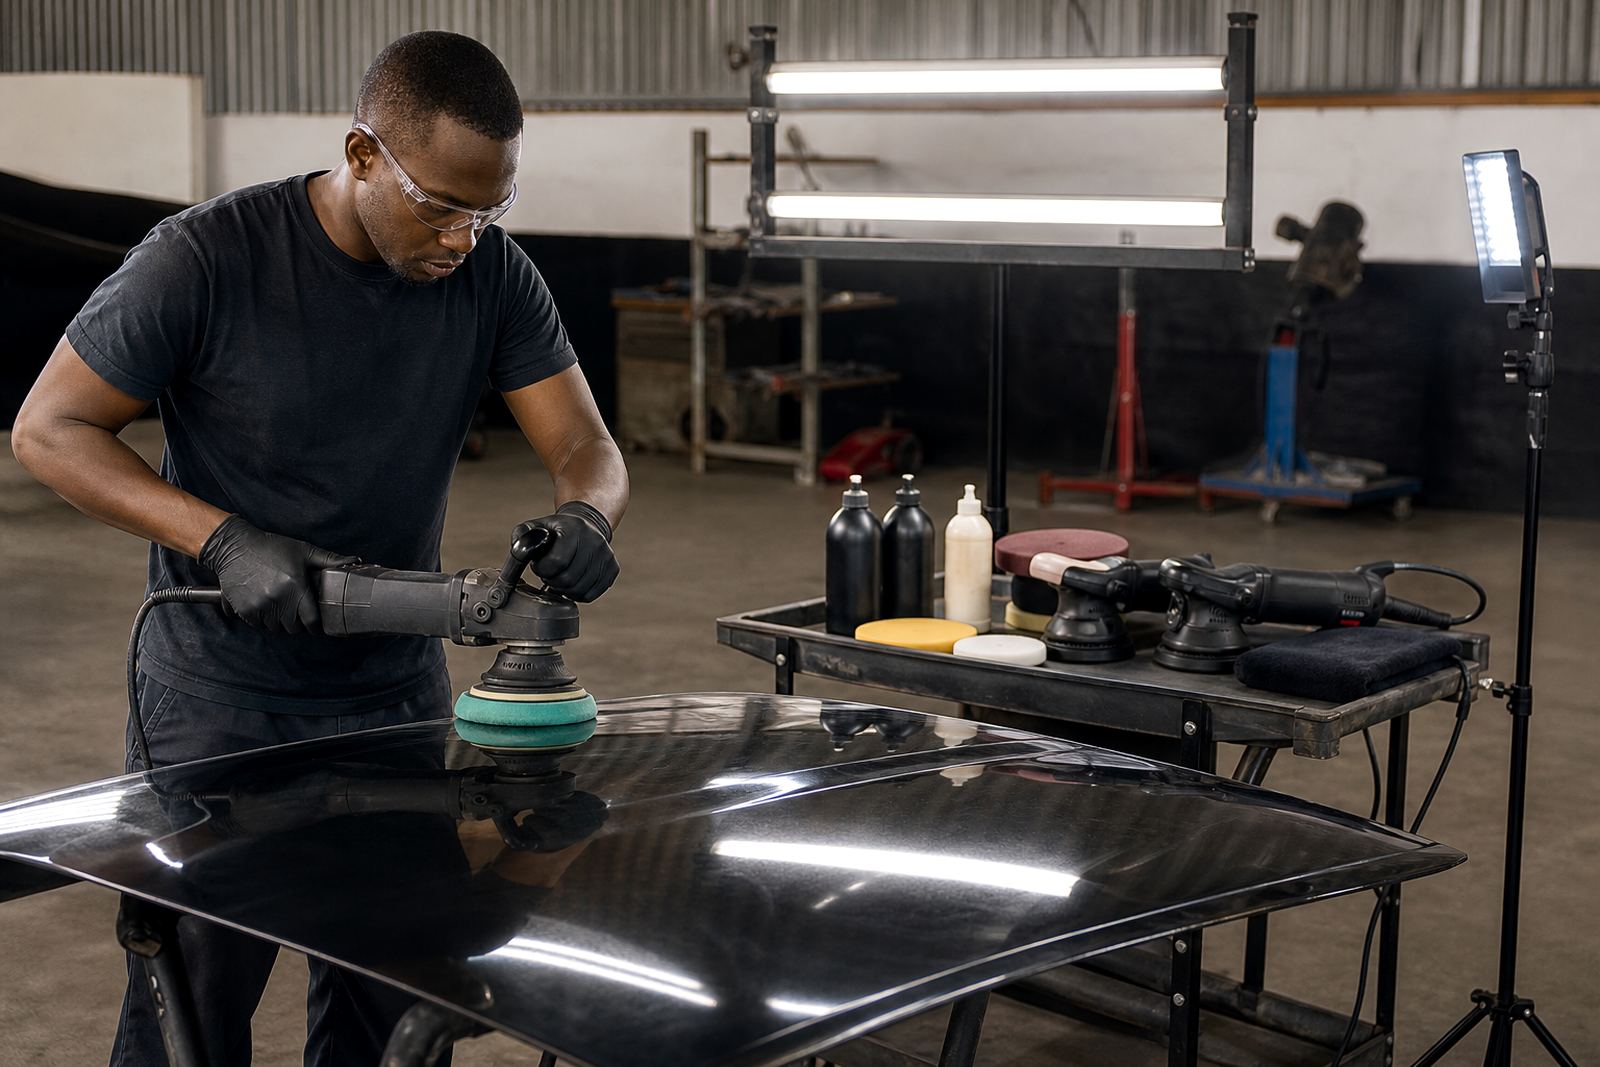
A proper defect check is more than shining a lamp on the panel and hoping for the best. Start by washing and drying the surface properly, then inspect in sections. Move the light across the panel at a low angle and watch how the reflection changes. Swirls usually appear as circular trails, while sanding scratches show as straight, parallel lines. After compounding, a finishing light helps reveal haze, buffer trails and leftover compound residue in edges and body lines.
For metal finishing, the same approach applies but the surface behaviour is different. A bright polished piece can show every tiny line, so you need controlled light and a steady viewing angle. Edges, welds and joins should be checked carefully because those areas can hold residue or show uneven pressure from the machine. If the surface is painted, inspect again after the final wipe because some marks only show once oils and dust are removed.
- Inspect under multiple angles, not only straight-on.
- Wipe the panel between stages so polish residue does not hide faults.
- Check high-risk areas first: edges, corners, handles, curves and repaired sections.
Pair the light with safe polishing habits
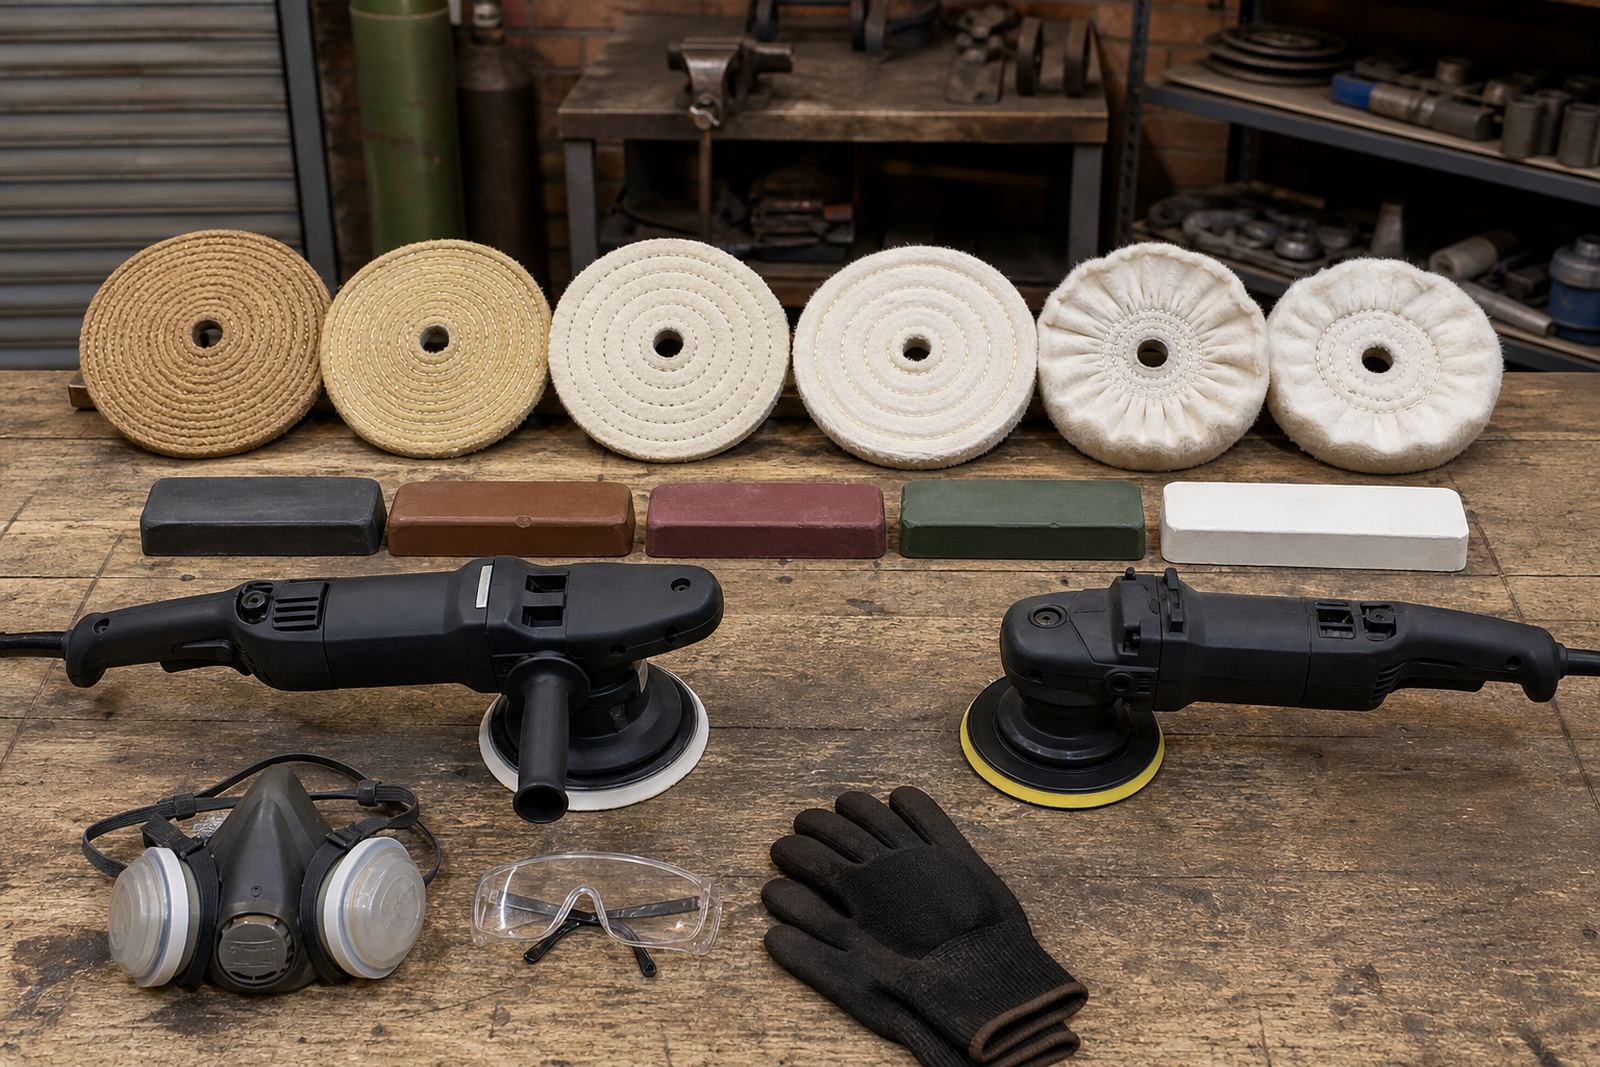
Good lighting supports safe work, but it does not replace safe practice. Wear suitable PPE when polishing, especially eye protection, gloves where needed, and a dust mask when working around dried residue, sanding dust or compounds. When you are checking a finish on metal or paint, keep cords clear of rotating machines and make sure the light does not force you to lean into moving parts. Good inspection habits help prevent burns, sling, accidental contact and missed defects that lead to repeat work.
It also helps to build the inspection step into your normal process. After cutting, check the finish before moving to the next stage. After refining, check again under a different angle. Before handover, do one final walk around with the light and a clean microfibre cloth. That small routine can save time, product and rework. It also helps newer staff learn what a true defect looks like versus a reflection from an uneven panel.
Simple buying checklist for workshops and trainees
If you are setting up a new bay, training a team or adding a better inspection light to an existing kit, keep the choice practical. You do not need the biggest unit on the shelf, you need one that shows the surface clearly, survives daily use and suits the work you actually do. If you handle a mix of mobile jobs, workshop jobs and training sessions, it may be worth having two different types of light on hand.
- Does the beam show swirls, haze and sanding marks clearly on both dark and light surfaces?
- Can the light be used comfortably in your space, with enough reach and no awkward shadows?
- Is it easy to clean after compound splatter, dust and workshop grime?
- Does it suit paint inspection, metal finishing, or both?
For customers in Johannesburg, Pretoria, Cape Town, Durban, Bloemfontein and across the East Rand and Vaal Triangle, the right inspection light is often the one that fits your process, not just your budget. If you are unsure what to choose, ask for guidance before you buy so the light matches the work, the surface and the level of detail you need.