When a repaired panel needs the final finish
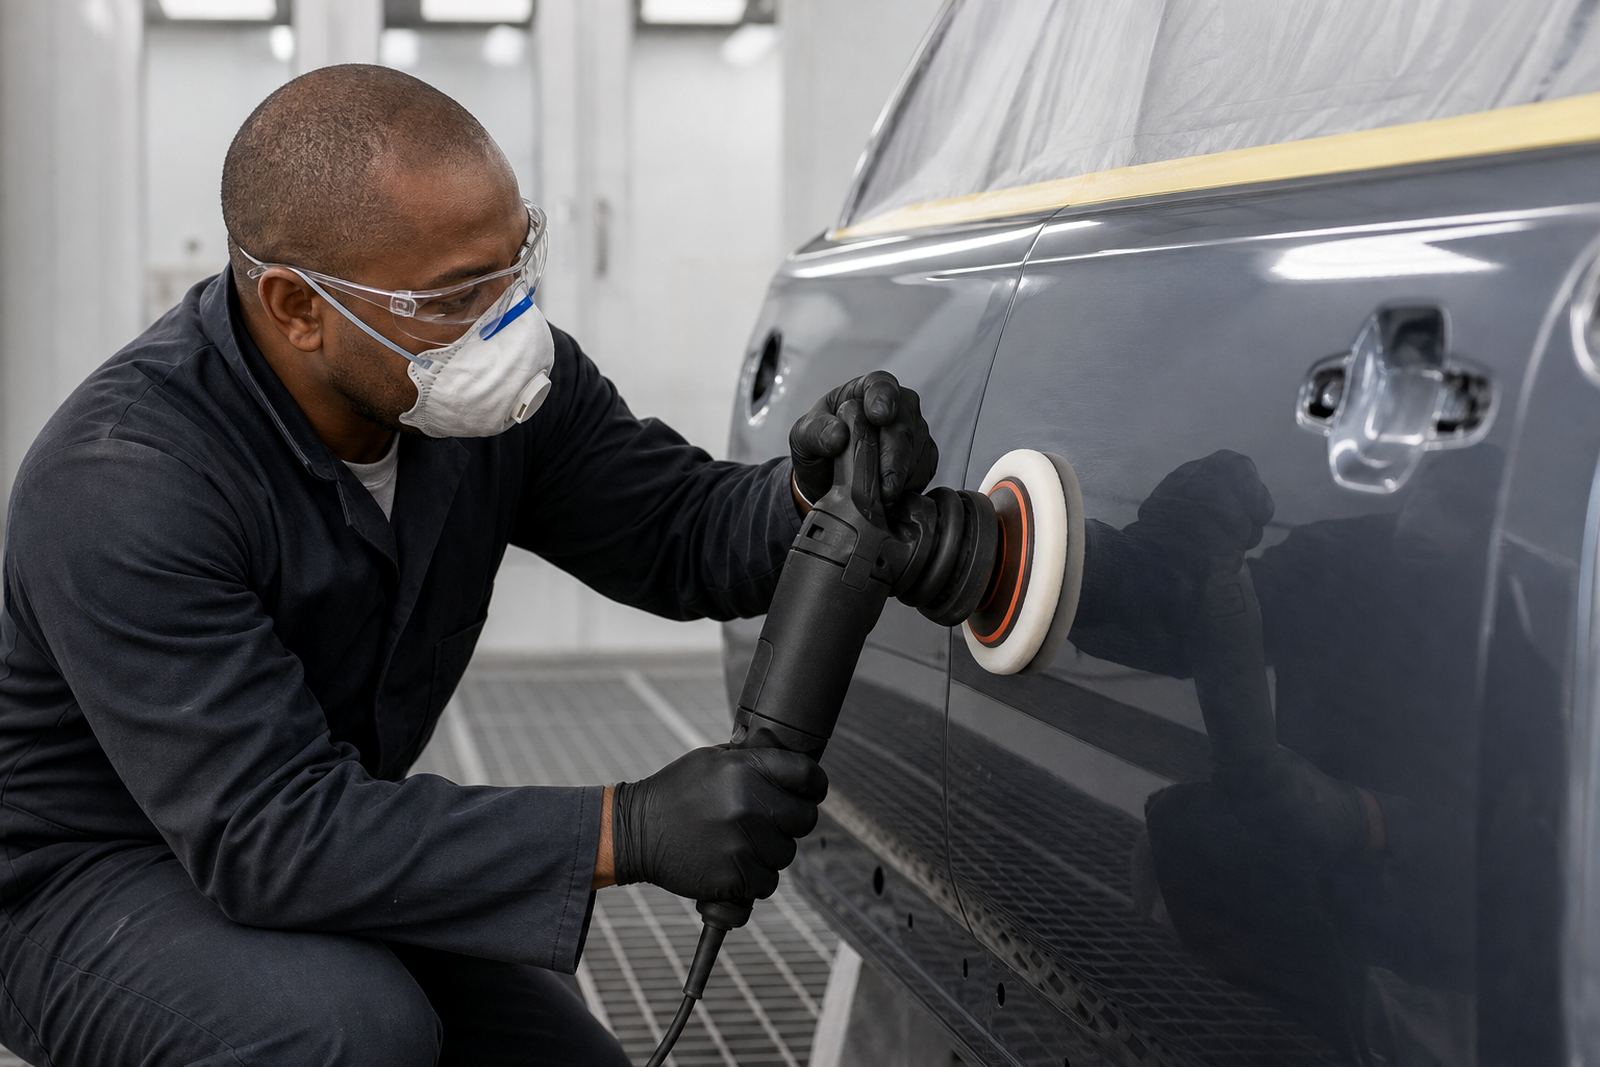
Panel shop work is where polishing either lifts the repair or exposes it. After filler work, primer, basecoat and clearcoat, the last stage must remove haze, light sanding marks and any texture left in the clear without burning edges or distorting the repair area. On bonnet corners, door tops and rear quarter edges, heat builds fast so the operator needs a controlled hand and the correct machine speed. In Gauteng humidity is usually manageable, but in coastal jobs around Durban or Cape Town you may still deal with slower drying behaviour and more airborne dust sticking to fresh panels.
For refinished panels, the goal is not to chase a mirror on one pass. It is to work in stages, inspect often and stop as soon as the defect is gone. That approach saves clearcoat thickness and keeps the panel looking even from different angles, especially under shop lights and daylight.
Rotary and dual-action machines in panel shop work
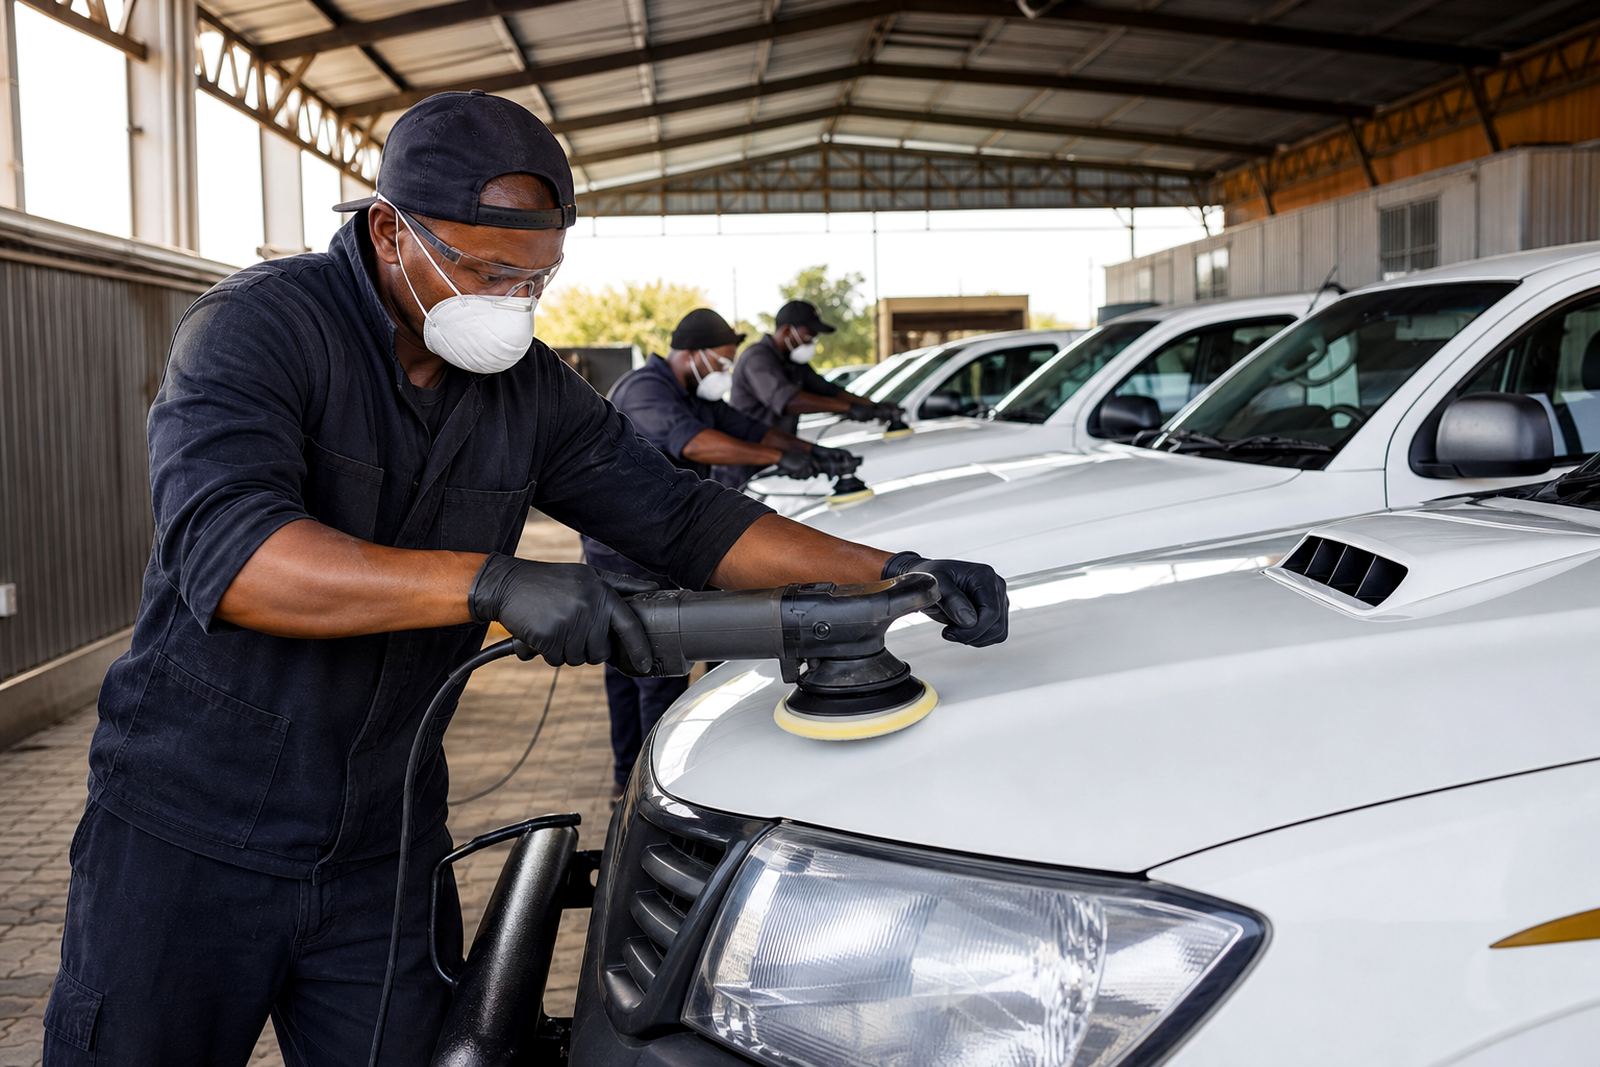
A rotary machine is the traditional choice for cutting on refinished panels where a quicker defect removal is needed. It can remove sanding haze and heavier marks efficiently, but it also generates heat fast. That means pad choice, pad pressure and speed control matter. On sharp body lines and near badges, glass, trims and edges, the operator must ease off or change approach to avoid strike-through.
A dual-action machine is usually slower to cut but safer for finishing and for less experienced hands. It helps reduce holograms after rotary work and is useful on softer clears, fresh respray work and final refinement. In many panel shops the two machines work together, not against each other. One does the heavier correction, the other refines the finish so the panel looks clean under strong light and outdoors.
- Use a rotary for faster cutting on controlled areas with enough paint film build
- Use a dual-action machine for finishing, lighter correction and final gloss
- Keep separate pads for cutting, refining and finishing to avoid contamination
- Check panel edges and repainted corners often because they polish through faster
Compounds, pads and staging for a proper correction
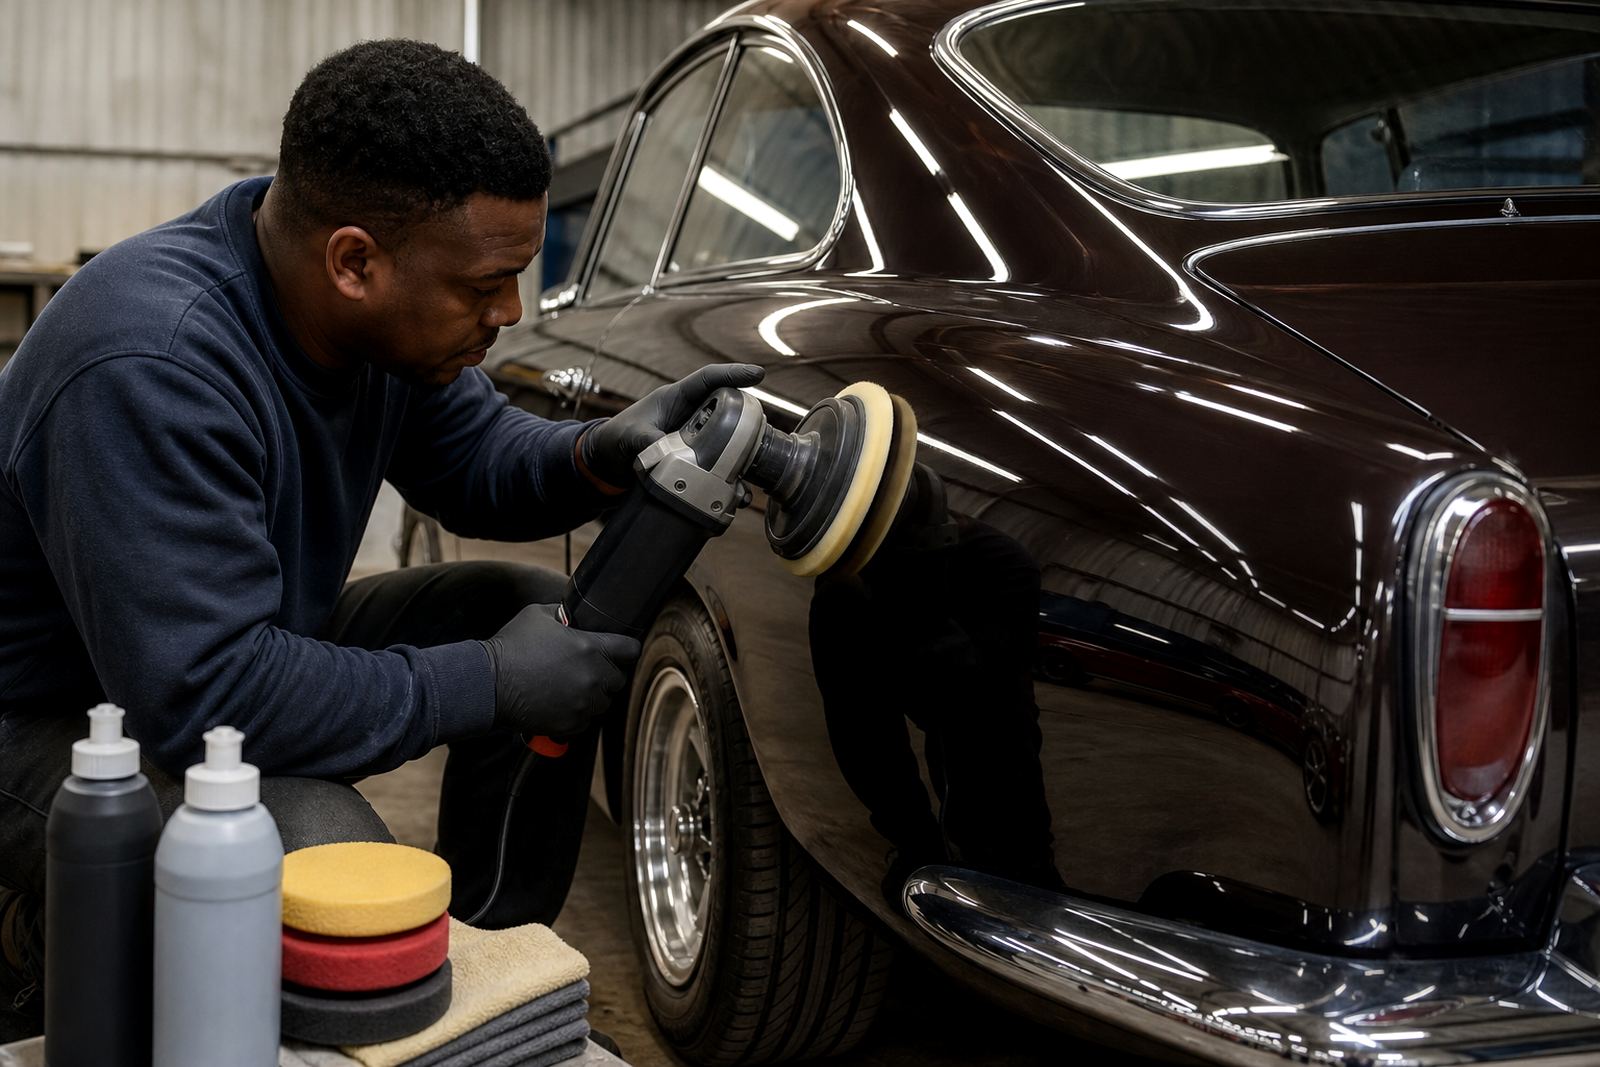
Compound staging is the heart of panel shop finishing. Start with the least aggressive combination that will remove the defect, then step down to a finer polish. On fresh repairs, a heavy compound may remove sanding marks quickly but leave micro-marring or haze, so a second and sometimes third stage is needed. The right pad density changes the result as much as the liquid does. Foam cutting pads, polishing pads and finishing pads each have a role, while wool or fibre pads are often reserved for more aggressive cutting where needed.
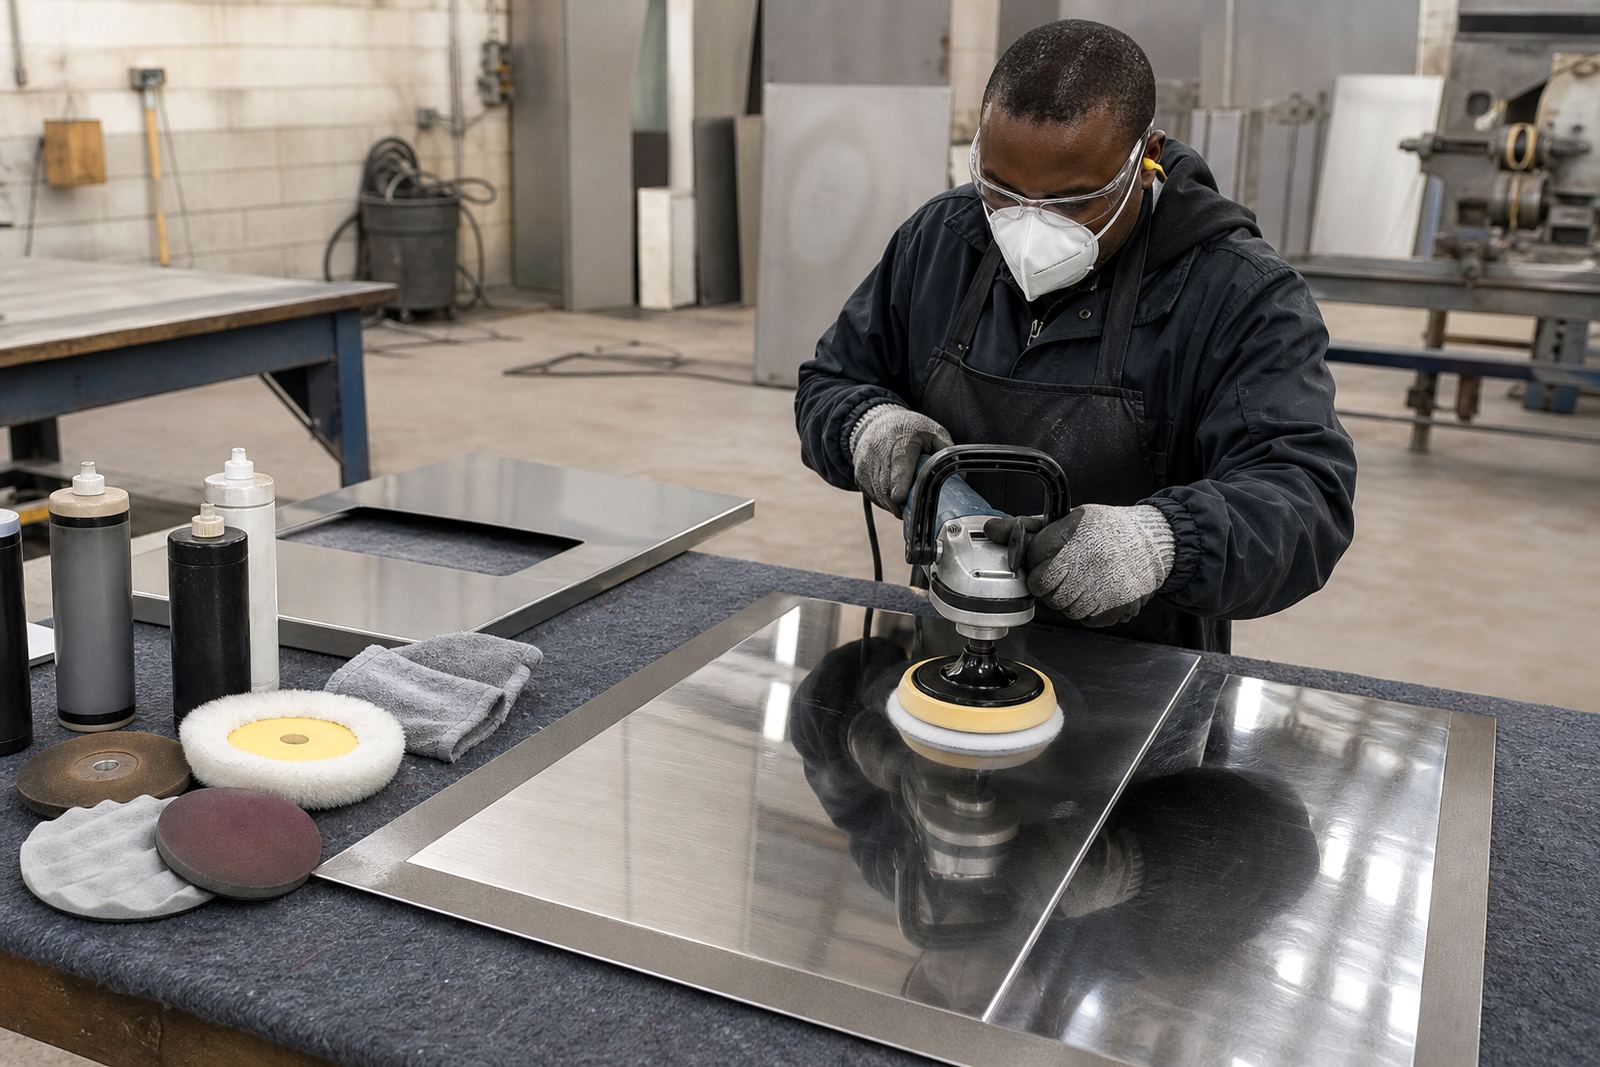
For metal finishing, especially on body repairs or restoration work, a compound that clears oxidation and light scratches without smearing helps a lot. On paint, the aim is even clarity and a clean reflection with no swirls. A panel that looks fine in the workshop can still show trails in direct sun, so the final check should be done in strong light if possible.
- Heavy cut compound for sanding haze and clearcoat texture
- Medium polish for refining the cut and reducing haze
- Finishing polish for gloss and clarity before handover
- Multiple clean microfibre cloths to avoid dragging residue back over the panel
Layout and planning inside the workshop
A panel shop needs a clear flow from sanding to polishing so the work does not get mixed up. Keep repaired panels away from grinding dust, welding spatter and tyre dressing overspray. A separate clean bay or at least a screened area helps more than people expect. In Germiston and the East Rand, where many workshops run with limited floor space, planning matters just as much as equipment. If you are correcting a full side of a vehicle, plan the movement of the machine, the extension lead and the inspection light before you start.
If power returns mid-process, recheck the panel before resuming. A quick wipe with a panel-safe cleaner removes compound residue and lets you see whether the previous stage is complete or if another pass is needed.
- Set up a clean polishing area away from sanding dust and overspray
- Use good lighting from at least two angles to spot haze and swirls
- Keep pads and compounds grouped by stage, not mixed in one trolley
- Allow space for vehicle doors, boot lids and bonnets to open fully
Common mistakes that ruin a good respray
The biggest mistake is using too much pressure and speed at once. That creates heat, especially on edges, and can leave burn marks or cause the clear to fail later. Another common issue is jumping straight to a finishing polish when the sanding marks are still present. The result may look acceptable for a few hours but the defects will show again under daylight. Some operators also use one pad for every stage, which loads the foam with old residue and reduces control.
Another error is not cleaning the panel between stages. Leftover abrasive dust can scratch the surface again, so each pass should be followed by a clean wipe and inspection. On metallic colours, poor technique can make the flake sit unevenly, which changes the look from one angle to another. That is especially noticeable on bumpers and freshly sprayed door skins, so take your time and check the panel from the side not only straight on.
Budget ranges and starter support for panel shops
For a basic entry setup, a panel shop can start with one rotary machine, one dual-action machine, a small pad selection and a starter range of compounds. In practical terms, that usually means budgeting from about R3,500 to R9,000 depending on the machine quality and how many pads you want to keep on hand. A better equipped setup for regular correction work, more pads and extra lighting can sit from around R10,000 to R25,000 or more. If you are adding training, workshop setup advice and consumable restocking, allow extra budget for time and repeat stock rather than only the hardware.
Starter kit planning should be based on the type of work you see most often. A body repair shop doing insurance work will need different items from a restoration shop polishing polished metal parts and fresh clearcoat. For teams in Johannesburg, Pretoria, Cape Town, Durban, Bloemfontein and the Vaal Triangle, the right mix depends on vehicle volume, space and how many people will actually use the tools. It is better to buy fewer items that get used properly than a big mixed box that sits on the shelf.