When kitchen stainless starts looking tired
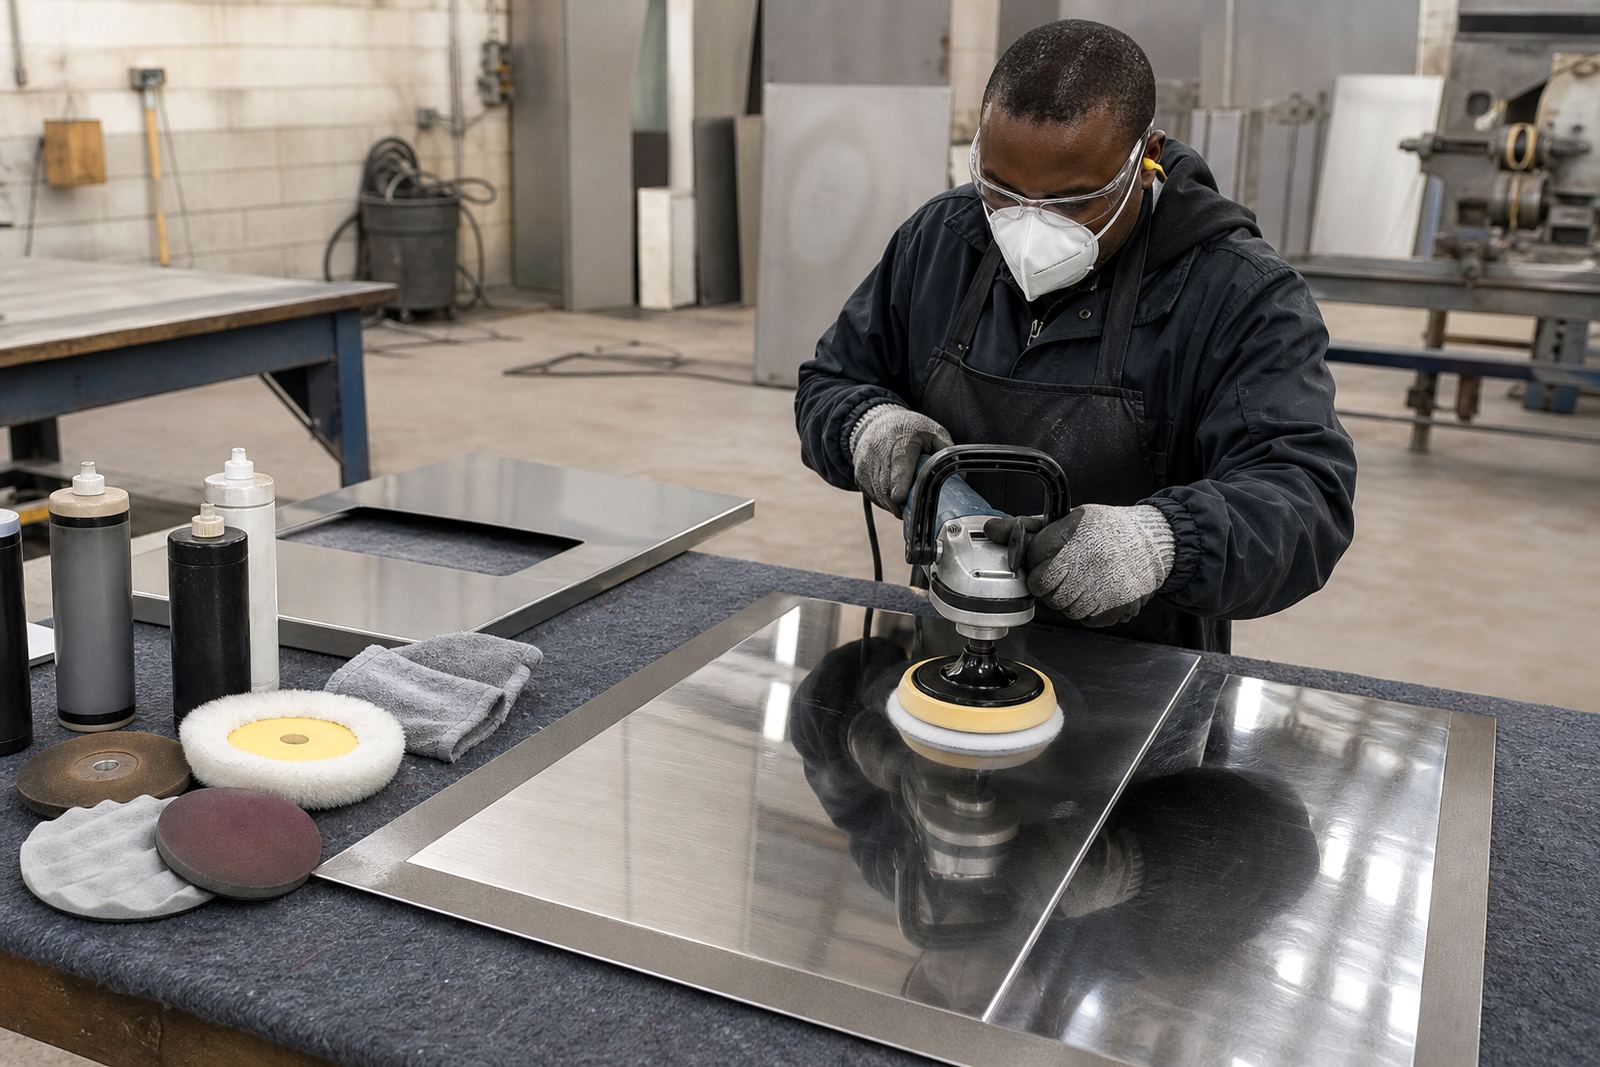
Kitchen metal finishing usually comes up when a stainless sink, prep table, splashback, serving counter, extractor trim or trolley has scuffs, heat marks, light rust specks or a patchy shine. In food prep areas presentation matters, but so does practical cleaning. A surface that has been badly marked can hold grime in fine scratches and show every wipe mark under strong lights.
For this kind of work, the aim is not to chase a mirror finish everywhere. In many kitchens a consistent brushed or satin look is better because it hides day to day use and is easier to keep tidy. The right method depends on the metal grade, the direction of the grain, the condition of the surface and whether the item is fixed in place or can be taken to the workshop.
- Light refurbishment of stainless sinks and prep tables
- Removing oxidation, staining and handling marks
- Blending welds and repair patches
- Restoring a uniform brushed or bright finish
The equipment set that suits kitchen work
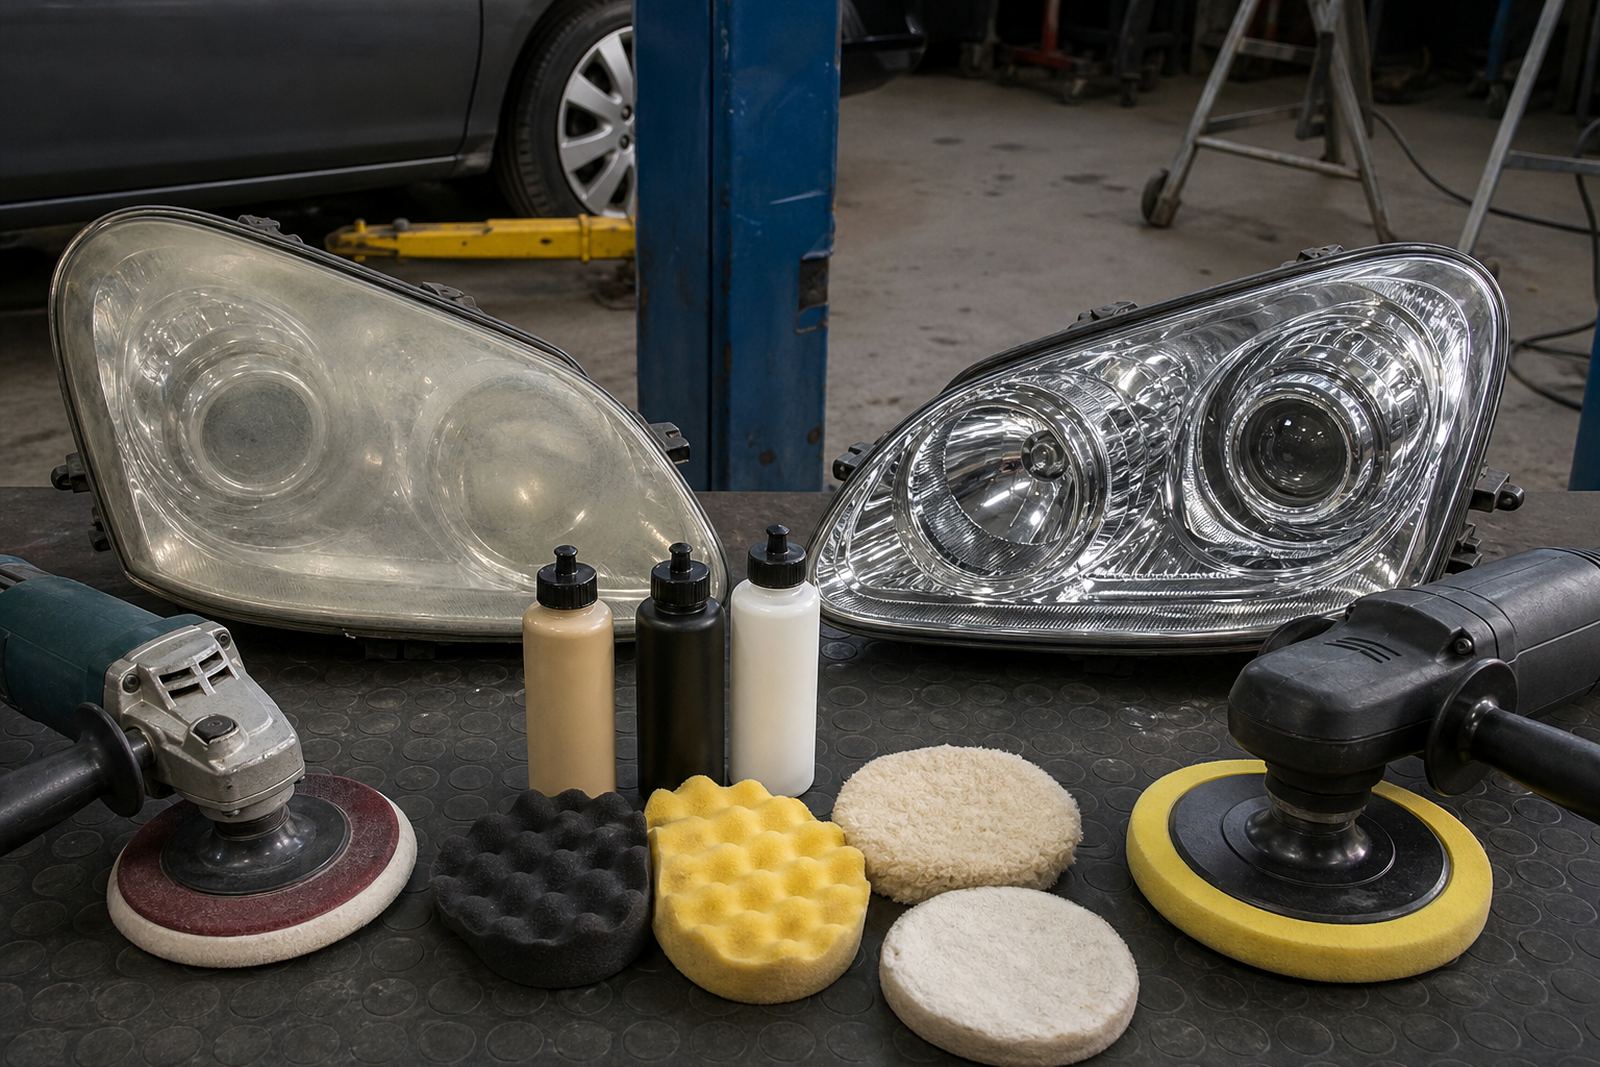
For kitchen finishing, the common setup includes a rotary polisher for controlled cutting, a dual-action machine for lighter correction and finishing, and a selection of buffs, pads and compounds matched to the stage of work. Rotary machines are useful when you need to level marks or work a welded section carefully. Dual-action machines are slower but safer for final refinement, especially on visible panels and curved faces.
Compounds are chosen by cut and finish. A coarser compound removes sanding marks and deeper scuffs, then a finer compound brings back clarity. On stainless steel, the buff itself matters just as much as the product. Hard stitched buffs are often used for cutting, while softer loose buffs suit final brightening. For painted or coated kitchen parts, the approach is different and the pressure must be lighter to avoid burn through.
- Rotary polisher for controlled correction on metal
- Dual-action machine for finishing and safer refinement
- Cutting and finishing compounds for staged work
- Buffs and pads in different densities for stainless and painted parts
- Microfibre cloths, masking tape and surface cleaner
PPE is not optional. Eye protection, gloves where suitable, hearing protection and a dust mask or respirator for dry sanding are part of the job.
Planning the layout around food prep areas
Kitchen metal finishing works best when the area is planned before the first machine is switched on. If the item can be removed, it is usually easier to work on trestles in a workshop or service yard. If it must stay in place, the surrounding counters, splash zones and adjacent equipment need masking. In busy restaurants, canteens and production kitchens, timing matters as much as technique because the job must not interfere with service or cleaning schedules.
Germiston, Johannesburg and Pretoria jobs often involve mixed environments where stainless items sit near tiling, glass and electrical fittings. In coastal areas like Cape Town and Durban, humidity and salt air can make staining return faster if the finish is not properly cleaned and protected. On larger sites, it helps to separate the work into stages so sanding, buffing and cleaning do not happen in the same space at once.
- Isolate the work area and protect floors from dust and compound residue
- Plan access to power, especially where is part of the day
- Check whether water, drainage and cleaning can continue safely nearby
- Keep abrasives and buffs separate for coarse and fine stages
Common mistakes that leave marks behind
A lot of poor kitchen finishing comes from trying to go too fast. Heavy pressure on a rotary machine can create swirl marks, heat discolouration or flat spots on thin stainless panels. Skipping grit steps leaves scratches that show up later under downlights or sunlight. Using the wrong buff on the wrong compound can also smear residue into corners and seams.
Another common mistake is ignoring the grain direction. On brushed stainless, the final pass should follow the existing line of the metal. If the grain is crossed or patched in different directions, the whole panel can look uneven even if it is clean. Poor housekeeping is also a problem. Old compound, dirty pads and sanding dust can be dragged from one section to another and ruin the finish you already achieved.
- Too much heat on thin stainless sheets
- Mixing coarse and fine abrasives
- Working against the grain on brushed surfaces
- Using worn pads that shed fibres or carry grit
- Skipping final wipe-down and inspection under strong light
Training for safer kitchen polishing work
We support beginners and experienced staff who need a cleaner repeatable method for kitchen metal finishing. Training covers rotary handling, DA finishing, pad and compound matching, machine care, starter kit choices and safety briefings. For site teams, we can also talk through how to set up a simple workflow so one person sands, one person buffs and another handles wipe-down and inspection. That keeps dust under control and reduces rework.
Safety in kitchens needs practical habits. Do not polish near open food, uncovered ingredients or active prep surfaces. Keep cables out of walkways. Make sure residue is collected before the area is handed back. If the kitchen has stainless equipment with a food contact function, the final finish should be smooth enough to clean properly but not so aggressive that it creates unwanted texture. The goal is a tidy surface, not unnecessary shine everywhere.
Budget ranges for kitchen metal finishing projects
Budgets depend on whether you are touching up one visible item or setting up a small workshop for ongoing kitchen maintenance. A basic starter kit for occasional stainless work may sit in the lower range, while a more complete set with rotary and dual-action machines, multiple buffs, compounds and safety gear costs more. Add training if your staff need hands-on guidance, because the right setup saves time and reduces waste later.
For South African kitchens, a sensible budget guide is to allow for consumables that can be replaced regularly. Buffs wear out, compounds get used up and masking materials must be restocked. If you are working across several sites in Johannesburg, Durban or Cape Town, it is worth planning a common consumables list so the team does not arrive on site with the wrong grade of pad or too little polishing stock.
- Starter kit and basic consumables: R1 500 to R4 500
- Machine plus buffs, pads and compounds: R4 500 to R12 000
- Training support or onsite demo: budget separately based on scope
- Ongoing consumables restocking: best planned as a monthly or quarterly line item