When Marine Metalwork Starts Looking Tired
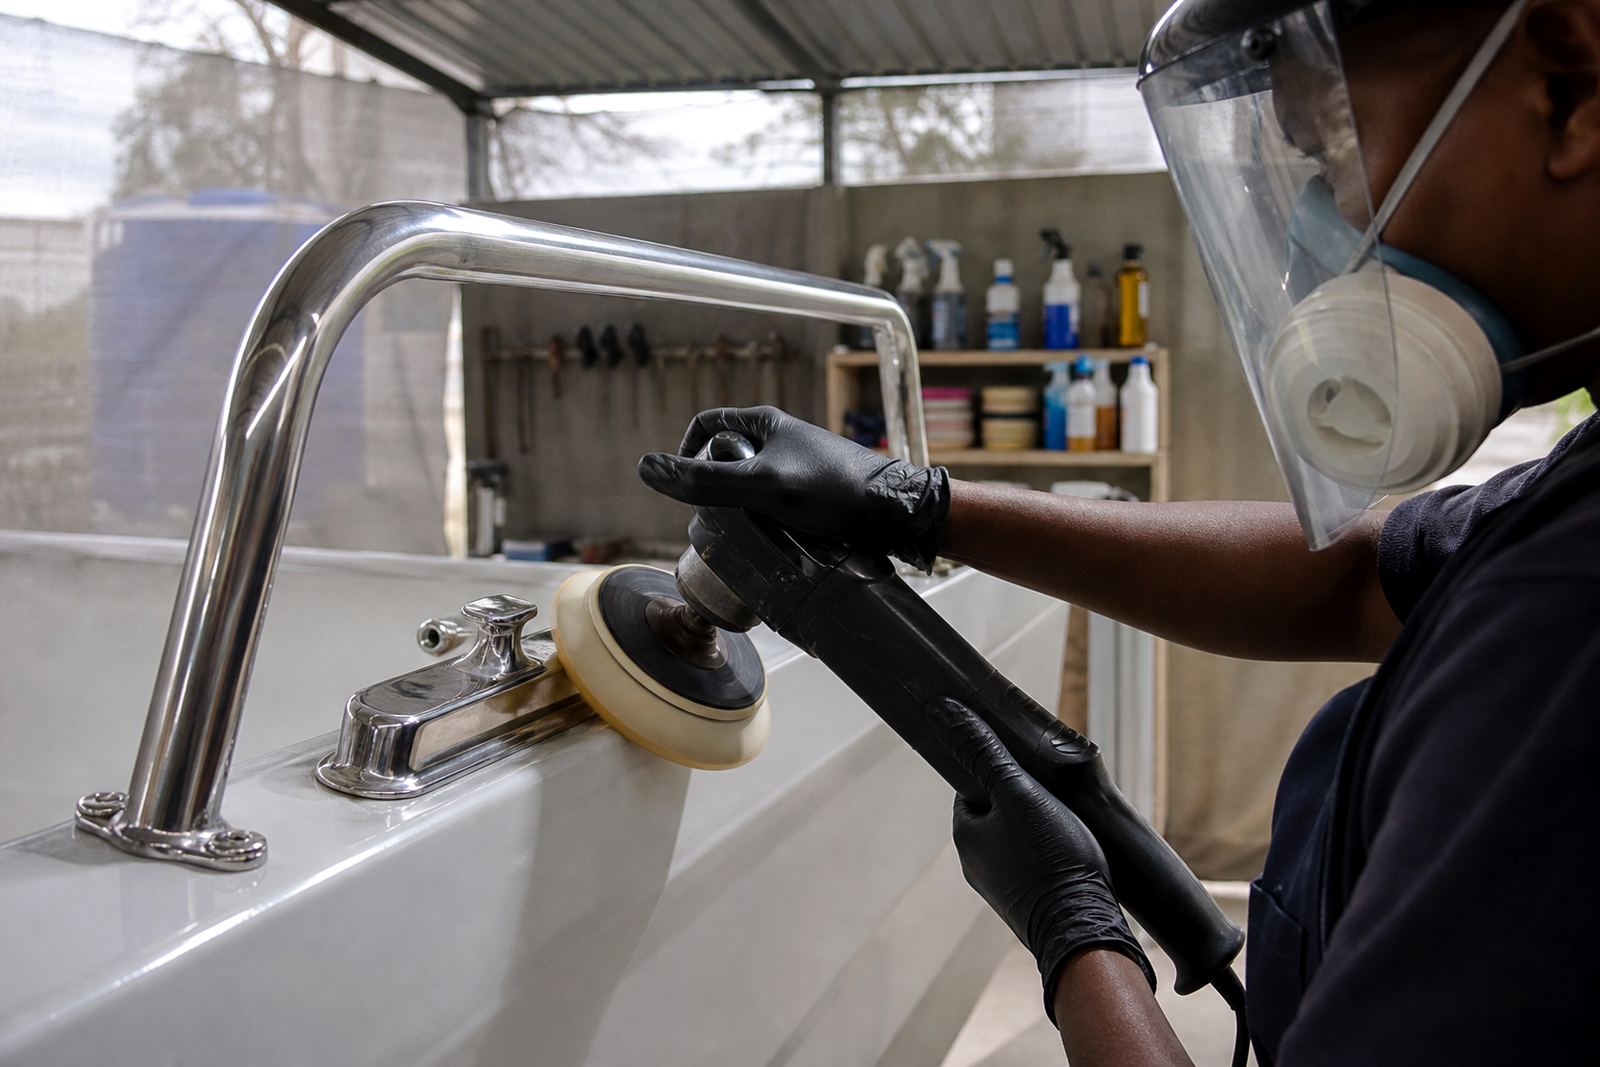
On boats, marina pontoons and coastal leisure craft, stainless steel, aluminium and chromed fittings pick up haze, water spotting and light staining fast. Handrails, cleats, rails, grabs, hatches and decorative trim often need more than a quick wipe because salt crystals and airborne grime sit in seams and around fasteners. Once that dull layer builds up, polishing becomes part cleaning and part correction.
This is the kind of work where the job is not just about shine. It is about removing oxidation carefully, keeping edges from overheating and protecting the finish after the metal has been cleaned up. In humid places like Durban or along the Cape coast, regular attention usually matters more than one big annual polish.
Typical Equipment For Marine Metal Polishing
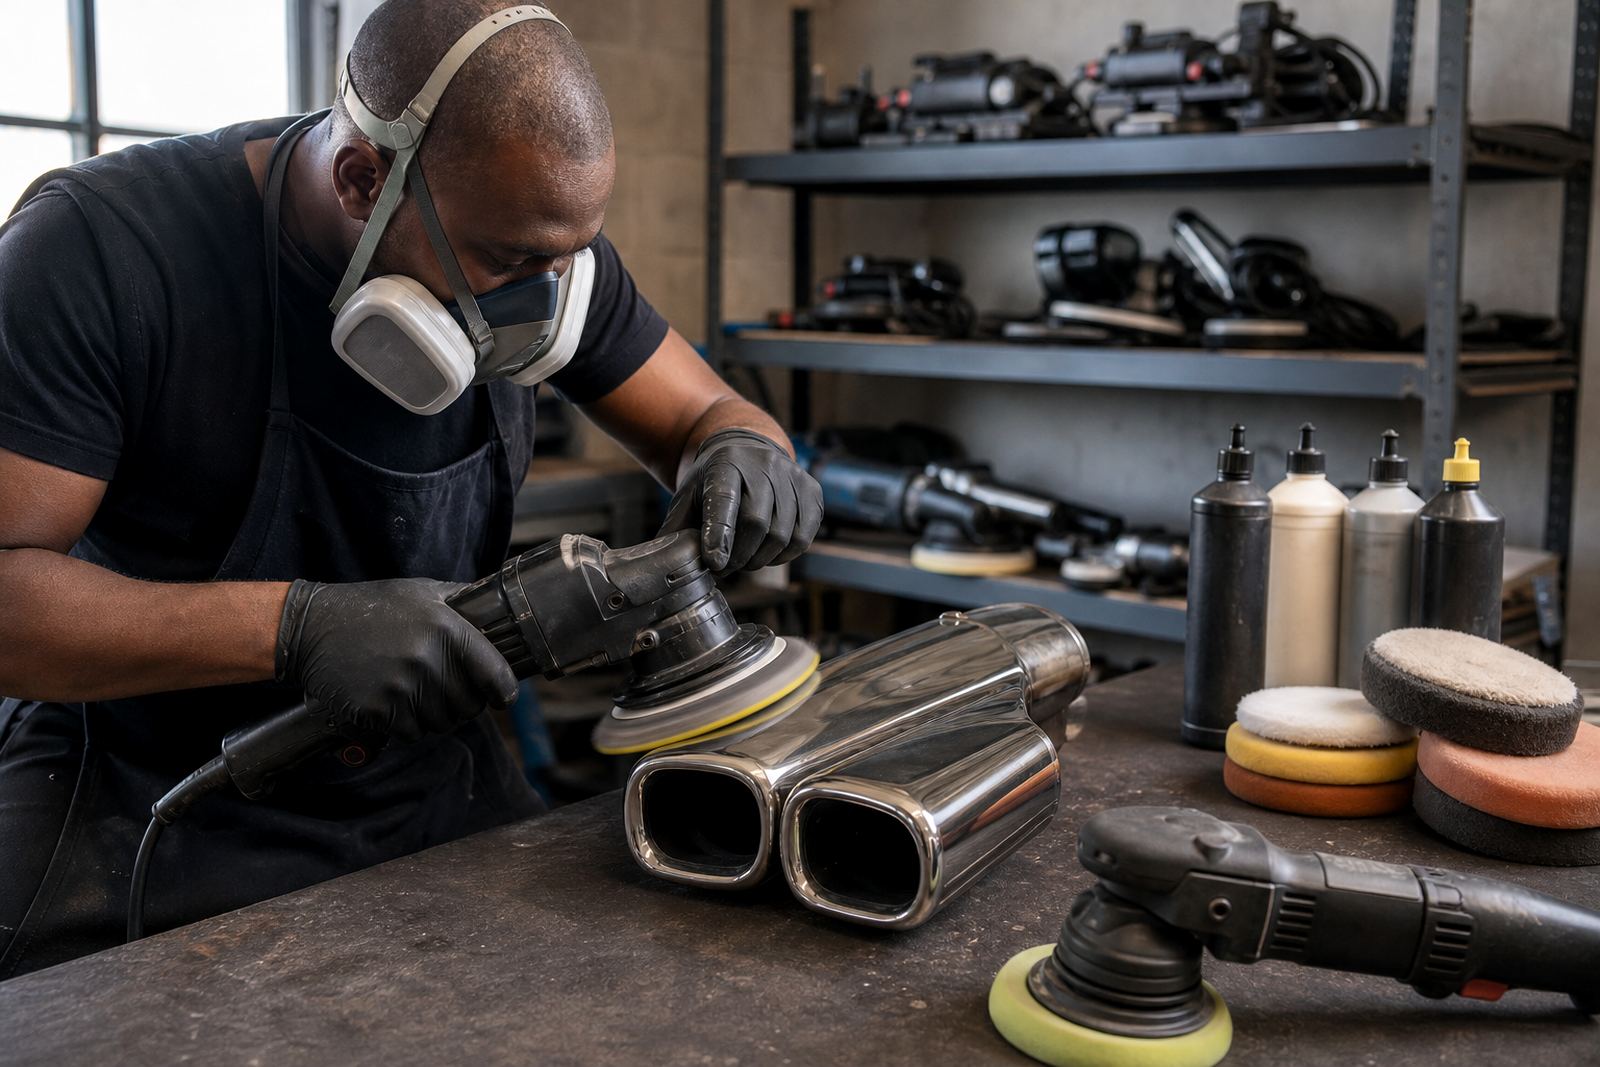
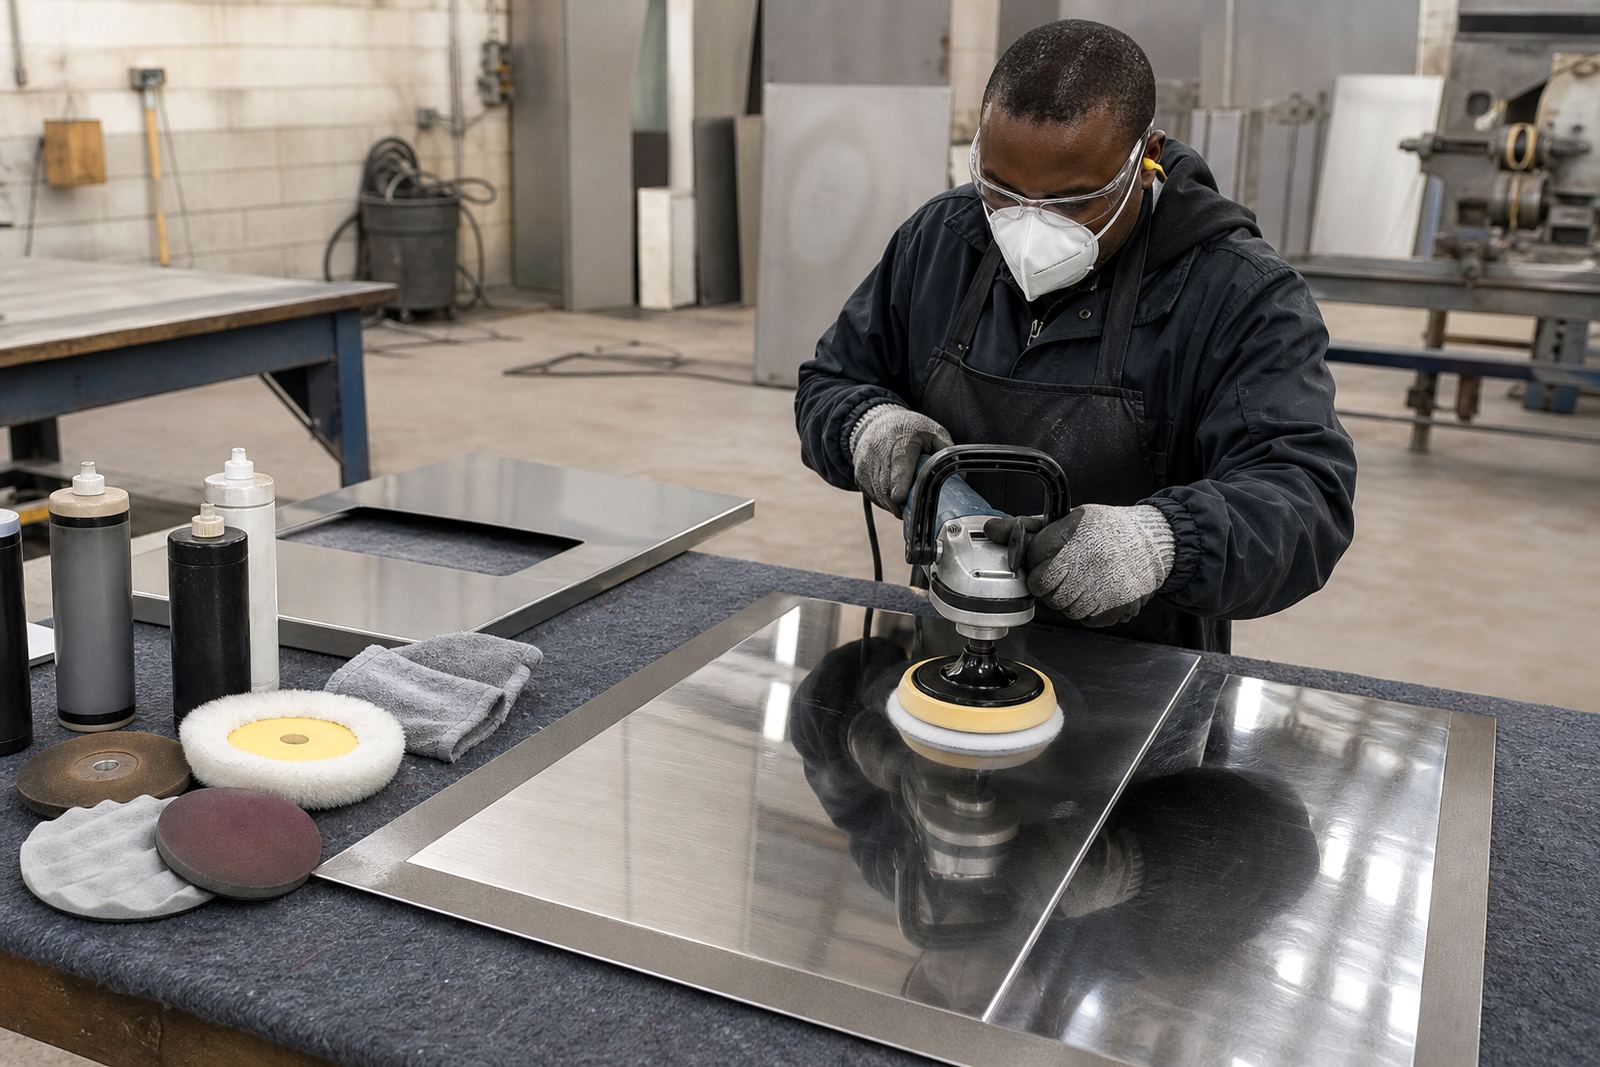
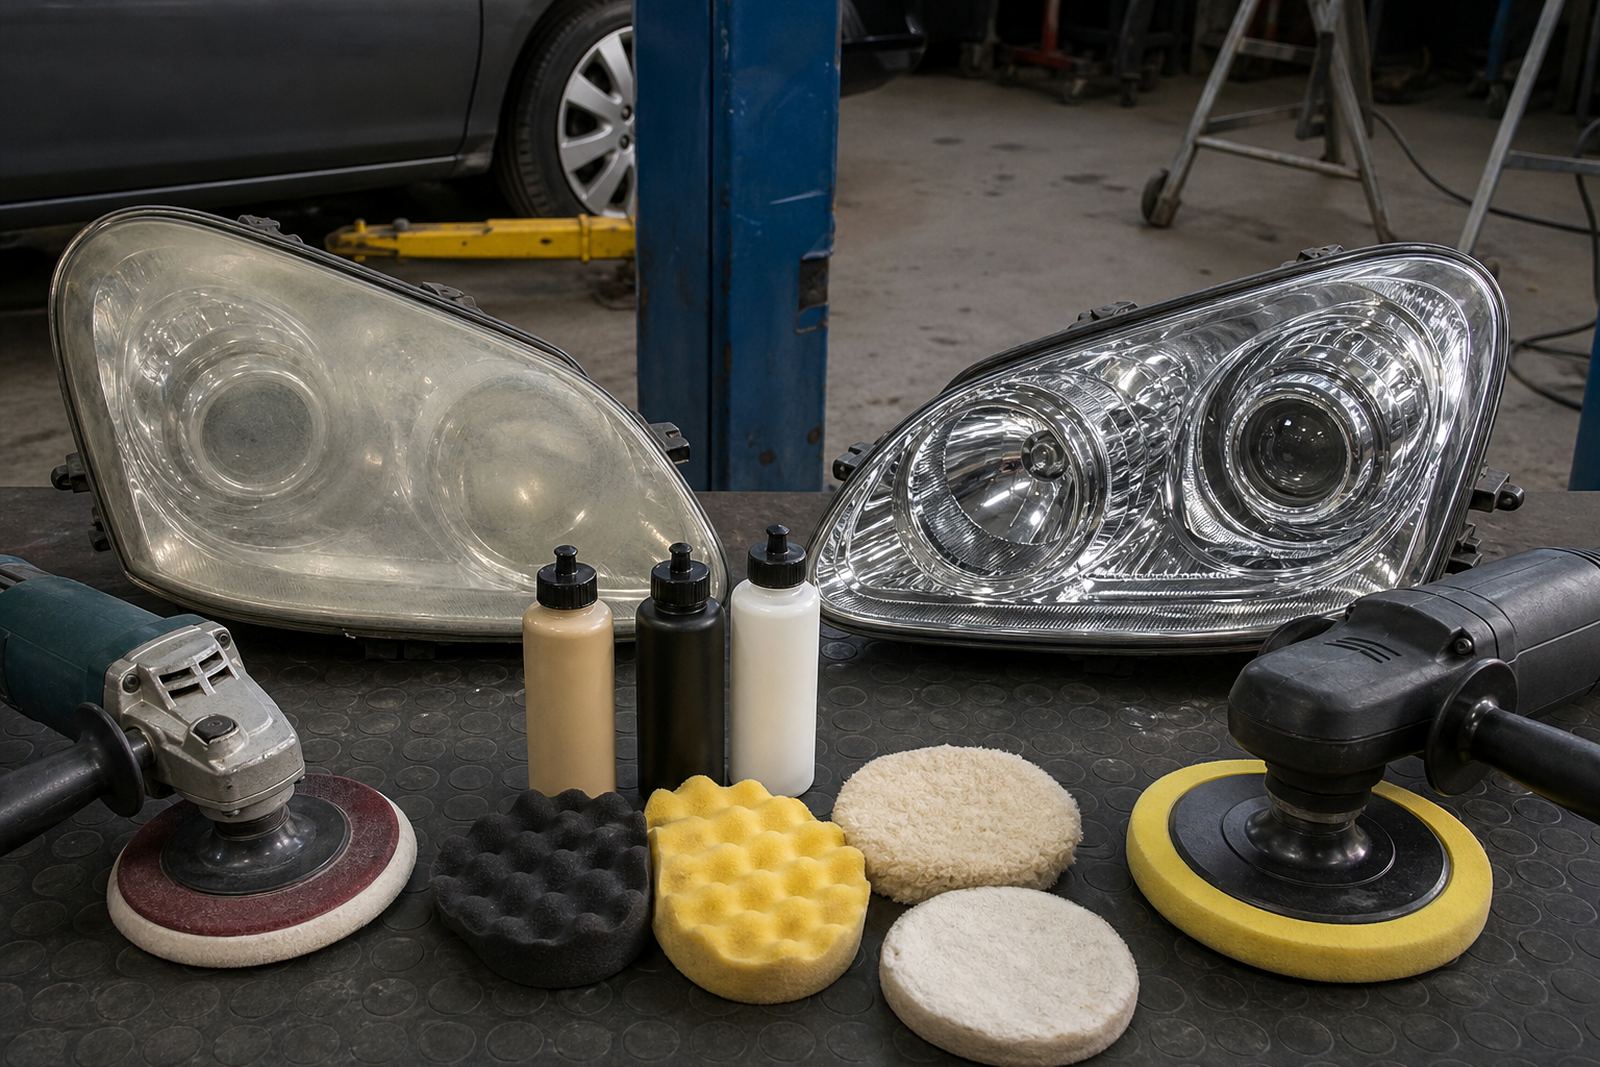
A practical setup for marine metal work usually includes both a rotary polisher and a dual-action polisher. A rotary machine is useful for controlled correction on harder metal surfaces, while a dual-action machine is often preferred for lighter finishing work and safer refinement on paint adjacent to metal trim. Matching the machine to the surface is important, especially where there are curved rails, tight corners and delicate edges.
- Rotary polisher for metal correction and heavier oxidation removal
- Dual-action polisher for finishing, maintenance work and nearby paint
- Foam pads for fine finishing and light correction
- Wool or microfiber buffs for metal polishing where more cut is needed
- Cutting, polishing and finishing compounds suited to the metal condition
- Masking tape, clean microfibre cloths and surface prep products
- PPE such as eye protection, gloves and a dust mask when dry residue is present
For marine use, choose equipment that can be kept clean and maintained easily. Salt residue, damp storage and dusty workshops all affect how well the machine and accessories perform from one job to the next.
Planning The Layout Before You Start
Good layout makes a big difference on boats and trailers where access is awkward. Before starting, map out the working zone, identify where cables or hoses could catch, and decide whether the item should be polished in place or removed for safer bench work. Small fittings can often be handled one at a time, while longer rails and trim may need a staged approach so you do not miss spots or create uneven marks.
Set up with enough light to see haze, swirl marks and residue. If you are working near water or in a boatyard, keep the area as dry and clear as possible. Marine polishing produces spent compound and dust, so wipe-downs between stages matter. A clean surface gives better results and reduces the chance of dragging grit back over the metal.
- Work from the least damaged area to the worst so you can judge progress
- Separate metal polishing from nearby paint correction where possible
- Use smaller pads and buffs on narrow rails and fittings
- Keep a second cloth for final wipe-down so residue does not get spread
- Allow time for inspection between stages, not only at the end
How Technique Changes On Stainless, Aluminium And Chrome
Marine metal is not all the same. Stainless steel often needs a steady, methodical polish to bring back clarity without chasing deep scratches too aggressively. Aluminium can mark quickly if the compound is too coarse or the pad too hot, so light passes and close attention help. Chrome plated parts need gentler handling because overworking the surface can make visible marring worse.
Start with the least aggressive pad and compound that will do the job. Keep the machine moving and do not sit on one patch for too long. On tight curves and around rivets or fasteners, smaller buffing accessories usually give better control. A dry buff on hot metal can leave streaking, so watch temperature and product build-up. If the job is on a craft that stays in the water, finishing with a clean wipe and suitable protective treatment is wise.
When paint is close to the metal, tape off edges before the first pass. That simple step helps avoid black residue on trim and reduces the risk of burning through at corners. In practical terms, careful prep saves time later.
Common mistakes that waste time and dull the finish
Most problems in marine polishing come from rushing or using the wrong combination of machine, pad and compound. Heavy pressure can create haze, heat marks or uneven shine. Using a pad that is too aggressive can leave a finish that looks worse once the sun hits it. On the other hand, using a finishing compound on badly oxidised fittings may only make the surface look cleaner for a short while.
- Starting with a very aggressive pad when a lighter pass would do
- Polishing over salt residue or sand instead of cleaning first
- Working too fast and missing tight corners and underside areas
- Ignoring dust control and breathing in dry residue
- Forgetting to inspect under bright light before calling the job done
- Leaving compound in seams, joints and around screws
Another common issue is poor storage. Machines kept in damp sheds or left with product on the pad tend to perform badly next time. Clean gear lasts longer and gives a more consistent finish.
Training, Starter Kits And Workshop Support
For new users, the best way to begin is with a simple starter setup and a short skills session. That usually covers machine handling, pad and compound matching, cleaning between stages, safe working around paint and metal, and basic PPE. For teams that do marine repair or detailing, a workshop demo can help everyone follow the same process, which is useful when more than one person touches the same vessel or fitting set.
Starter kits are most effective when they are built around the actual work you do. A customer who only needs light maintenance on trim will not need the same set-up as someone correcting heavily weathered metal on repeated jobs. Support should also include consumables restocking and machine care guidance so the equipment stays ready between projects.
Budget Ranges For Marine Polishing Jobs In Rand
Budgets depend on the size of the fittings, the metal condition, access and whether the work is done on site or in a workshop. Small maintenance kits for light upkeep can start from a modest entry level, while a more complete machine, pad and compound set costs more once you add spare accessories and protective items. For a business that wants to work on multiple boats or fittings regularly, the spend grows with the number of machines and buffers needed.
As a broad guide, a basic single-machine setup with pads, buffs and compounds can sit in the lower thousands of Rand, while a fuller workshop-ready arrangement with both rotary and DA options, extra consumables and safety gear can move into a higher bracket. Training sessions and setup advice are usually best planned according to the work volume, not just the first purchase. In busy coastal areas, planned maintenance often costs less than repeated rework later.
For South African customers from Germiston, Johannesburg, Pretoria, Cape Town, Durban, Bloemfontein and the surrounding areas, the best starting point is usually a clear description of the metal, the size of the job and the finish you want to achieve. That lets the right kit and training be matched to the task.