When headlight haze starts affecting night driving
On many cars and bakkies, headlight lenses go dull from sun exposure, road grime, fine scratching and oxidation. In Gauteng heat, coastal humidity in Durban, and dust on long routes between towns, the surface can go milky or yellow even when the lamp unit is still sound. That is when careful polishing becomes a practical fix, especially before a roadworthy check or when the beam spread starts looking weak on dark roads.
For headlight work, the goal is not to chase a mirror finish like paint. It is to remove the damaged top layer in a controlled way and then refine it until the lens is clear enough to pass light properly. If the lens is badly cracked, heat-damaged from the inside, or full of deep pitting, polishing alone will not solve it and the unit may need replacement. A proper assessment saves time and prevents overworking a plastic lens.
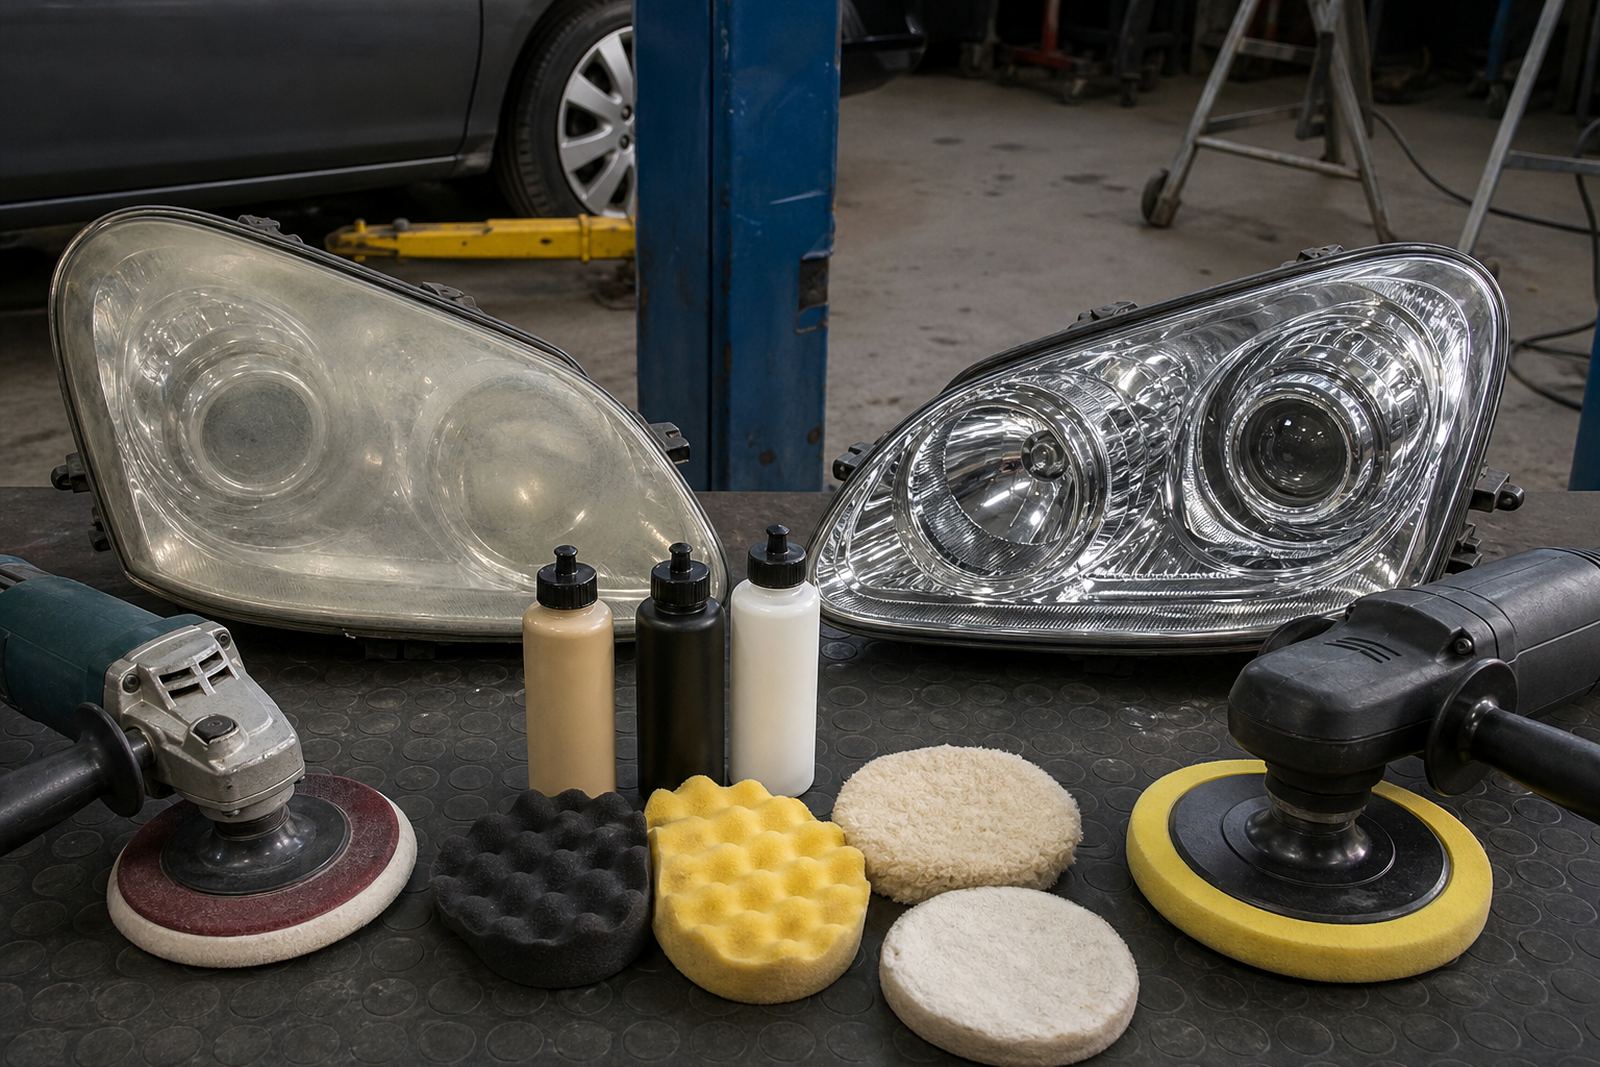
Typical kit for a headlight restoration job
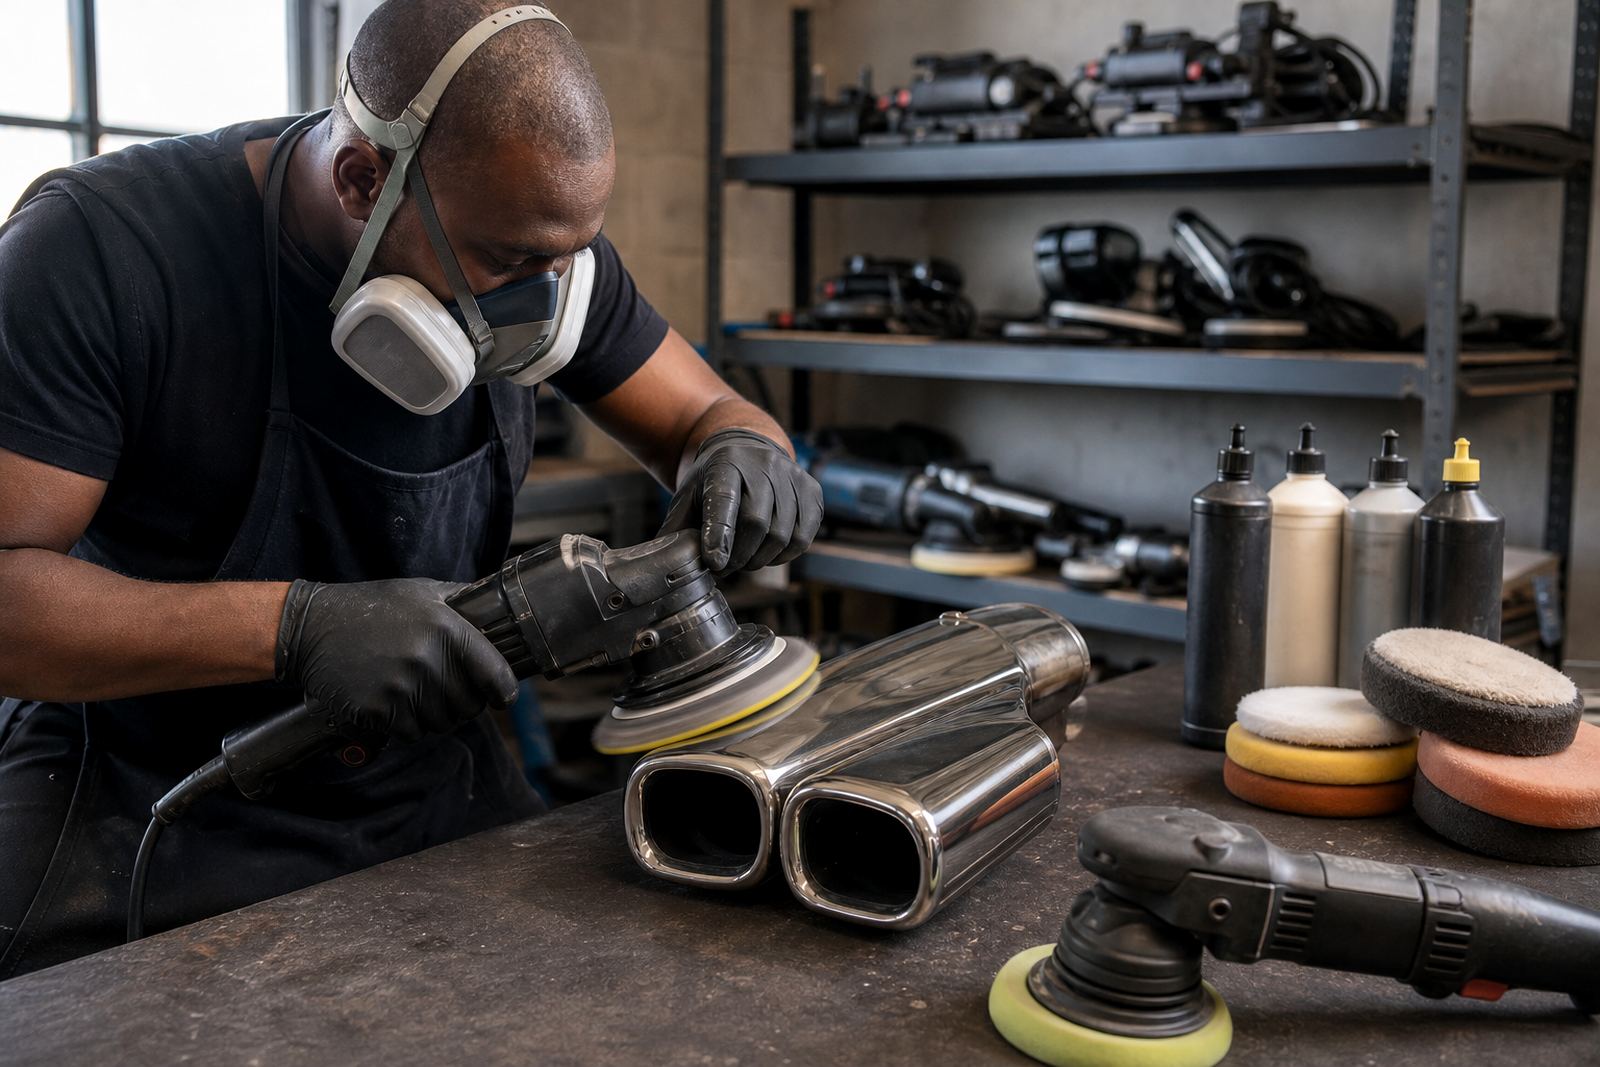
The right equipment depends on how far the lens has gone and whether the job is for one vehicle or a fleet. A rotary polisher gives strong correction and is best handled with care on curved plastic. A dual-action polisher is slower but safer for beginners and for finishing work, especially around tight edges and painted panels close to the lamp. For many headlight jobs, the safer choice is a DA first, then a light rotary pass only if needed.
- Dual-action or rotary polisher with speed control
- Foam or microfibre pads in cut, polish and finish levels
- Plastic-safe compounds and finishing polish
- Masking tape to protect paint and trims
- Microfibre cloths and clean applicators
- Spray bottle with clean water for wipe-down checks
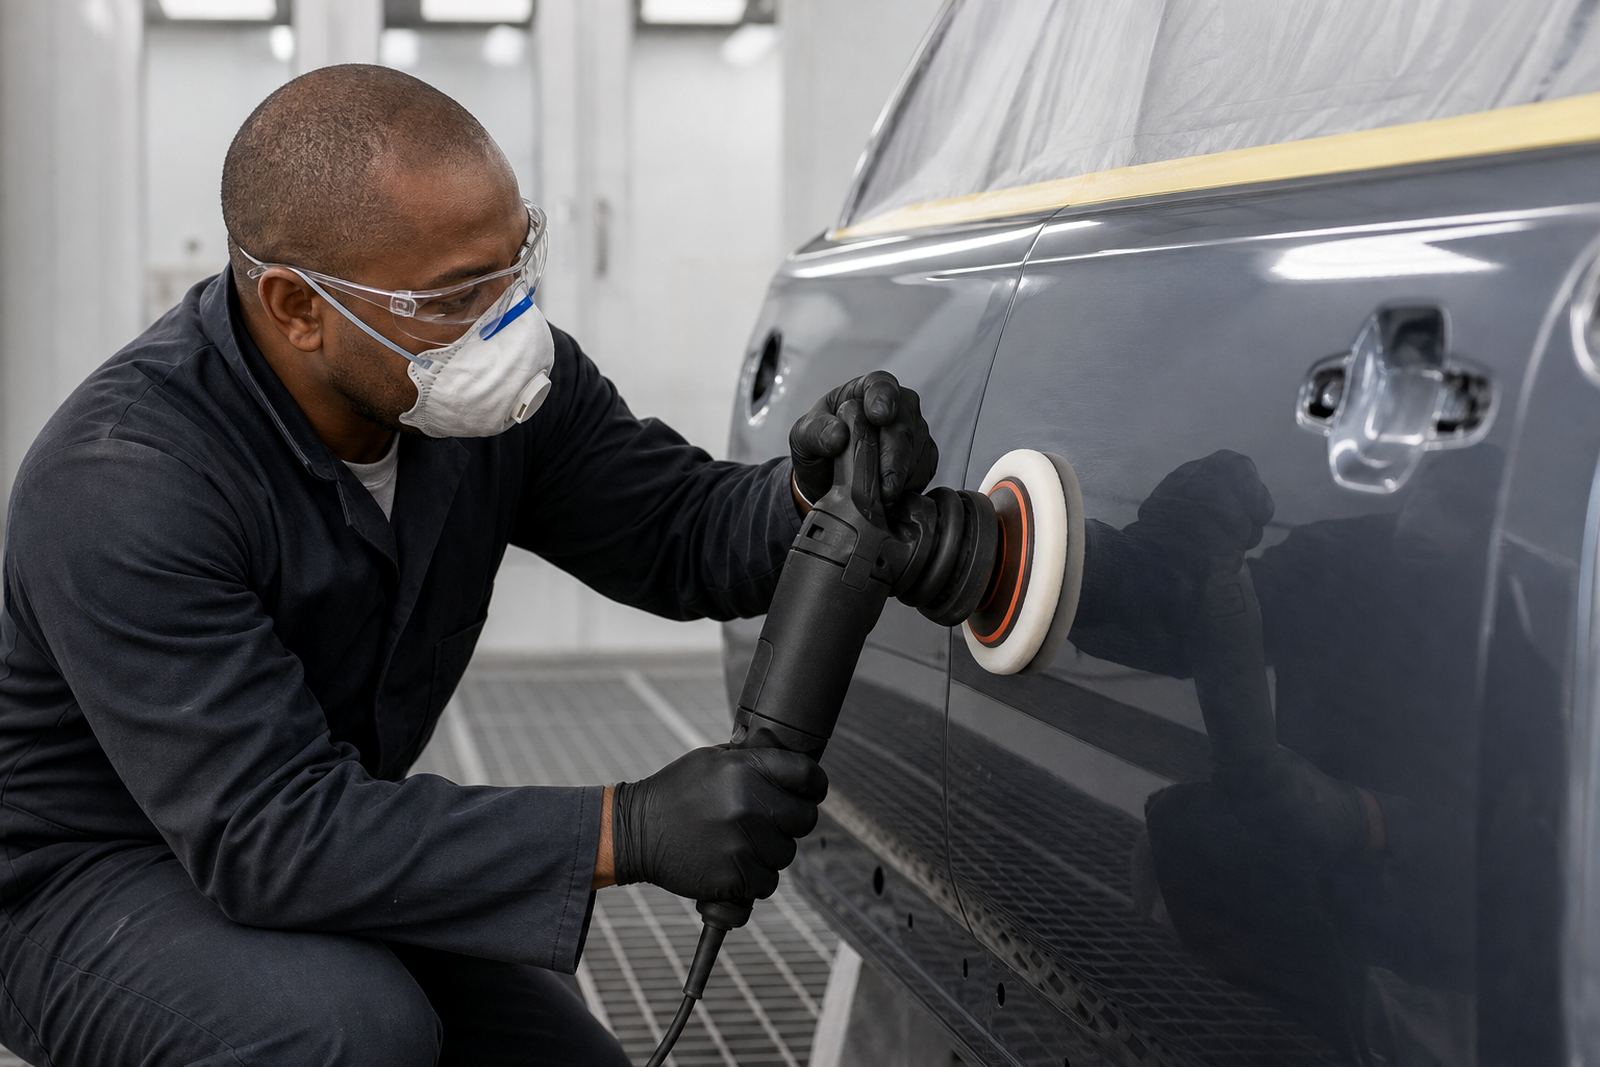
- PPE such as eye protection, gloves and a dust mask
We also advise a good inspection light so you can see swirl marks and haze while you work. If the vehicle has been standing in a workshop with poor lighting, the lens can look better than it really is until it is moved into sunlight. That is where mistakes show up fast.
Preparation before you touch the lens
Good prep is half the job. Wash the headlight area, remove tar and old wax, then dry the panel fully. If there is heavy oxidation, start with suitable wet sanding only where needed and step through the grit sequence evenly. Skipping grits leaves marks that a polish cannot always remove. It is also important to tape off the bonnet edge, bumper corner and guard line so you do not scuff surrounding paint or trim.
Before polishing, check that the lens is cool to the touch. Hot plastic can grab the pad and make the finish patchy. On a windy day in places like Germiston or Bloemfontein, dust can blow straight onto the panel, so a clean bay matters more than people think.Keep a torch handy and check your progress often.
How the polishing passes should be planned
Headlight restoration works best in stages. Start with the least aggressive option that will actually remove the damage. A medium-cut pad and compound may be enough for light haze. More serious yellowing may need a stronger cutting stage first, followed by a finer compound and a finishing pad. Keep the machine moving, use moderate pressure and work in small sections so heat does not build up on the lens edge.
Do not try to force clarity in one pass. That usually leaves haze, sling and small burnt patches around the corners. It is better to make two or three controlled passes than one aggressive one. If the lamp housing is close to textured plastic, grille inserts or fresh paint, slow the machine right down near the edge and reduce compound load. A little patience saves rework, and the finish ends up more even.
- Use lower speed on start up, then raise only as needed
- Keep the pad flat to avoid digging into curves
- Wipe residue often to check the true finish
- Refine each stage before moving to the next
- Seal the lens after polishing if the surface is exposed
Common mistakes that leave the job looking worse
One common mistake is treating the lens like body paint. Plastic reacts differently and can haze quickly if the pad is too hot or the compound too coarse. Another error is polishing around dirt. If grit is trapped in the pad or on the surface, it cuts new scratches straight into the lens. That is why clean pads and careful wipe-downs matter so much.
Some people also skip protection after restoration. Once the oxidised layer is removed, the lens is more exposed to UV and road grime. If no protection is applied, the haze can return faster than expected. On vehicles used every day in traffic, especially for delivery work or long commutes, a protective top layer helps keep the result usable for longer. It is also worth checking alignment after the job, because clearer lenses can make old beam issues more obvious.
Budget ranges for a practical headlight restoration
Budget depends on whether the customer is doing one car at home, setting up a small workshop, or training staff to repeat the process properly. For a simple starter approach, a basic machine, a few pads, compound and masking materials can be kept to a modest spend. A more complete setup for regular work will include spare pads, better lighting and consumables for repeat jobs. Training adds value because it reduces wasted pads, over-polishing and time lost on mistakes.
As a working guide, a home user might spend about R850 to R2 500 on a starter kit, depending on the machine and accessories chosen. A small shop setup for regular headlight work and related polishing can sit around R3 500 to R9 000. If you want guided training, machine care advice, pad and compound matching, and help choosing a layout for a workshop bench or mobile setup, the overall budget can rise further depending on the size of the team and the level of support needed.
For fleets, panel beaters and detailing operators, it often makes sense to build a restocking plan rather than buying random consumables each month. That keeps costs steadier and makes it easier to plan around seasonal demand. We help customers compare what they really need for their workload, not what looks impressive on a shelf.
Where this service fits for South African operators
Headlight restoration is useful for private owners, used car prep, body shops and mobile detailers across Johannesburg, Pretoria, Cape Town, Durban and Bloemfontein. It is also a good add-on for anyone already doing paint correction or metal polishing, because the same care around pad choice, speed control and surface safety applies. In Germiston and the East Rand, many workshops work around dust, limited drying space and regular power interruptions, so a repeatable process is important.
We support customers with beginner polishing training, rotary skills session, DA skills session, starter kit consultation and safety and PPE briefing. For headlight jobs, that means you can get advice on machine choice, compound matching, pad sequence and how to set up a tidy working area that is not too crowded. If your team is starting out, a short practical session is often enough to stop the usual errors before they cost money.
Clients reach us through the enquiry form on our contact page, and our team in Germiston supports supply and training across South Africa. Whether you are doing one car at home or building a proper workshop process, the aim is the same: clearer lenses, safer work and a finish you can repeat without guesswork.