When Exhaust Tips Need Proper Polishing
Exhaust tips often pick up heat marks, road film, brake dust, soot and water spots. On stainless steel, the finish can go dull around the outer lip first, while on plated or coated tips the problem may show as haze, fine scratches or uneven colour after washing. Cars used daily in Johannesburg traffic, Pretoria commuting or Durban coastal conditions usually need more frequent attention because grime builds up fast and moisture sits on the metal.
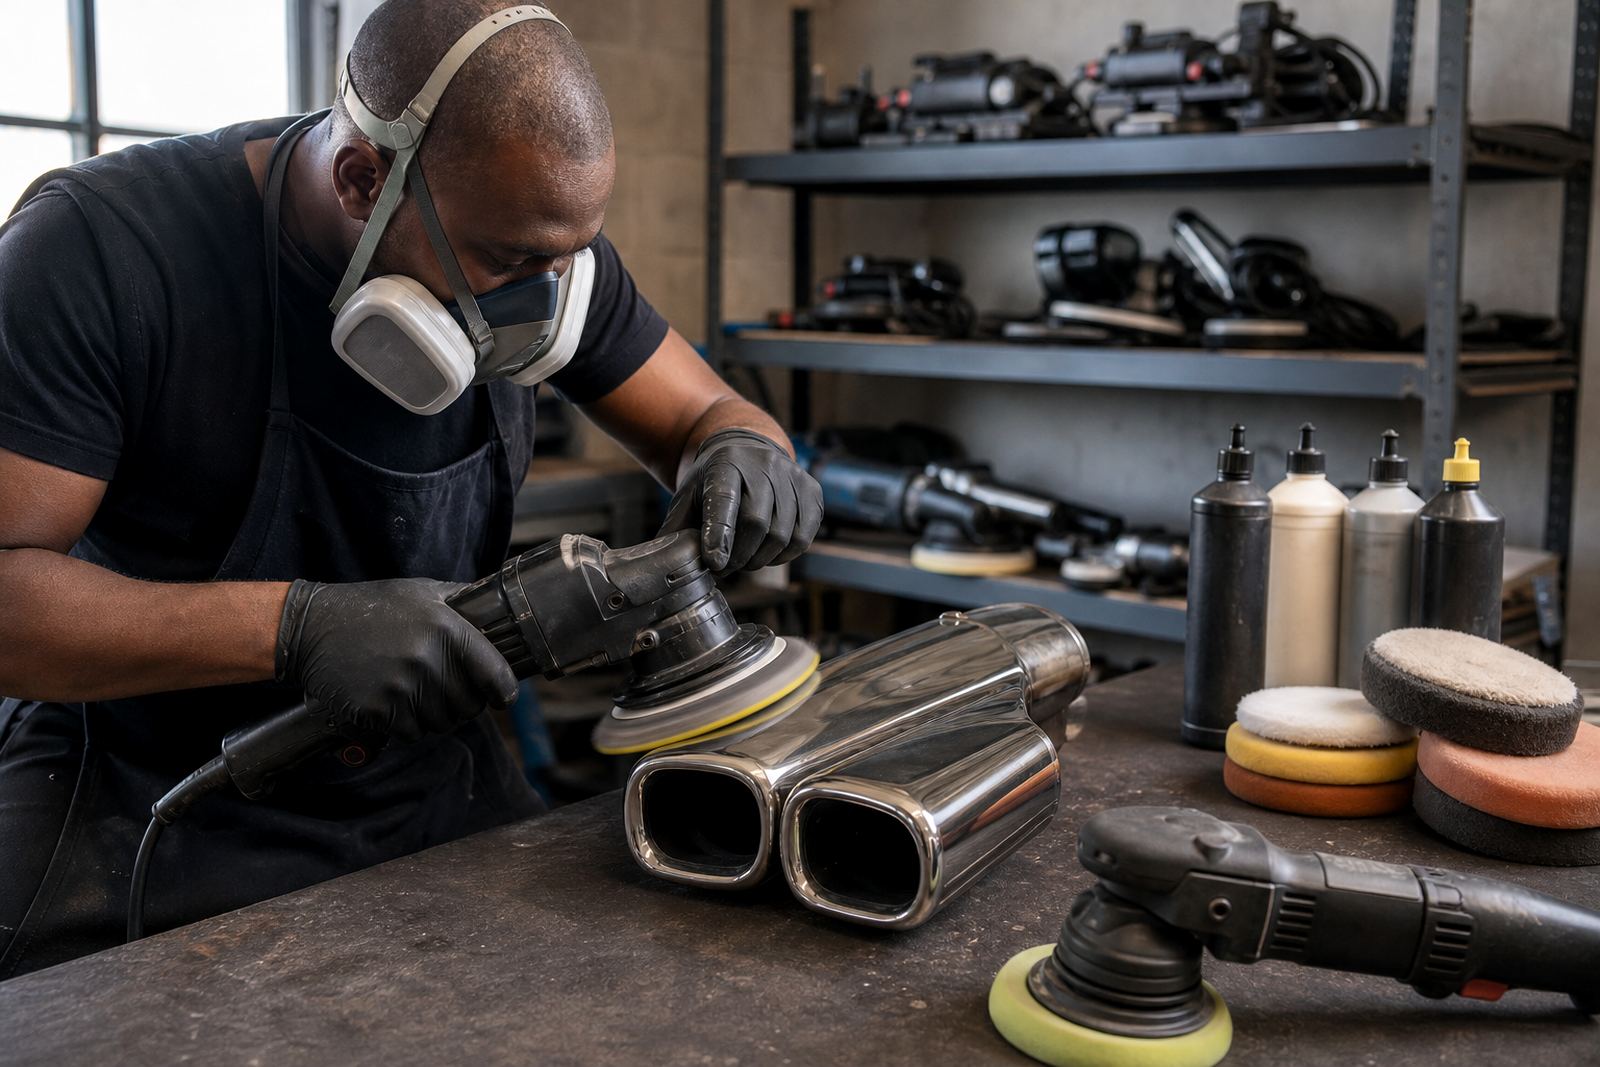
This work is about restoring appearance without thinning the metal or burning through the surface. A light polish on a tailpipe can make a big visual difference, but the method must suit the material. A polished stainless tip, brushed finish or decorative trim all need different pressure, different pad choice and careful residue removal. If the tip is hot, dirty or covered in baked-on carbon, start with a safe clean before any machine work. Rushing it is where marks happen.
Typical Polisher, Pad and Compound Setup
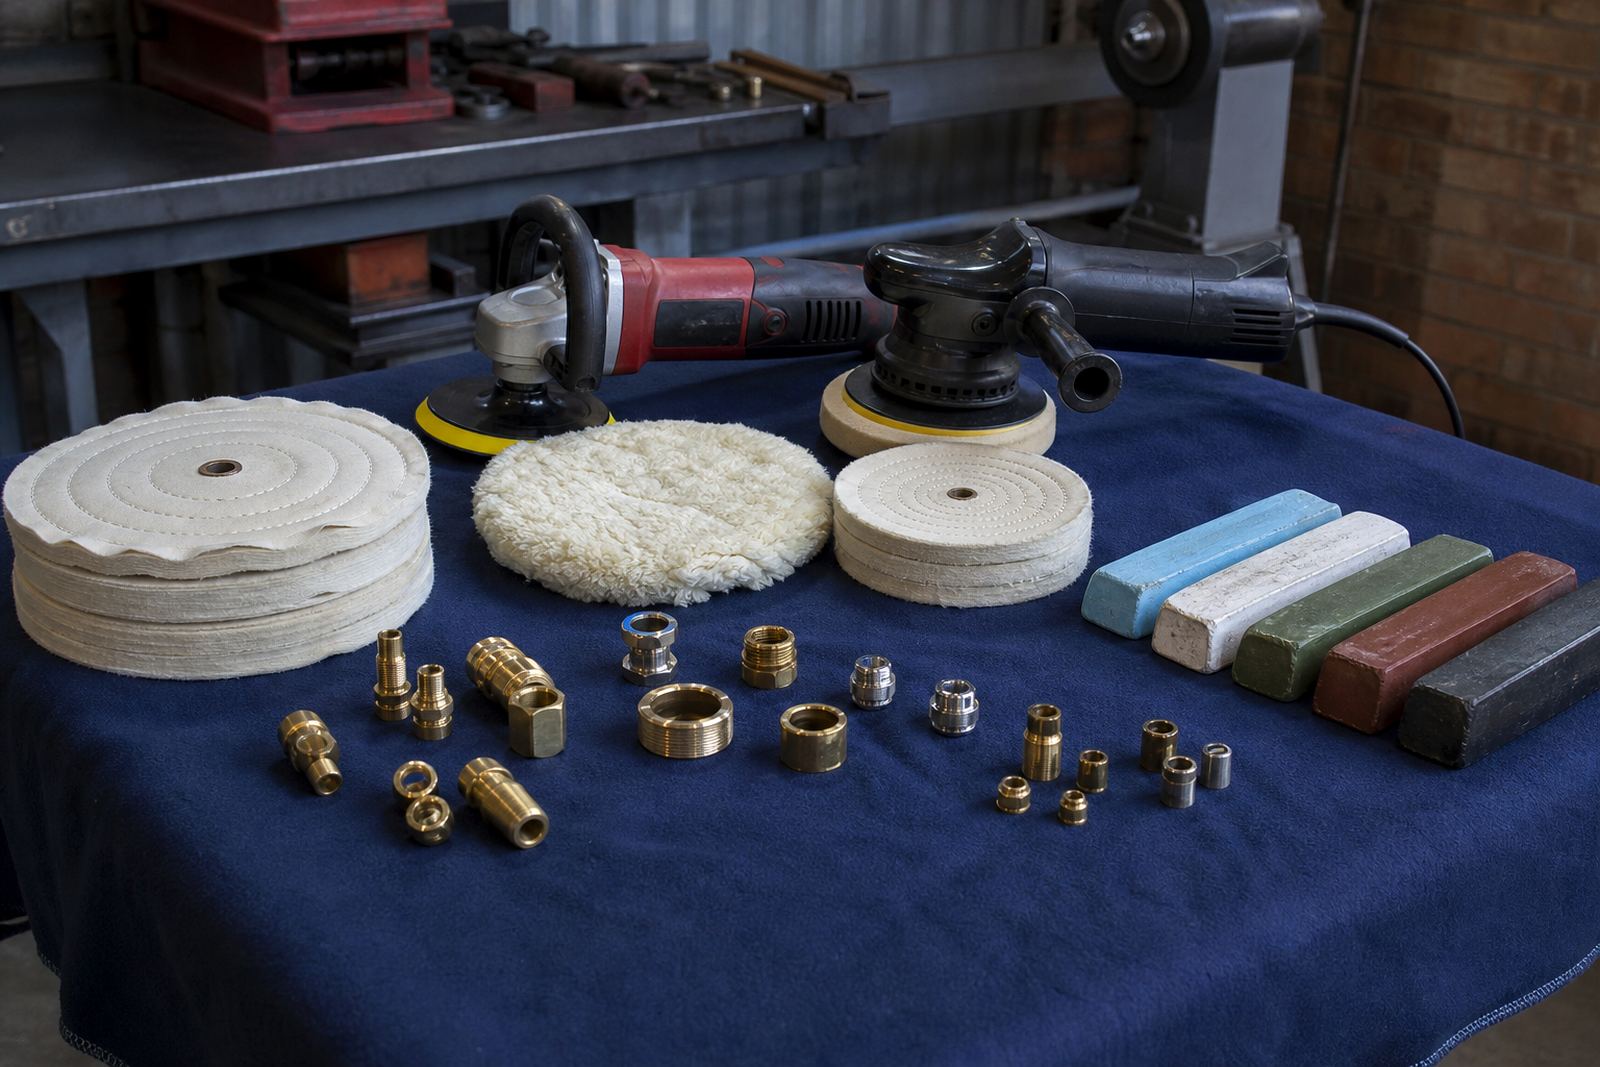
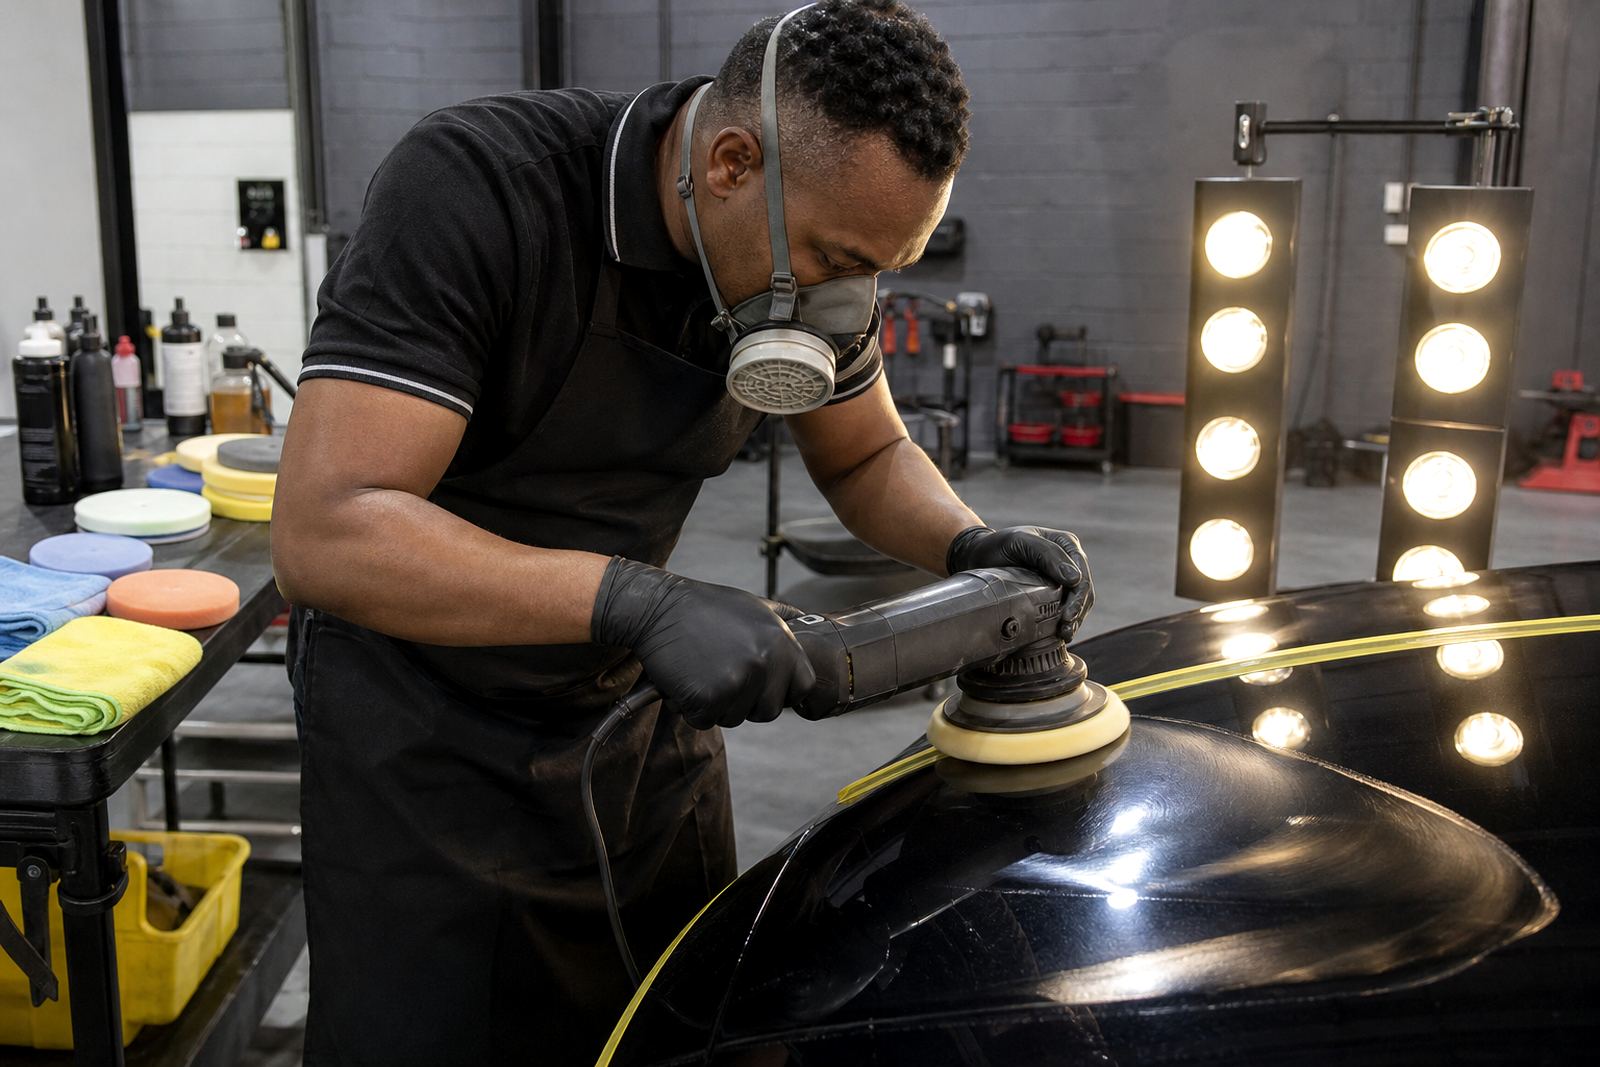
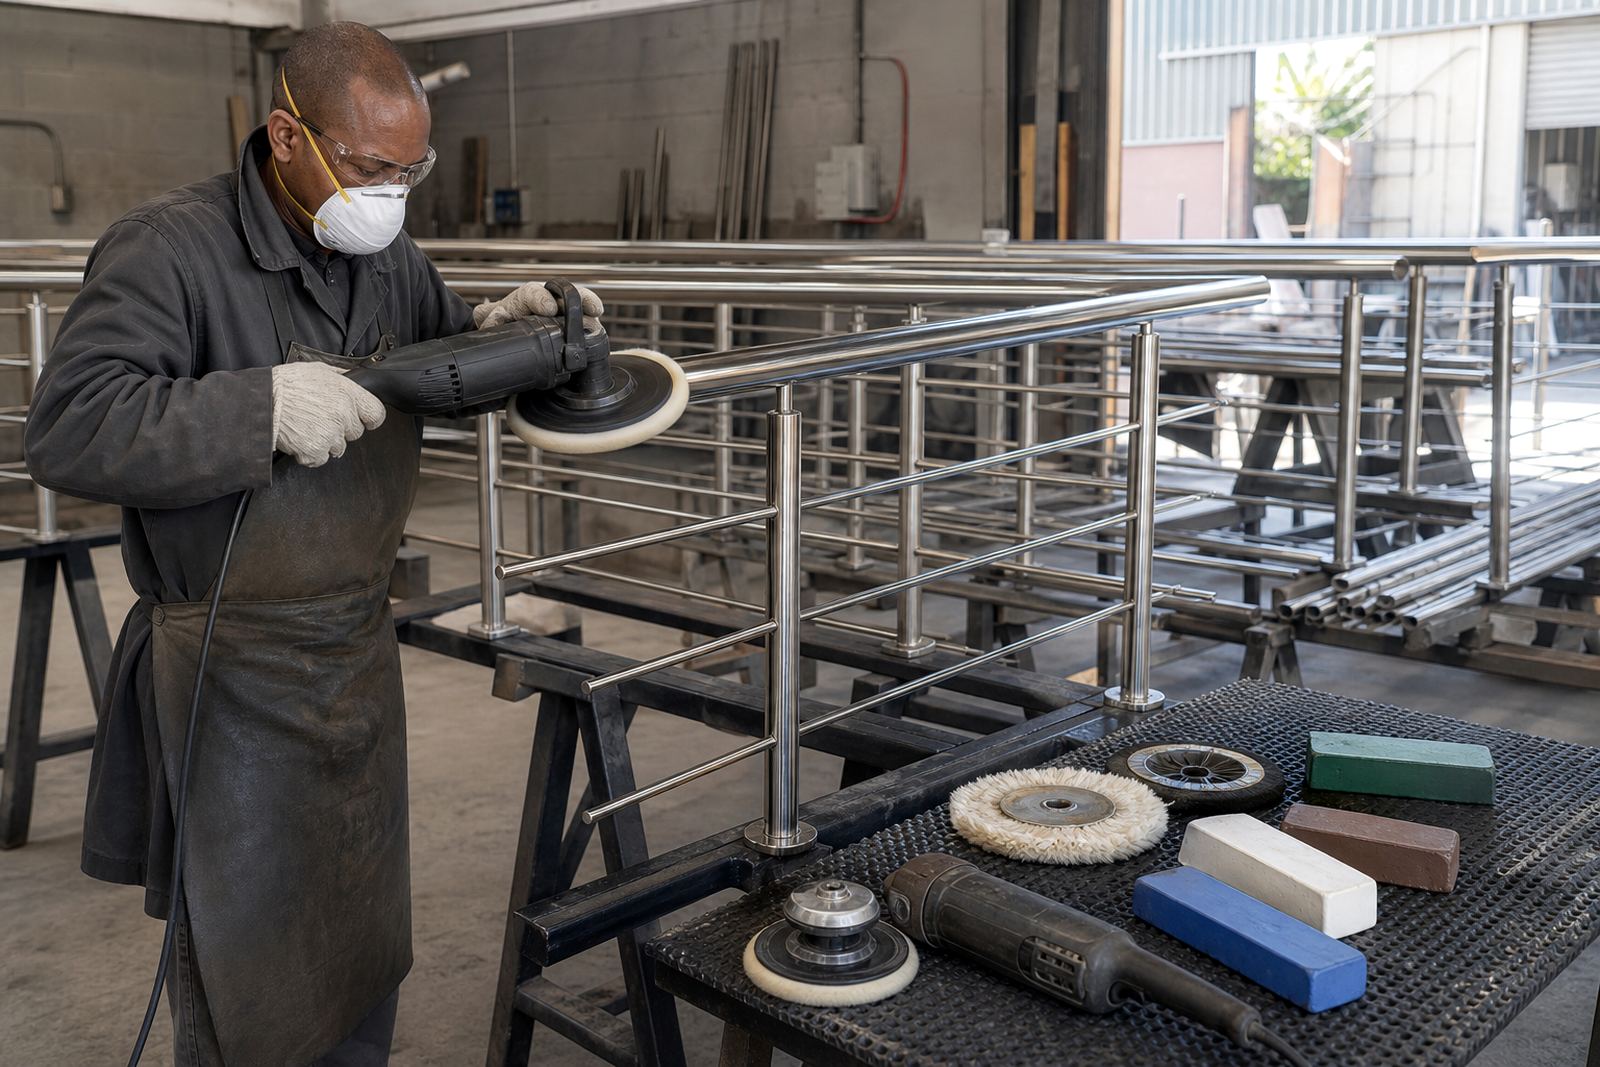
For exhaust tip polishing, the usual setup is a compact rotary polisher for cut and a dual-action polisher for lighter finishing. Rotary machines remove oxidation and stubborn marks faster, while dual-action machines are better for controlled finishing and reducing the risk of swirls. On narrow tips and tight bumper cut-outs, smaller backing plates and smaller pads give better control than large pads that can catch an edge.
- Microfibre or foam cutting pads for heavier residue on stainless steel
- Soft foam finishing pads for final gloss on clean metal or coated trims
- Fine or medium compounds matched to the surface condition
- Masking tape to protect paint, plastic trim and sensors
- Microfibre cloths for wipe-down and residue removal
- Degreaser or metal cleaner for pre-cleaning soot and road film
Pad and compound matching matters because an aggressive combination can leave haze on a small visible tip, especially where the exhaust sits close to a painted bumper. A careful operator will test one section first, then adjust speed and pressure. In our Germiston workshop advice, we also stress that dirty pads need to be cleaned often, otherwise they just push grime around and scratch the surface.
Layout And Planning For Workshop Or Mobile Use
If you are polishing exhaust tips in a workshop, plan the bay so the vehicle can cool fully and the work area stays free of grit. Good lighting at bumper height is important because fine scratches and buffer trails show quickly on reflective metal. If the job is done mobile, set up on level ground and keep the machine leads clear of tyres and wet patches. In wet weather or in coastal towns, extra drying time may be needed before starting, because trapped moisture can hide residue and cause a patchy finish.
For a small detailing setup, keep a separate kit for exhaust work so soot does not transfer onto paint correction pads. A sensible layout includes the machine, a small pad set, compounds, tape, brushes, cleaner and clean cloths within arm’s reach. That saves time and keeps the workflow tidy. If you are doing multiple vehicles in one day, label the pads by use, as using the same pad on both exhausts and body panels is not a good habit. It only takes one dirty pad to leave a ring on a fresh finish.
- Allow the exhaust to cool before starting, especially after highway driving
- Mask nearby paintwork and reverse sensors before machine work
- Use a clean, dry staging area for cloths and pads
- Keep a second towel set for final wipe-down only
Common Mistakes That Leave Marks Behind
The most common mistake is using too much pressure on a small surface. Exhaust tips are often curved, short and awkward to hold, so heavy pressure can create hot spots or uneven polish. Another common issue is running a pad too dry, or using the wrong compound on a coated finish. On polished stainless steel, that can leave grey smear marks that take longer to remove than the original dull patch. On coated trims, the wrong approach may strip the finish altogether.
People also forget about residue removal. Fine compound dust can collect on the lip and in the inner edge of the tip, then blow back onto the bumper later. After machine polishing, wipe the area carefully and inspect it from a few angles. If there are still lines or haze, step back to a softer pad and lighter product rather than trying to force the shine in one pass. Good polishing is usually about patience, not speed. And yes, a bright tip looks simple but the last 10 percent is the part that takes carefull hands.
- Do not polish a hot exhaust tip
- Do not let compound dry on painted surfaces nearby
- Do not use one worn pad for every stage
- Do not skip edge protection around bumper cut-outs
Budget Ranges For Small And Larger Setups
Budget depends on whether you are buying for a hobby garage, a detailing side hustle or a busy workshop. A basic entry setup for exhaust tip work can start with one machine, a small pad set, compounds, cloths and tape. A more complete setup includes both rotary and dual-action machines, extra backing plates, more pad sizes and a wider range of compounds for different metals and finishes. Training should also be part of the budget, because the right technique saves money on wasted pads and rework.
For a simple starter approach, allow roughly R1 500 to R4 000 for the first set of consumables and essentials, depending on what you already have. A more capable setup for regular metal and car finishing work may sit around R5 000 to R12 000 once you include better machine choice, more pads, safer storage and replacement stock. Workshop support, on-site team demonstration and starter kit consultation can help you choose the right combination for Johannesburg, Durban, Cape Town and other centres where turnaround time matters.
Training, Support And Next Steps
Exhaust tip polishing is a good entry point for learning machine control because the area is small, visible and unforgiving of poor technique. Our support covers beginner polishing training, rotary skills sessions, DA skills sessions, metal buffing training and paint correction coaching. We also help with pad and compound matching, starter kit consultation, workshop setup advice, consumables restocking, machine care guidance and safety and PPE briefing. That includes gloves, eye protection, a dust mask where required and advice on keeping the work area clean.
If you are polishing a fleet of service cars, premium vehicles or customer cars with custom tips, consistency matters more than fancy kit. A proper process gives you repeatable results and fewer call-backs. Clients can reach us through the enquiry form on our contact page for advice on machines, supplies and training that fits the work you actually do.
- Assess the metal before choosing compound strength
- Use smaller pads for tight exhaust surrounds
- Build a repeatable wipe-down routine
- Keep PPE on hand for every job