When Brass Fittings Need Buffing
Brass fittings show wear quickly because they are handled often, cleaned regularly and exposed to moisture, fingerprints and airborne dust. On doors, stair rails, marine hardware, furniture trims and decorative joinery, the surface can go from bright to cloudy in a short time, especially in coastal areas like Durban or in humid storerooms around Gauteng. Buffing is used to remove fine scratches, light tarnish and tool marks, then bring the metal up to a more even shine.
For restoration work, the aim is not to grind away detail. Brass edges, ridges and engraved lines must stay crisp. That means starting with the least aggressive setup that will do the job and only moving up if the marks remain. On plated or lacquered items, first check whether the fitting is solid brass or coated, because the wrong compound or a heavy hand can strip the finish very quickly.
- Light tarnish usually responds to a soft buff and fine compound
- Heavier marks may need a firmer sewn buff before final colouring
- Heat build-up can distort small fittings or leave patchy shine
- Any stubborn corners should be finished by hand, not forced on the wheel
Typical Machine Set-Up for Brass Work
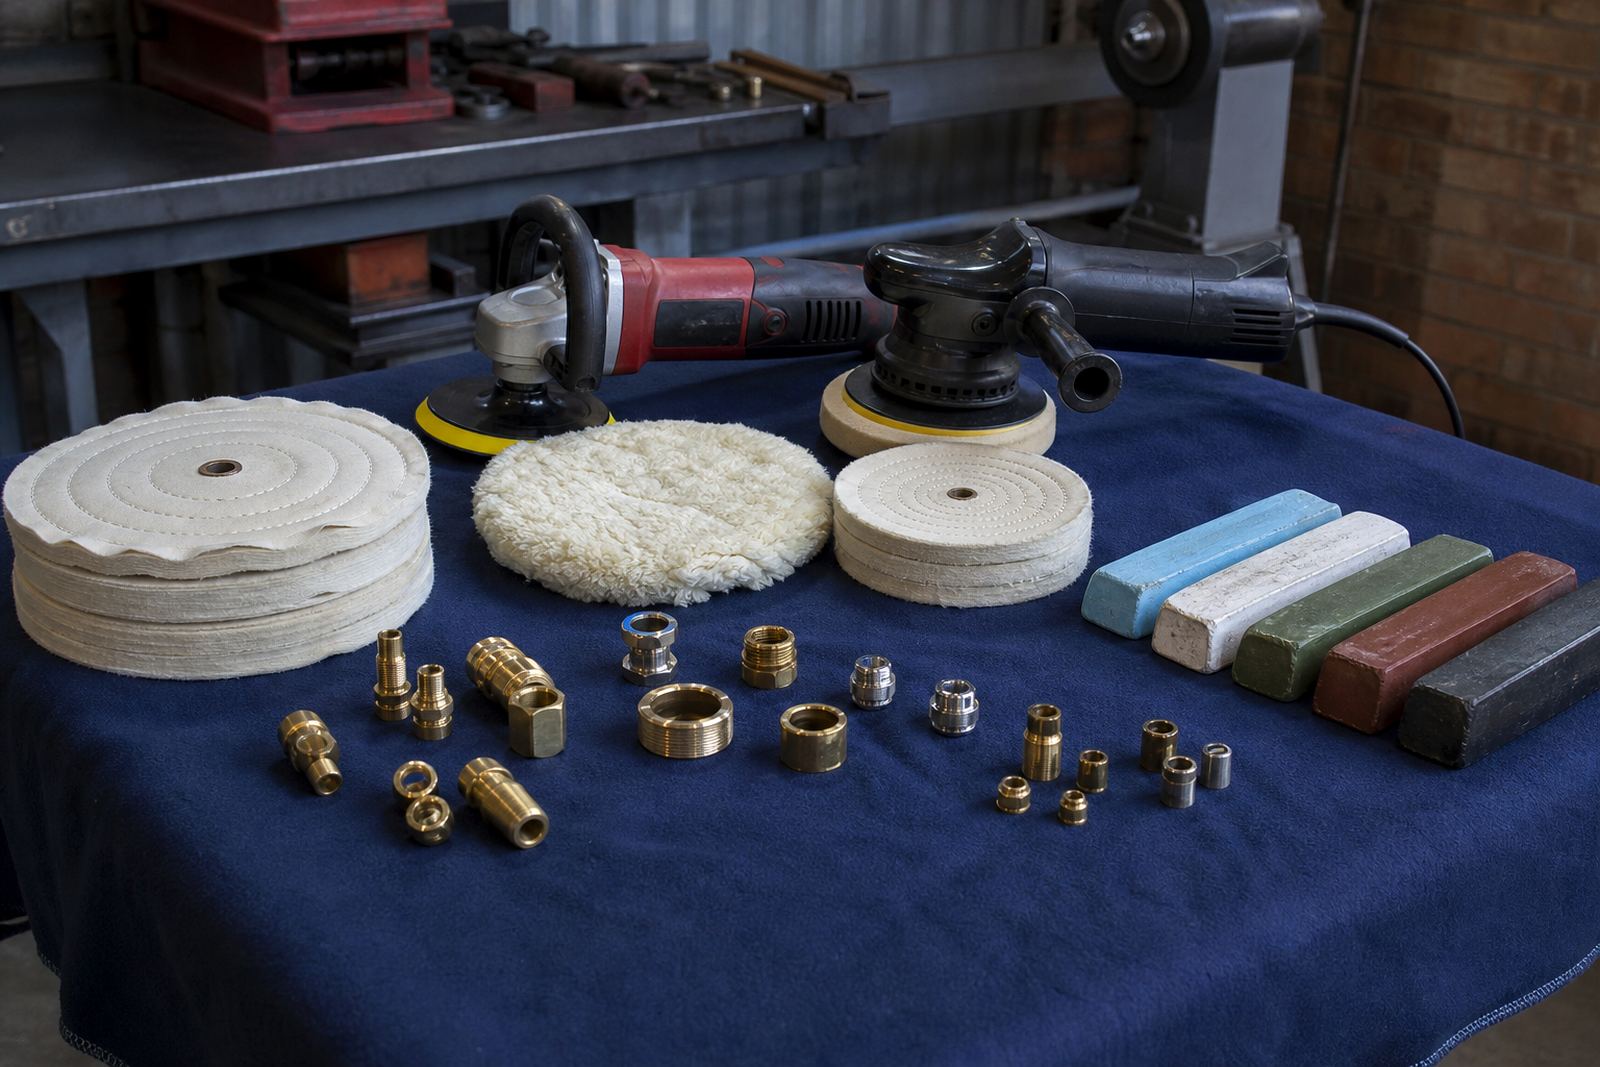
Brass fitting buffing is commonly done on a bench grinder style polishing machine or a dedicated motor with a spindle and mop wheels. A rotary machine gives direct cutting action for shaping the shine, while a dual-action polisher is more often used on larger flat decorative panels or painted surfaces nearby. For small hardware, the rotary setup is usually the main tool because it gives better control on edges and curves.
A sensible starter set includes a firm buff for cutting, a softer finishing mop, a suitable compound for brass and a safe way to hold small parts. If the fitting is tiny or awkward, use jigs, clamps or purpose-made holders so fingers stay clear of the wheel. Onsite teams in Johannesburg, Pretoria or Germiston often also need extraction or at least good ventilation because buffing throws fine residue into the air.
- Rotary polisher or bench motor for controlled metal buffing
- Cutting mop for removing fine marks and old oxidation
- Loose sewn or soft buff for final lustre
- Compounds matched to the condition of the brass
- Clamps, vises or holding fixtures for small fittings
- Gloves, eye protection and a dust mask or respirator where needed
Layout and Planning That Saves Time
Good brass buffing starts with layout, not the machine. Set up a clean bench with parts sorted by size and condition, and keep raw fittings separate from finished ones so they do not scratch each other. If you are working from a workshop in Germiston, the Vaal Triangle or the East Rand, plan for a dry storage area because brass picks up marks fast when it is stacked loose in humid or dusty conditions.
Think through the order of work before switching the machine on. A common sequence is cleaning, degreasing, light pre-sanding if needed, cutting, then finishing. If the fitting has a plated base metal underneath, the planning changes because the top layer may be thin. In that case the safer approach is to start with a finer compound and short passes, rather than chasing a deep shine too quickly.
- Sort parts by size, finish and level of damage before buffing
- Label fittings so right and left pieces do not get mixed up
- Keep a separate tray for finished items to avoid re-marking them
- Use short passes to prevent heat build-up and sling from the wheel
Technique for a Clean Brass Shine
The best brass finish comes from steady pressure and controlled movement. Let the wheel do the work, and do not jam the part into the buff. Work across the surface in small sections and keep the fitting moving so one spot does not overheat. On curved handles and decorative collars, follow the shape of the part rather than fighting it. If the brass starts to smear, the compound may be too coarse or the pressure too heavy.
For painted areas nearby, mask them off first so the compound does not stain the surrounding surface. For fittings on doors, cabinetry or marine interiors, clean the residue off between stages because leftover compound can sit in corners and spoil the final look. A final hand wipe with a clean cloth helps remove haze and lets you see whether another light pass is actually needed. Small fittings often need more patience than force, and that is where a good result is won.
- Use light pressure and keep the piece moving
- Match the buff to the stage of the job, cutting first then finishing
- Wipe between stages so residue does not hide marks
- Do not chase shine on a hot part, let it cool first
Common Mistakes That Ruin Brass Work
The most common mistake is using one compound for every stage. Brass often needs a step-down approach, especially when there are scratches from previous cleaning or repair work. Another error is holding the piece too long on the wheel, which creates flat spots, rounded detail and heat marks. On small door pulls or decorative escutcheons, this happens fast.
Dust safety matters too. Buffing residue is fine and easy to breathe in, so wear the right PPE and keep the area swept or vacuumed rather than blowing dust around. If the job includes old fittings from a renovation site, watch for sharp edges, old sealant and grime that can flick off the wheel. Workshops in Cape Town, Bloemfontein and Durban often face different conditions, but the same basics apply: control the work, keep it clean and do not rush the final stage.
- Using too aggressive a compound too early
- Overheating thin or plated fittings
- Buffing without holding the part securely
- Skipping PPE and dust control
- Leaving residue in grooves, knurling or corners
Budget Ranges for a Brass Buffing Setup
Budget depends on whether you are setting up a small repair bench, a workshop line or an onsite maintenance kit. A basic brass buffing starter setup for light work can often be built with a modest outlay, while a proper workshop arrangement with stronger machines, spare mops and better dust control will cost more. It is usually smarter to budget for the right buffs and compounds from the start rather than buying one cheap wheel that fails on the first few fittings.
As a practical guide, a small entry setup for occasional brass work can sit in the lower Rand range, while a more complete workshop package with training support, machine care guidance and consumable restocking will move into a higher bracket. If you need to set up a team in Johannesburg, Pretoria or Cape Town, factor in spare mops, safety gear and the time needed for a proper rotary skills session. The cheapest option is not always the least expensive once rework and wasted parts are counted.
- Basic starter kit for light brass work: about R1,500 to R4,000
- Mid-range workshop set-up with better machine and consumables: about R4,000 to R12,000
- More complete production or restoration set-up: R12,000 and up depending on accessories
- Allow extra budget for PPE, replacement buffs and training