Where Architectural Metal Finishing Fits In
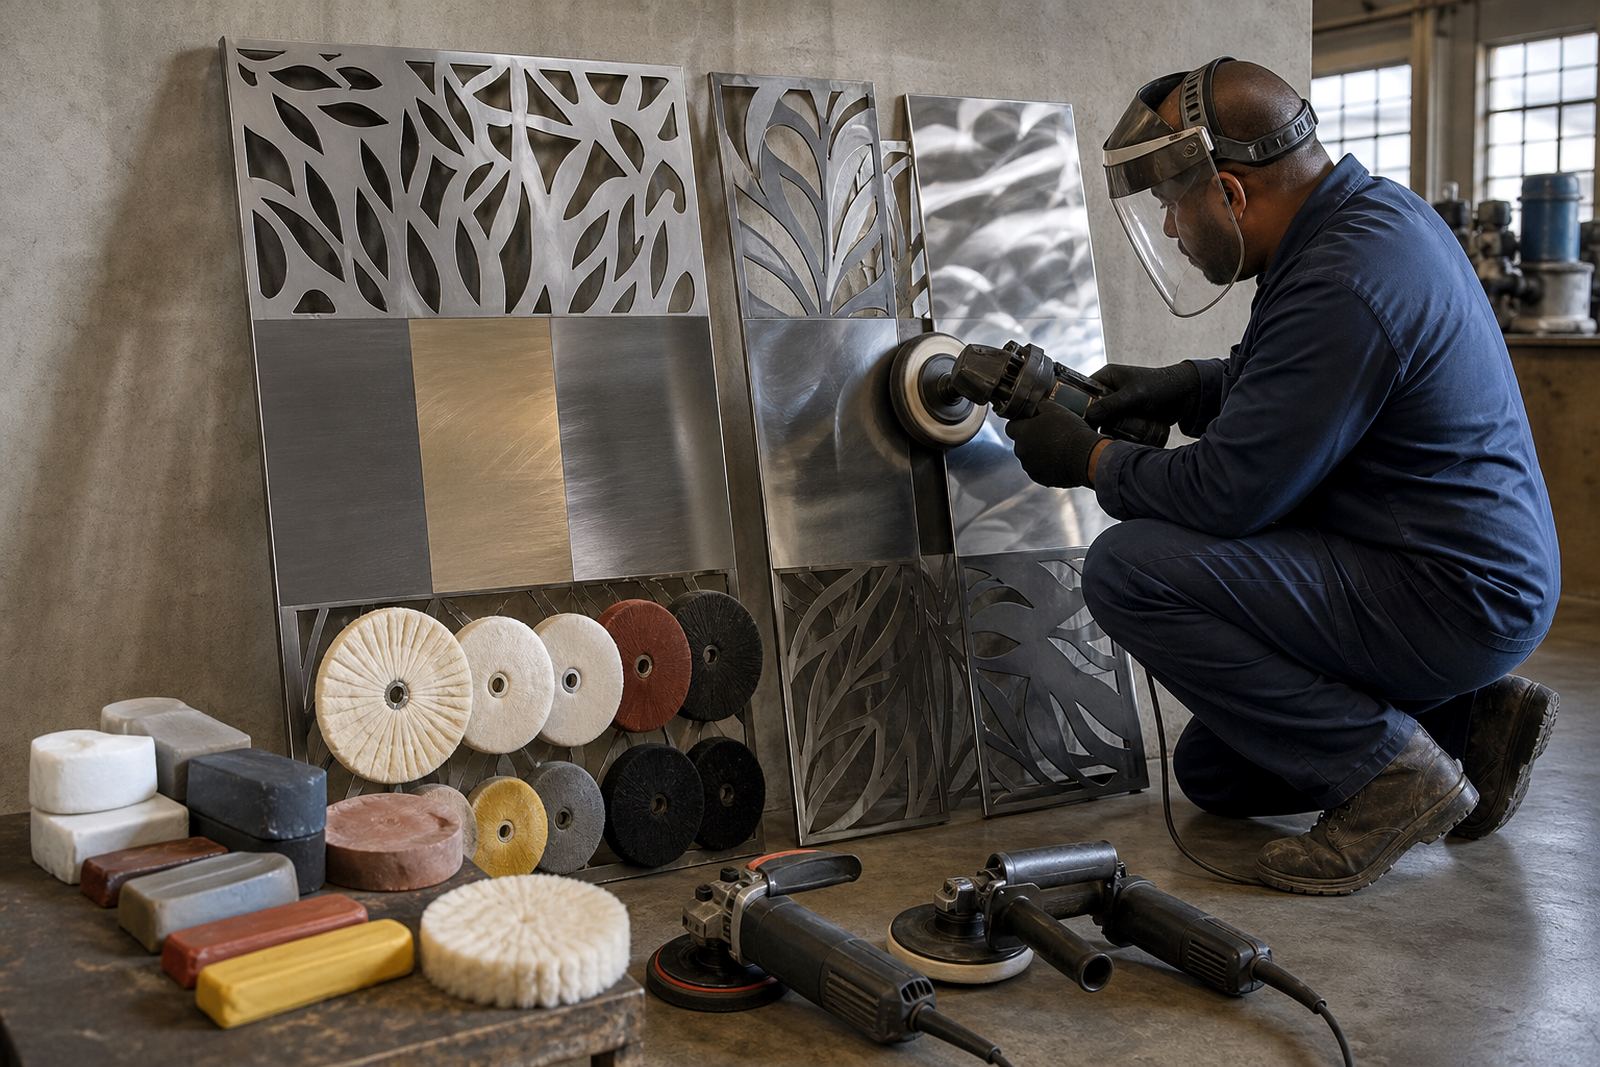
Architectural metal shine is used on items that people see up close every day, so the finish has to be consistent from corner to corner. That includes gate inserts, stainless handrails, aluminium trims, feature cladding, lift surrounds, brass detail work and mild steel pieces that have been prepared for a polished look. In Johannesburg, Pretoria and Germiston we often see these jobs coming from fabricators, fitters and small workshops that need a final surface before delivery or after installation.
The client situation is usually the same: the fabrication is complete, welds have been dressed, and now the surface needs a clean final appearance without heat marks, swirl lines or uneven dull patches. Coastal humidity in Cape Town and Durban can also mean extra care is needed with cleaning and protection after polishing, while inland dust from sites around the East Rand and Vaal Triangle can settle into fresh compounds if the area is not controlled properly.
Good results start with understanding the base metal. Stainless steel, aluminium, brass and coated mild steel each react differently to pressure, speed and compound selection. A polished finish on architectural work is not only about making metal look bright, it is about matching the level of sheen across sections so doors, frames and panels look like one continuous job.
Typical Equipment For Metal And Paint Polishing
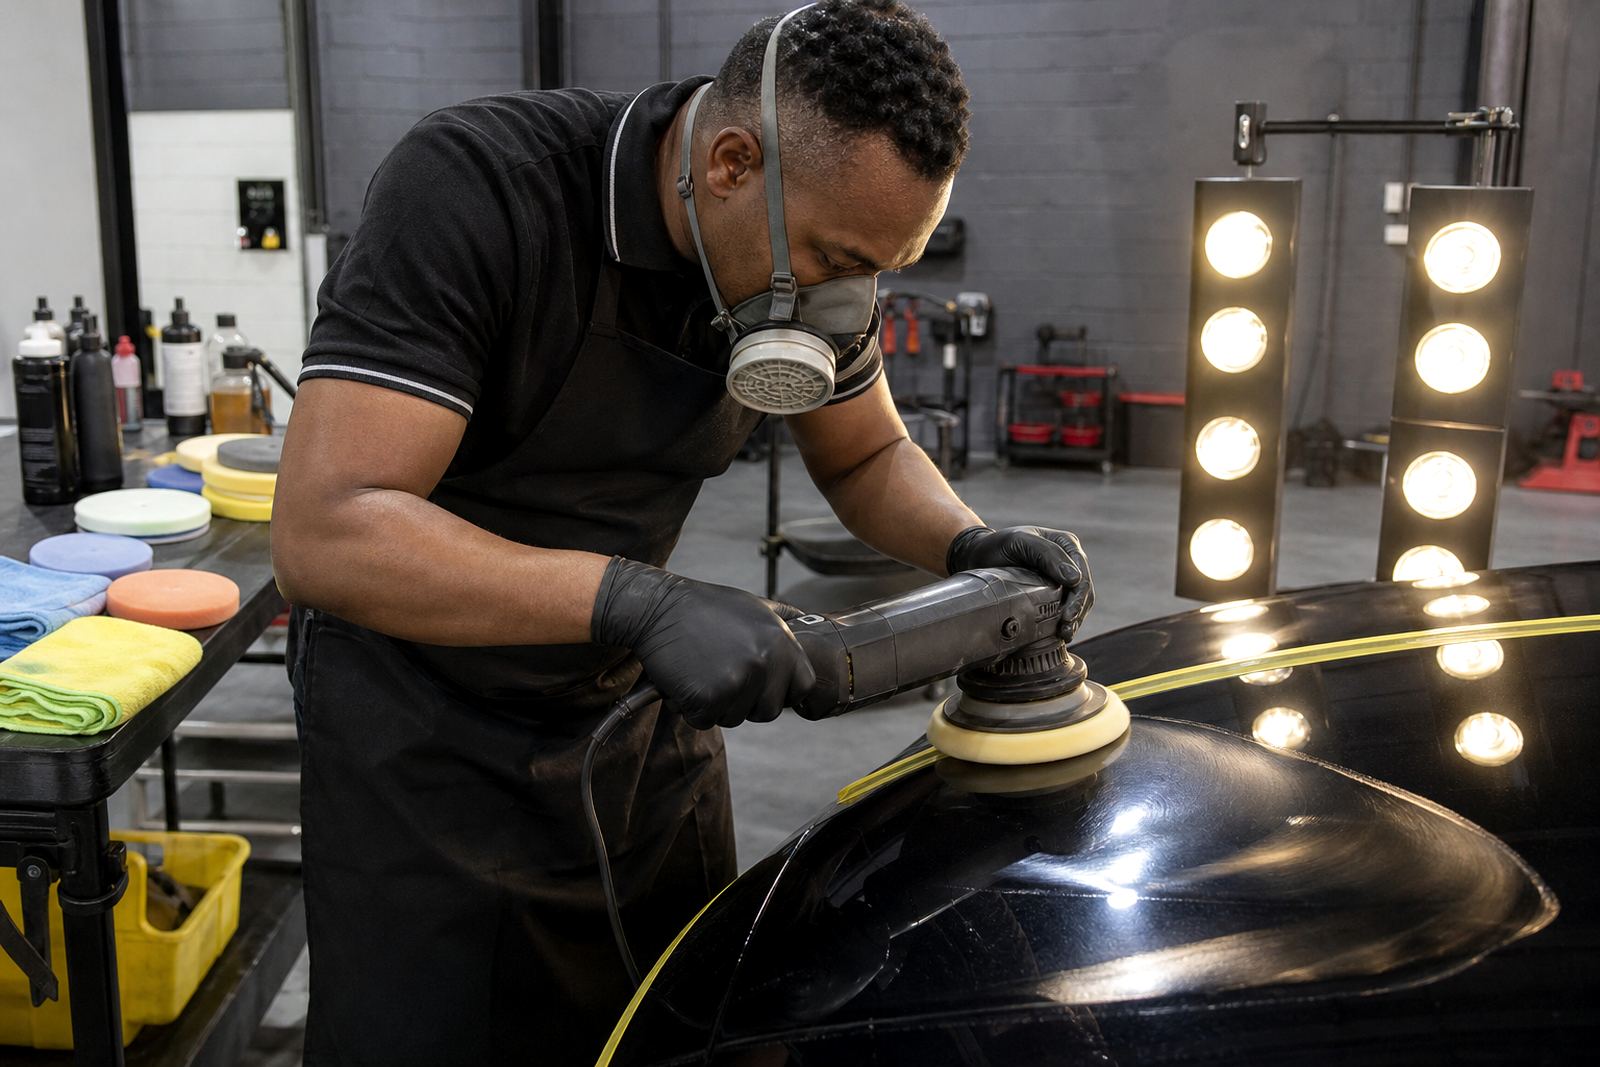
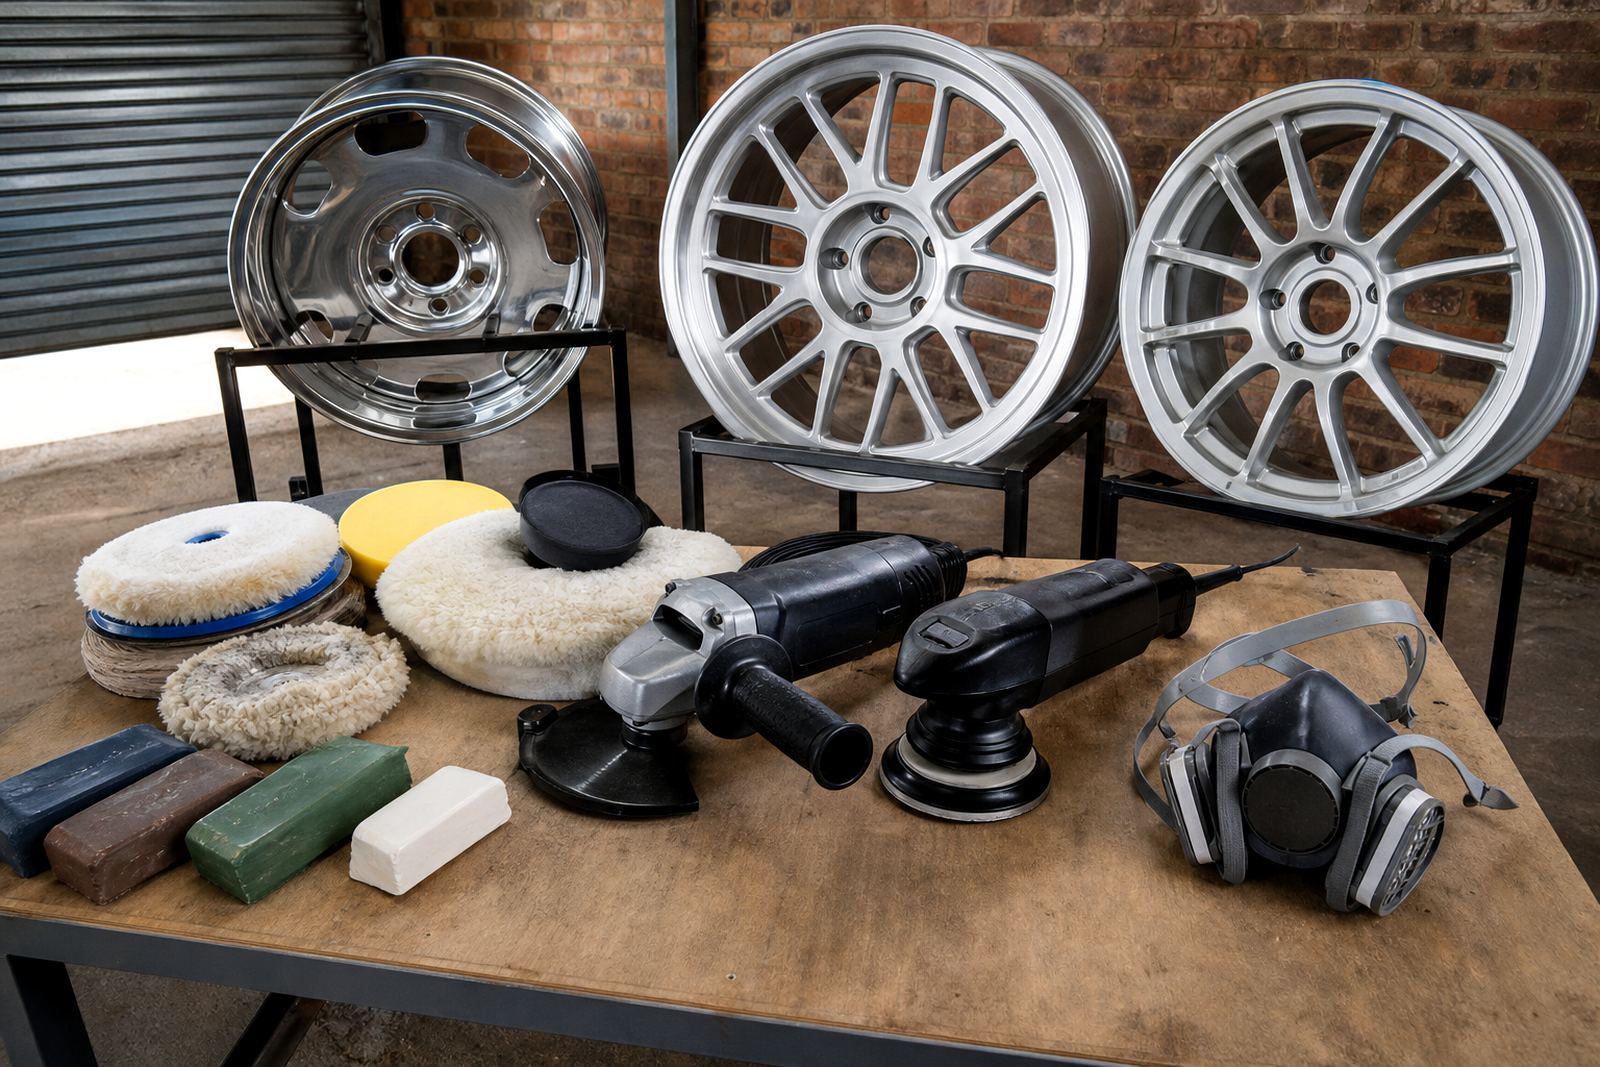
Most architectural metal work is handled with either a rotary polisher or a dual-action machine. A rotary machine gives direct cutting power and is useful for removing sanding marks, levelling oxidation and working compounds into harder metals. A dual-action machine is slower to cut but kinder on sensitive surfaces, so it helps when the target is a finer finish with less risk of marking. For some work, a small spot tool is useful on corners and joins, but it should be used with care so it does not dig into edges.
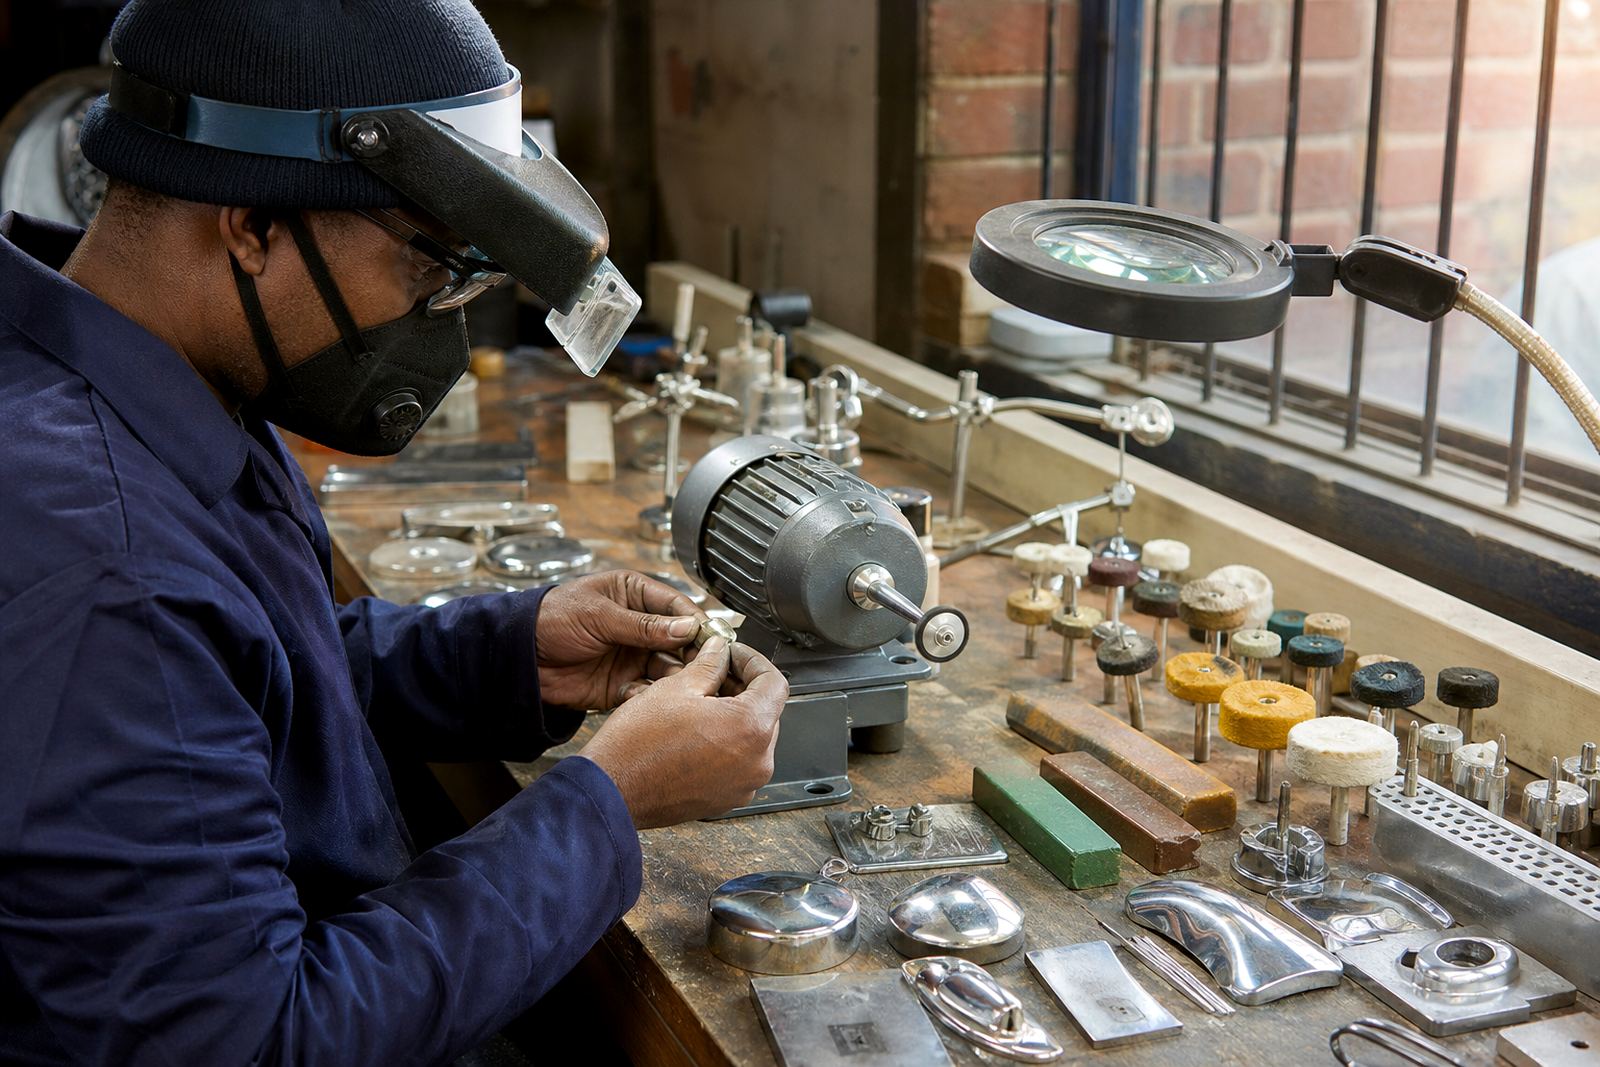
Buffs and pads must match the job. Sisal, stitched cotton and loose cotton buffs are common for metal, while foam pads are more often used for paint correction or the final finishing stage. Compounds also need to match the material and stage of work, from cutting compounds for heavier scratches to finishing compounds for a brighter last pass. On architectural jobs, the wrong pad and compound can leave drag marks, holograms or black residue along seams.
- Rotary polisher for stronger cut on metal and weld preparation
- Dual-action polisher for lighter finishing and paint-safe correction
- Sisal and cotton buffs for staged metal polishing
- Cutting compound, medium compound and finishing compound
- Microfibre cloths, masking tape and clean applicators
- Dust masks, eye protection and gloves for safe handling
For workshops in Gauteng, a stable work area matters just as much as the machine. A bench or stand at a sensible height reduces fatigue, and good lighting helps you spot sanding lines before they show on site. If the job is being done in a small shop, separate metal polishing from paint work so dust and compound do not cross over. That simple planning saves time and keeps the finish cleaner.
Layout Planning Before The First Pass
Before polishing starts, map the whole job. Work out which sections will be seen in direct light, where joins will sit, and which edges need masking to protect adjacent surfaces. On decorative architectural pieces, especially curved panels and handrails, it helps to break the job into small zones so the finish stays consistent from one side to the next. If the team works too fast, you can end up with one section glossy and the next one slightly dull, which is hard to fix later.
Technique should always follow preparation. Start with the correct sanding stage for the surface condition, then move through compound stages in order. Keep pads clean, use light to moderate pressure and allow the machine to do the work. On stainless or brass, overheating can change the look of the metal and leave visible burn patches. On painted items, too much pressure can cut through the clear coat at edges and corners.
- Check the base finish before choosing the machine or compound
- Mask nearby glass, powder-coated frames and sensitive trim
- Use a test patch on one hidden area before full production
- Work in a fixed order so the sheen stays even
- Clean the part between stages so grit does not re-cut the surface
For site work in places like Pretoria CBD, Sandton, Cape Town city bowl or Durban industrial areas, access can be tight, so plan power points, ventilation and movement before you arrive. If you are working on installed architectural pieces, confirm with the client who is responsible for access, cleaning and final handover. That avoids delays and keeps the job moving.
Common Mistakes That Ruin A Good Finish
The most common mistake is jumping straight to a heavy compound when the surface still has sanding marks. Another frequent problem is using one buff for every stage. Once a pad picks up coarse residue, it can carry that grit into the finishing pass and leave fine scratches over the whole panel. A fresh cloth or cleaned buff between stages is worth the time.
Heat is another issue. Rotary polishers can build temperature quickly, especially on edges, welds and thin sheet. If the operator stays in one spot too long, the finish can go patchy or the metal can discolor. That is why training matters. The right movement, overlap and speed are part of the process, not an afterthought.
- Using the wrong compound for the metal type
- Skipping sanding steps and expecting the compound to fix deep marks
- Working with dirty buffs or contaminated cloths
- Polishing too hard on corners, welds and thin edges
- Ignoring dust control and PPE on dry jobs
- Trying to rush final finishing before inspection
Safety is not optional. Fine dust from sanding and dried compound residue can irritate eyes and lungs, so use a dust mask or respirator where needed, plus eye protection and gloves. Keep the area tidy, especially when polishing near municipal buildings, malls or residential developments where housekeeping standards are stricter. A clean work zone also helps reduce slip risk when compound lands on the floor.
Budget Ranges For Workshop And Site Jobs
Budget depends on the size of the job, the metal, the starting condition and whether the work is done in a workshop or on site. A small starter setup for light architectural finishing can be kept lean, while a fuller workshop kit for regular fabrication work needs more than one machine, several buffs and a proper stock of compounds. For South African buyers, it helps to think in stages so cash flow is easier to manage.
As a rough guide, a basic polishing entry setup can sit in the lower Rand range, while a more complete setup with rotary and dual-action machines, assorted buffs, compounds and safety gear will cost more. Consumables should also be budgeted for every month, because pads wear, compounds are used up and cloths need replacing. If the team is doing regular site work across Johannesburg, Pretoria, Bloemfontein, Durban and Cape Town, travel and replacement stock must be included too.
- Entry starter kit: roughly R2 500 to R7 500
- Workshop-ready kit: roughly R8 000 to R20 000
- Expanded production setup: roughly R20 000 to R45 000 plus consumables
- Training session and setup advice: priced according to scope and travel
Starter kit consultation helps avoid buying the wrong items first. A small team may only need one rotary machine, one dual-action machine, a few metal buffs, one paint-safe pad set and a selection of compounds.
Training That Builds Confidence On Real Jobs
Training is useful when the team is doing decorative metal for the first time, or when the finish standard needs to be more consistent across different installers. Beginner Polishing Training, Rotary Skills Session, DA Skills Session and Metal Buffing Training all help operators understand how pressure, speed and surface condition affect the final result. Paint Correction Coaching and Pad And Compound Matching are also useful where the same workshop handles both metal and vehicle work.
At our Germiston base, support often starts with a simple conversation about the job in front of the team. A workshop lead may need help setting up the polishing bay, choosing consumables and planning a cleaning routine between stages. A site team may need an onsite demo and a Safety And PPE Briefing before starting on a large decorative install. That practical guidance helps reduce waste and gives the crew a more predictable result, which clients notice straight away.
Whether the job is a single feature panel or a full run of balustrades, the goal is the same: controlled shine, cleaner edges and a finish that suits the building. If you need help with tools, compounds or the process, use the enquiry form on our contact page and we can point you in the right direction.