When Paint Correction Is the Right Job
Most car owners come in when the paint still has life in it but looks tired under sunlight, workshop lights or evening street lamps. Swirls from washing, light water spotting, sanding marks from previous repairs and oxidation on older clear coat can often be improved with machine polishing. On darker colours the marks show quickly, while white and silver may hide defects until the light hits at a sharp angle.
For daily drivers in Johannesburg, Pretoria, Durban and Cape Town, the aim is usually practical: better gloss, clearer reflections and a cleaner finish without cutting too much clear coat. If the panel has deep scratches, through-coat damage or bodywork faults, polishing will not fix that. In those cases the panel needs proper repair before any finishing work begins.
Choosing the Right Machine for the Panel
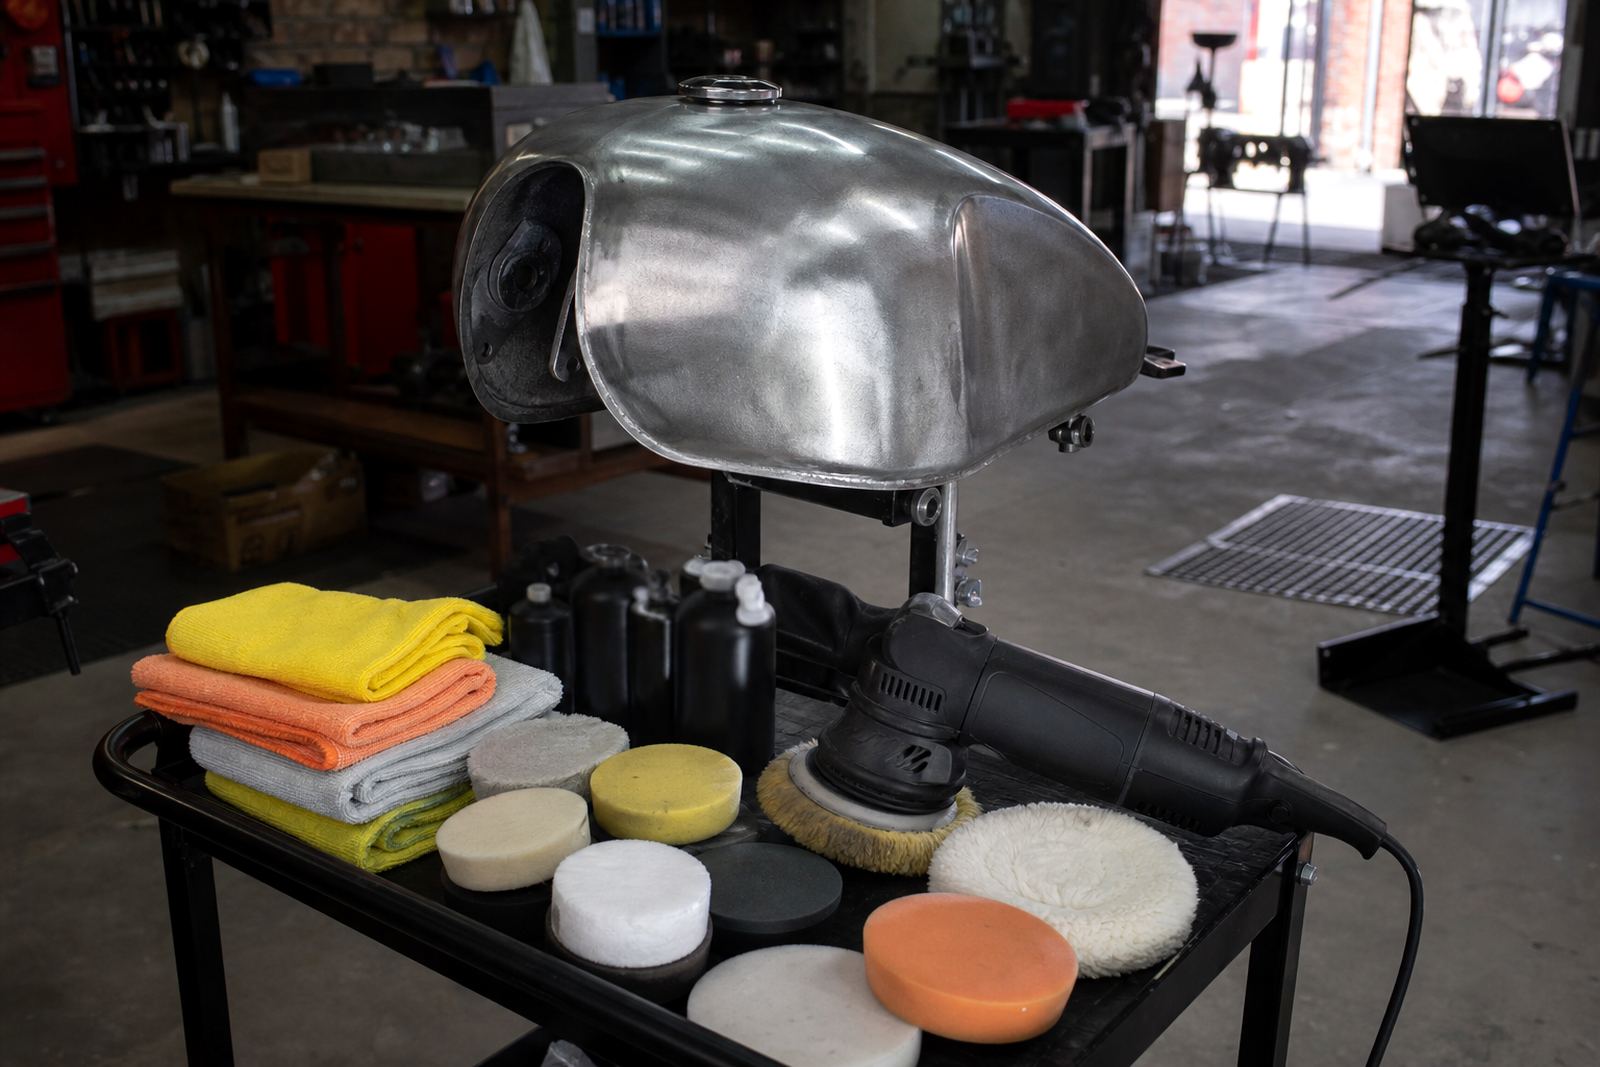
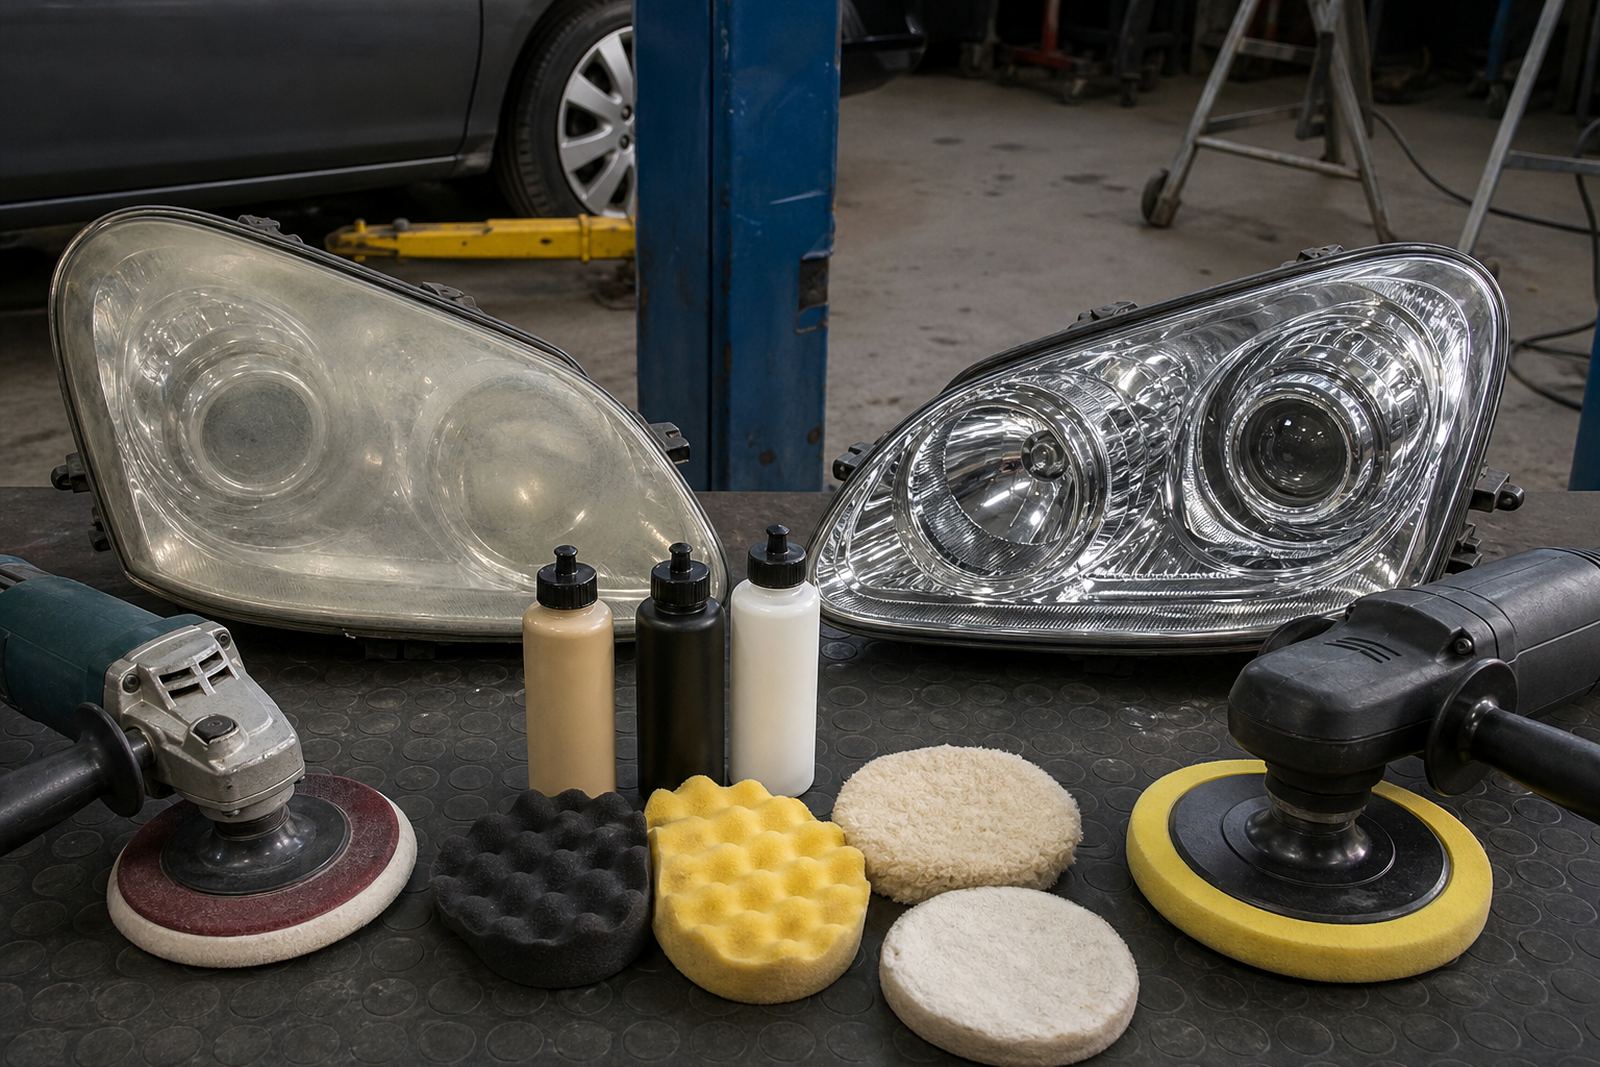
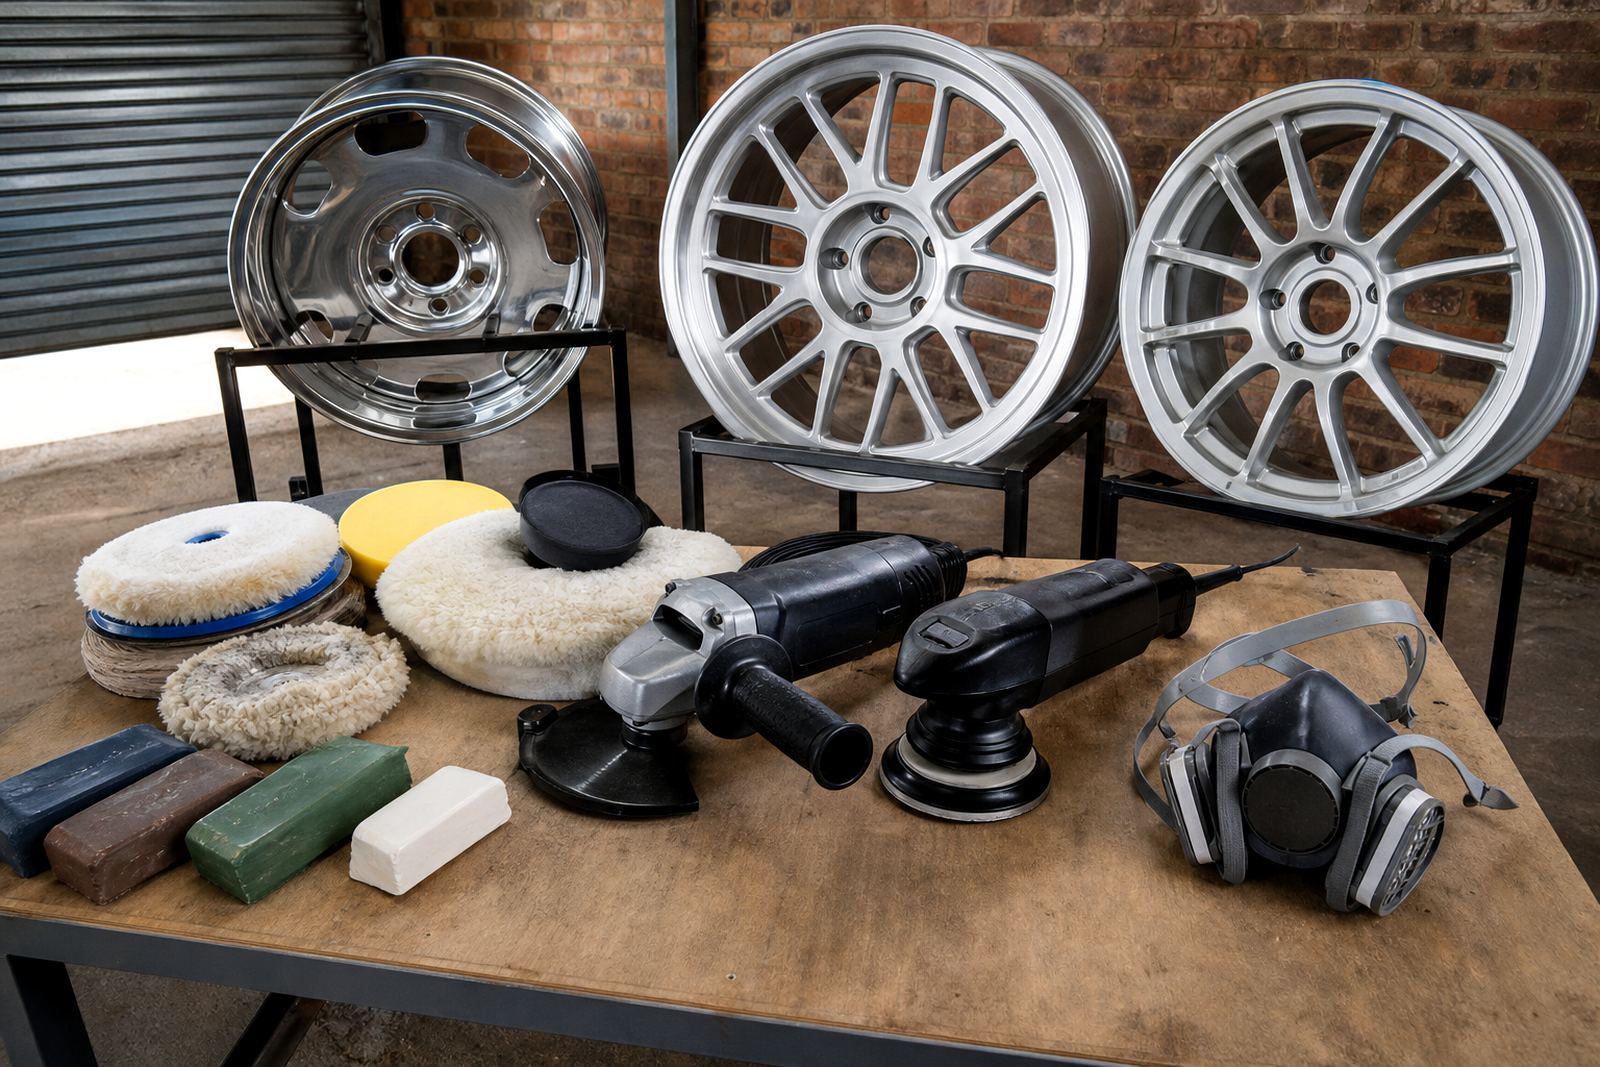
Two common machines are used for paint finishing. A rotary polisher spins on one axis and cuts faster, so it suits experienced hands and heavier defect removal. A dual-action polisher moves in a combined orbit and spin pattern, which is slower to cut but safer for beginners and better for refining gloss on modern clear coats. On bumper corners, mirror caps and narrow body lines, a smaller backing plate often gives better control.
- Rotary polisher for deeper correction on hard paint or older finish
- Dual-action polisher for safer finishing and lighter correction
- Foam cutting pads for defect removal
- Foam finishing pads for gloss and clarity
- Microfibre pads where more bite is needed on stubborn marks
- Compounds and finishing polishes matched to the paint type
We also advise checking pad size against the panel shape. A 75 mm system is useful for pillars, bumpers and tight curves, while larger pads suit doors, bonnets and roof panels. In humid coastal areas like Durban, keep pads dry and clean because moisture and spent residue can clog them quicky.
A Proper Paint Correction Setup
A good setup is less about having every accessory and more about having the right order of work. Start with a proper wash, decontamination and a dry panel inspection under strong light. Then mask trims, badges, rubber seals and sharp edges. If the car has sanding dust, overspray or bonded contamination, handle that first before you polish. Dust and grit left on the panel can create fresh marks as you work.
- Wash bucket, shampoo and safe drying towels
- Clay or other decontamination step where needed
- Inspection light for swirls and haze
- Masking tape for edges and sensitive trims
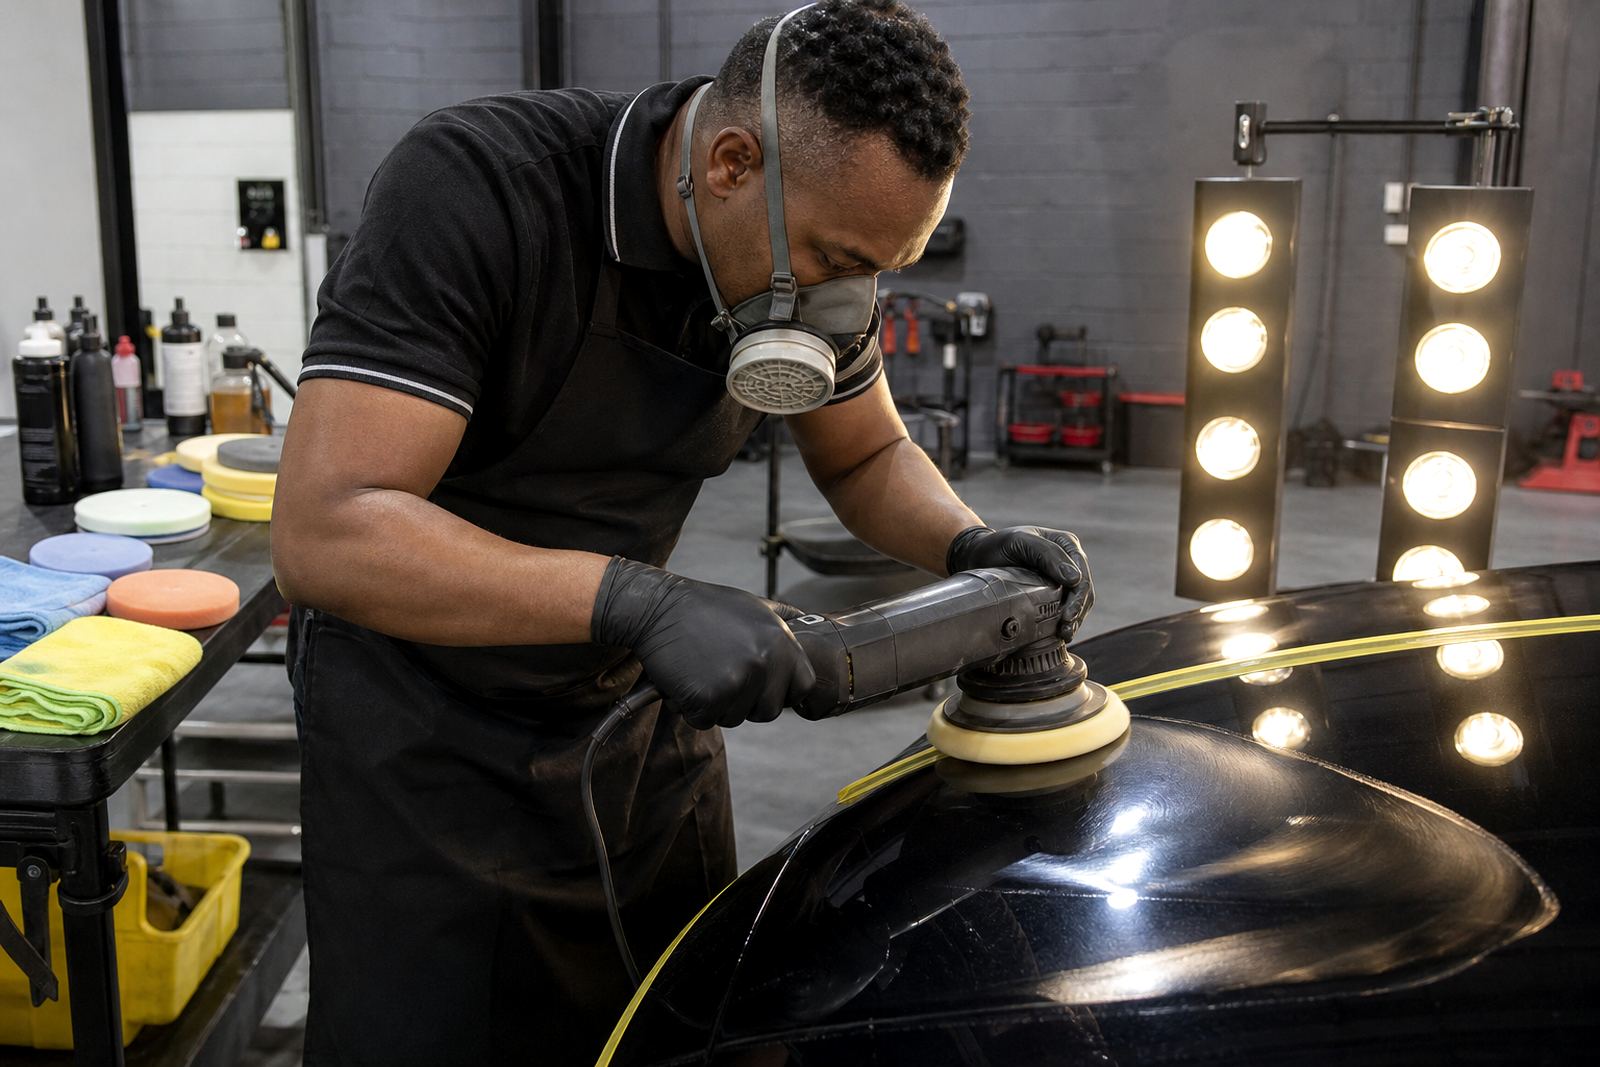
- PPE including eye protection, gloves and a dust mask when dry compounds are used
- Clean pads, clean microfibre cloths and a place to keep them separate
For workshop planning in Germiston and the East Rand, allow enough plug points, extension leads and lighting so the machine does not fight the space.
Technique That Protects the Clear Coat
The main rule is to remove the least amount of material needed to improve the finish. Work a small area at a time, usually about half a bonnet panel or a door section, and spread the product before increasing speed. Keep the pad flat where possible, move slowly and overlap each pass. Do not chase heavy defects with too much pressure, because heat build-up can mark edges and soften fresh paint.
Always test on the least aggressive combination first. Some paints respond well to a mild polish on a finishing pad, while others need a stronger compound and cutting pad before final refinement. Re-check the panel after wiping off residue, because some defects only show when the panel cools. If the finish is soft or sticky, reduce machine speed and use less product. On repaint jobs, allow enough curing time first or you may gum up the pad and drag the finish.
Common Mistakes We See on Vehicle Panels
Most correction problems come from rushing. People often use a pad that is too aggressive, too much compound or a machine speed that is higher than needed. That can leave haze, buffer trails, edge burn or uneven gloss. Another common issue is using a dirty pad on a dusty panel, which puts fresh marks back into the paint. If the pad is loaded up, clean it before moving on.
- Working on a hot panel in direct sun
- Polishing without a proper wash and decontamination
- Using one pad and one compound for every paint type
- Skipping edge protection on sharp panel lines
- Ignoring dust control in a body shop or home garage
- Trying to hide deeper scratches that need paint repair first
For South African conditions, dust and road film are real problems, especially on vehicles used around building sites, industrial areas and gravel roads. A panel that looks clean can still have grit on it, so do not rush straight into machine work.
Budget Ranges and Starter Options
The budget for car paint correction depends on whether you are doing occasional hobby work or regular workshop jobs. A basic starter package usually includes a dual-action machine, one or two pads, a compound, a finishing polish, microfibre cloths and tape. A more serious setup may add a rotary machine, extra backing plates, different pad types and better inspection lighting. In Rand terms, a sensible starter range is often around R2,500 to R6,500 for a simple kit, while a more complete working setup can sit from about R7,000 to R18,000 depending on what is included.
If you are polishing on a regular basis, plan for ongoing consumables too. Pads wear, compounds run out and cloths need replacement. It usually costs less to maintain a clean, organised kit than to replace damaged trim or spend time redoing poor work. We can help with starter kit consultation, pad and compound matching, consumables restocking and workshop setup advice for users across Johannesburg, Pretoria, Cape Town, Durban, Bloemfontein and the Vaal Triangle.
Training for Safer, Better Results
Training matters because paint correction is part technique and part judgement. Our beginner polishing training, rotary skills session and DA skills session are suited to people who want to build confidence on real panels, not just read about the process. We also cover paint correction coaching, safety and PPE briefing, machine care guidance and onsite team demo support for workshops and mobile teams.
Whether you are correcting one family car or preparing vehicles for sale, the goal is the same: controlled correction, a cleaner finish and fewer mistakes. Good advice saves time, and it helps protect both the paint and the person doing the work.