Client Brief From Sandton After Dealer Prep Was Not Enough
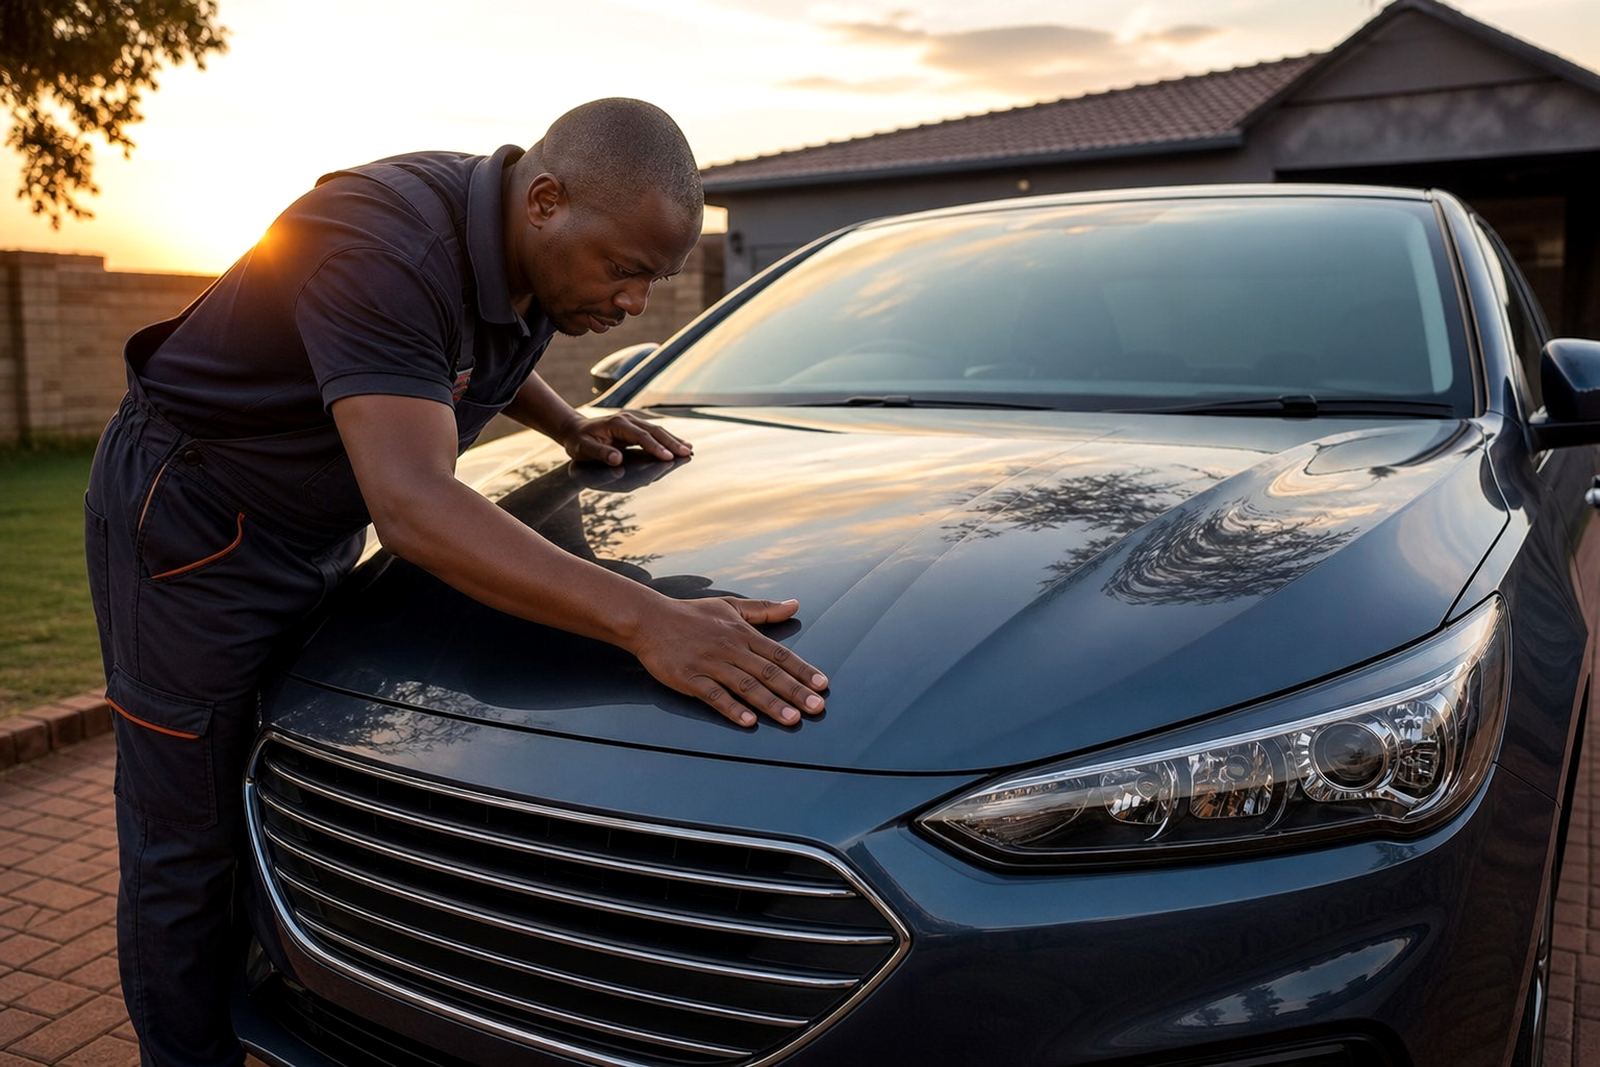
The owner, a private client in Sandton, brought in a dark metallic weekend car that had already been through a light prep at home but still showed haze, towel marks and a few rotary trails from previous work. The vehicle was not used for daily commuting, so the finish had to present well at weekend gatherings, in underground parking and at close range under showroom style lighting. The ask was simple: improve the paint clarity, clean up the metal trim and leave the car ready for polished photos and visual inspection.
The main constraints were time, delicate paint on a dark surface and the need to avoid overworking edges, body lines and piano black trim. We also had to keep dust under control because the vehicle was being finished in a workshop environment where airflow and foot traffic can quickly put fine particles back onto the panel. Because the car was already pre-washed, we focused on measured correction rather than chasing every mark. That meant using the right machine for each section and checking the paint often rather than pushing harder than needed.
- Client type: private owner in Sandton
- Vehicle use: weekend and display use
- Main concerns: haze, light swirl marks, trail marks and dull trim
- Finish target: high gloss, even reflection and clean presentation
What We Supplied For Paint, Trim And Final Refinement
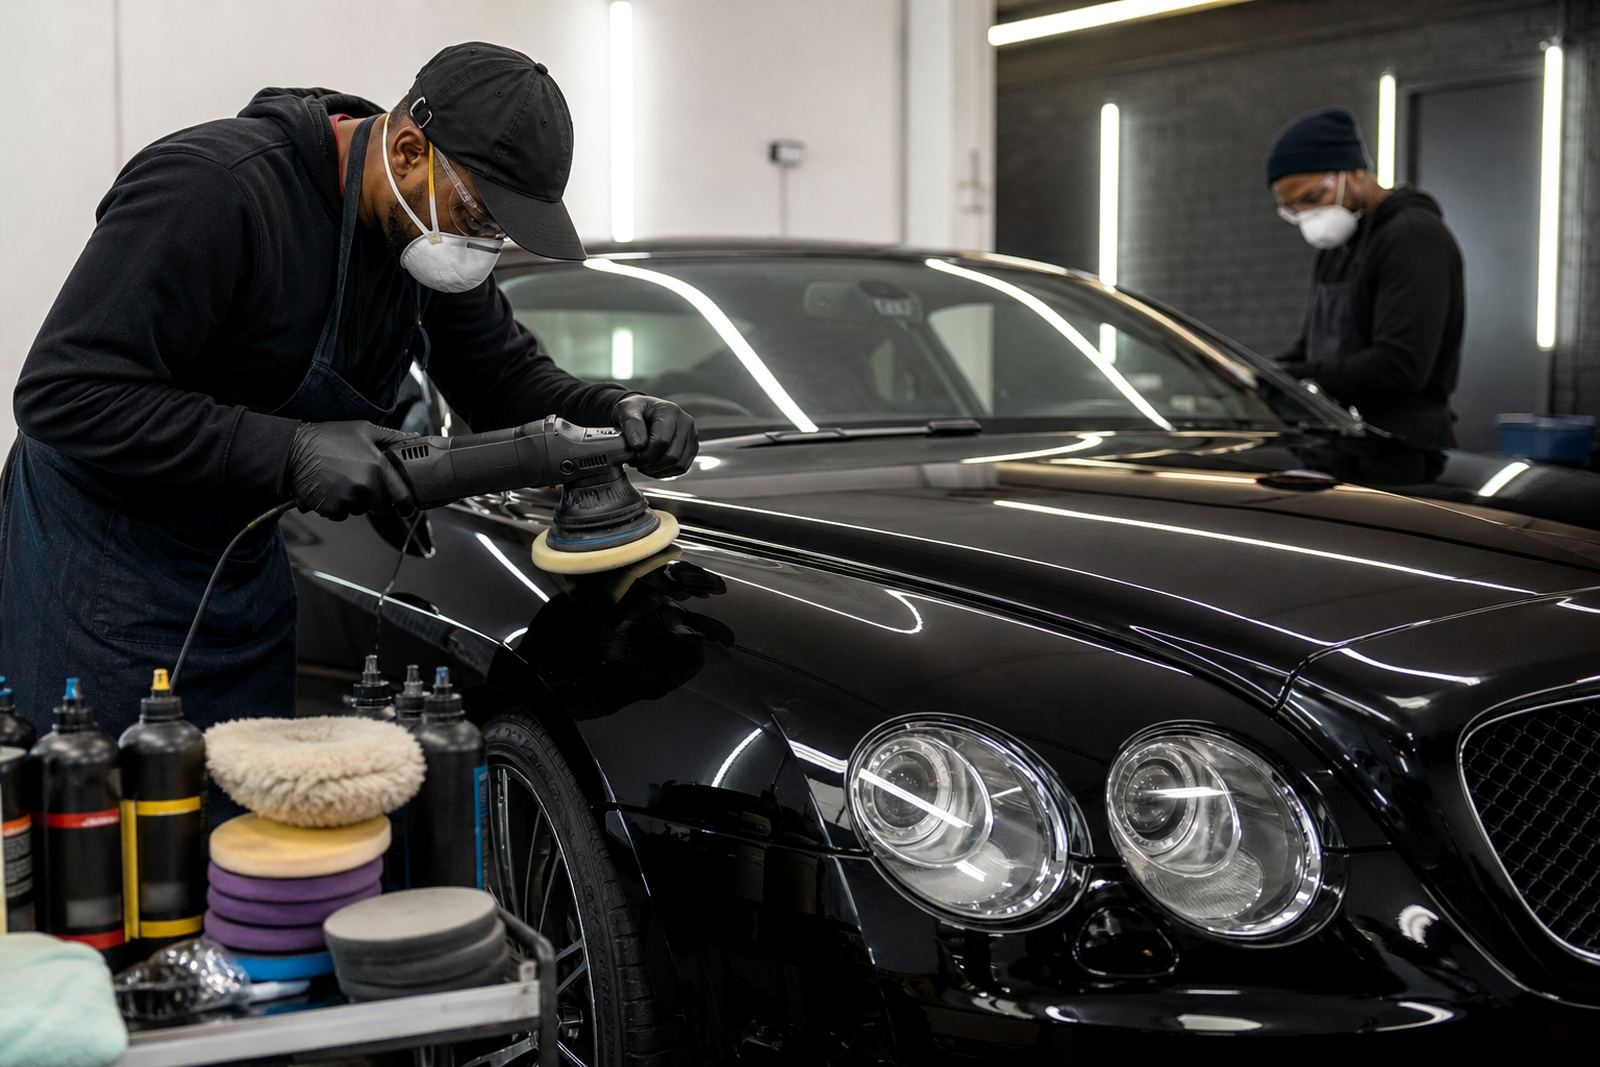
We supplied a rotary polisher for controlled cut on the harder areas, a dual-action polisher for refining the finish and working the flatter panels, plus a selection of buffs and compounds matched to the condition of the paint. The machine choice mattered because rotary work can remove heavier defects faster, while dual-action polishing helps reduce the risk of heat build-up and visible patterning on sensitive sections. On a dark car, the final finishing stage is where the real difference shows, so we kept the last passes light and consistent.
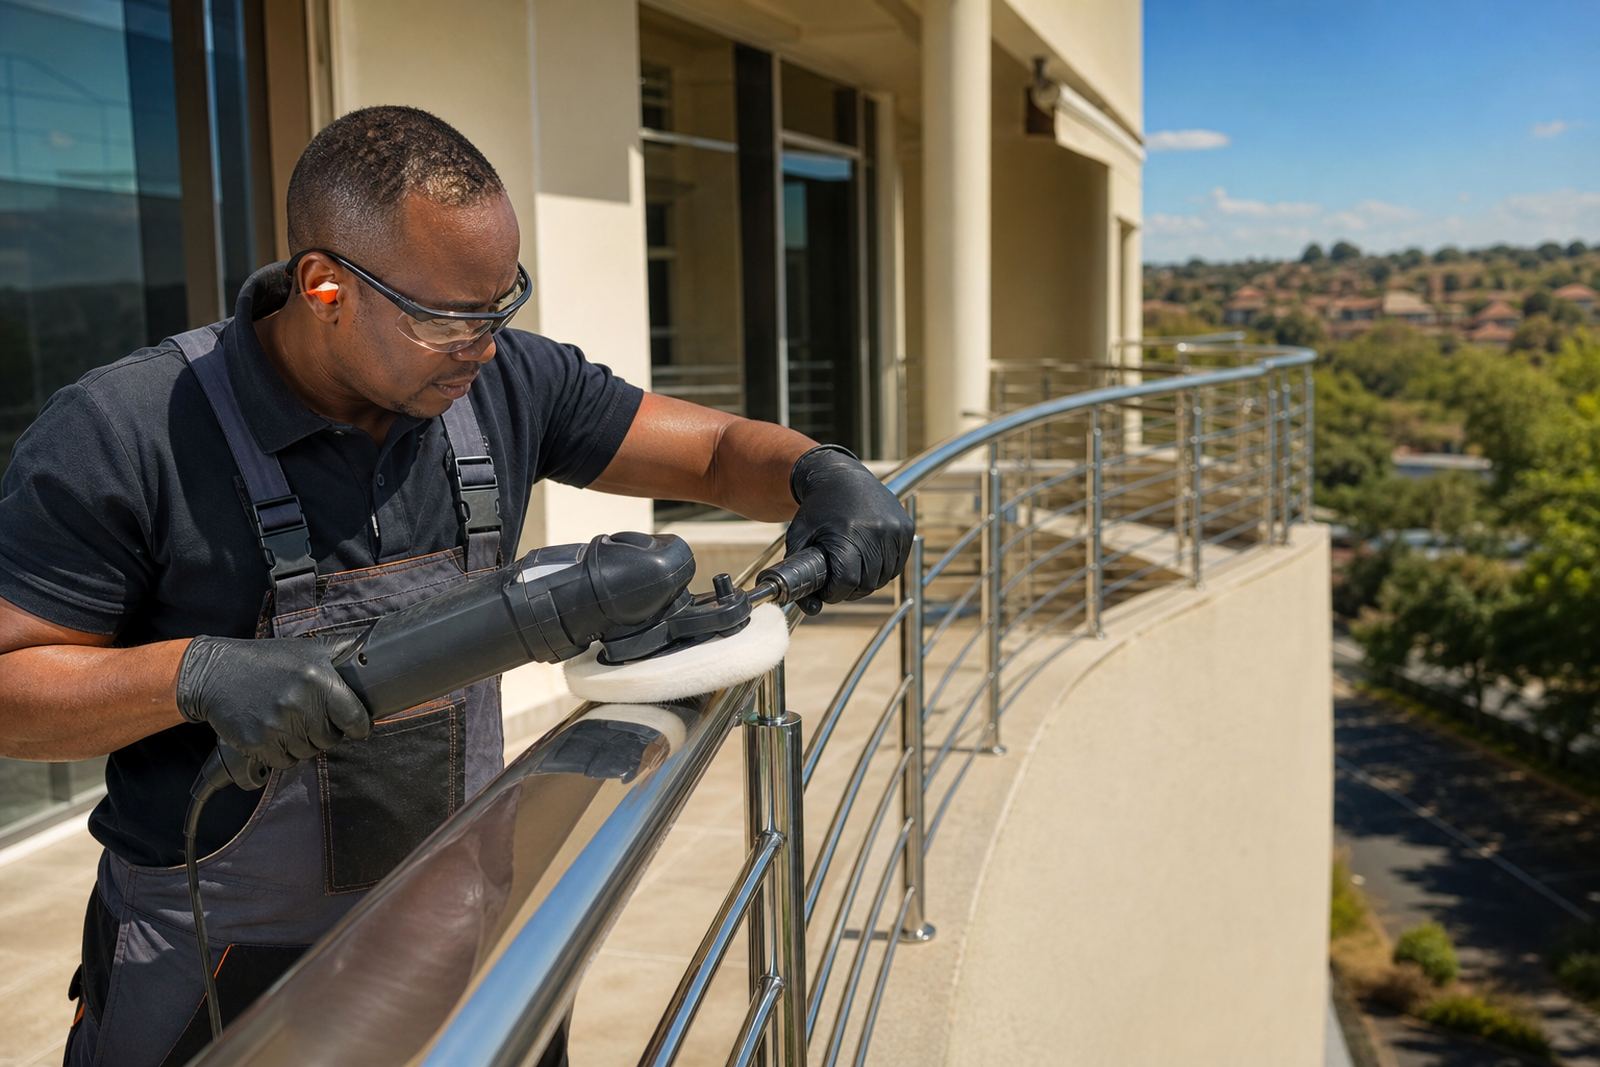
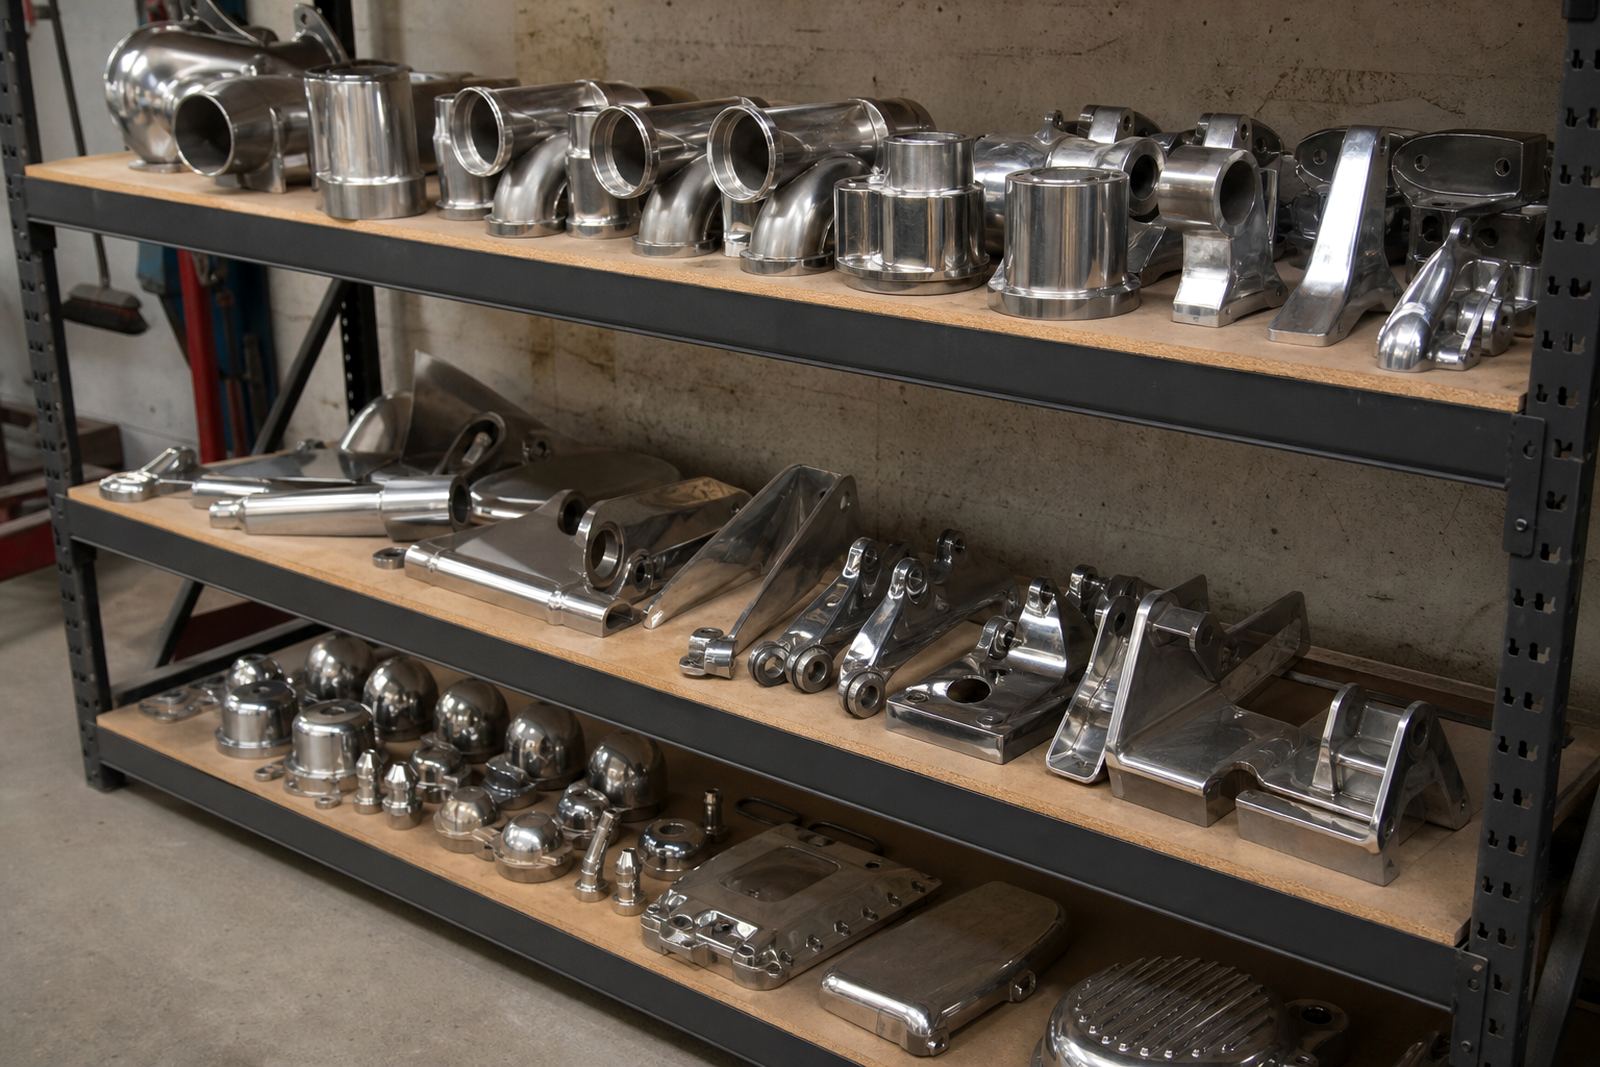
For the metal work we used appropriate buffs on bright trim and polished the less damaged sections by hand where machine access was too risky. We also supplied a starter set of consumables for the owner, including pads suited to finishing, intermediate correction and safe cleaning between stages. The aim was not just to complete the job once, but to give the client the tools and understanding to maintain the finish without creating fresh marks. A clean pad, correct pressure and a sensible speed setting do more than brute force ever will.
- Rotary machine for controlled correction on isolated sections
- Dual-action machine for final refinement and broader panels
- Compound selection matched to defect level and paint hardness
- Buffs for metal trim and tight areas
- Consumables guidance for future upkeep
Method, Safety And Dust Control On The Day
The process started with a full wash, decontamination and panel inspection under strong light so we could map where to cut and where to finish. We then masked sensitive trims, sharp edges and plastic surrounds. For polishing technique, we worked section by section with small, controlled passes and kept the pad moving so heat did not build up in one spot. On the bonnet and doors, the rotary was used first where heavier marks were present, then the dual-action machine was used to refine gloss and remove any remaining micromarring.
PPE and dust safety were part of the setup from the start. Anyone working near the machine wore eye protection and a proper dust mask when dry residue or old compound was being removed, and we made sure the work area stayed clean between stages. In Gauteng, fine dust can settle fast, especially in Germiston and around the East Rand, so we paused often to wipe down and inspect. That saved time later because it is easier to stop contamination early than to polish it back out. We also kept the machine cables routed neatly to avoid scuffing the lower panels or catching a wheel arch edge.
- Wash and decontaminate before machine work
- Mask edges, badges and sensitive trims
- Use light pressure and short working sections
- Inspect each stage under direct light
- Keep the bay clean to limit dust contamination
A Three Week Finishing Plan With Measured Correction
The full project ran over three weeks. Week one was assessment, wash prep and test spots, because every paint system reacts differently and you do not want to overcut on the first pass. Week two was the main correction stage, which included machine polishing on the large panels, careful work on the front bumper, and trim refinement around the mirrors, grille and window surrounds. Week three was final finishing, inspection, protection advice and a walk-through with the owner so he understood how to maintain the result between washes.
That timeline allowed us to work methodically rather than rush the finish. We also scheduled the project around the owner’s availability since the car was not his daily transport. This helped us avoid tight handover pressure and allowed extra time for drying, cleaning and lighting checks. On the final day, the car was inspected in direct sunlight and again in shaded light so the owner could see the difference clearly. The finish needed to look good from every angle, not only under one lamp.
- Week 1: inspection, wash, decontamination and test spots
- Week 2: correction on paint, trim and problem areas
- Week 3: finishing, inspection and handover guidance
- Final checks done in shade and direct sun
Results On The Paint, Metal And Reflection Lines
The improvement was immediate. The paint gained clearer reflection lines, the haze was reduced and the surface looked far more even under both workshop lights and daylight. The darker panels no longer showed the same dull drag marks, and the metallic flake came through more cleanly on the flatter areas. On the brightwork and metal accents, the finish became sharper without looking overworked, which is important on a premium car where too much polishing can make trim look tired instead of fresh.
What stood out most was the consistency from panel to panel. The car had been cleaned before, but once the correction work was done, the body looked properly finished rather than just washed. The owner could also see that the edges, badges and shut lines were left neat, with no white residue or compound build-up. That matters when the vehicle will be seen by people standing close to it. A show car does not get judged from ten metres away, it gets judged from the driver door and across the bonnet. This one passed that test well.
- Clearer reflections across the bonnet and doors
- Reduced haze and swirl visibility
- Sharper appearance on metal trim
- Cleaner finish around badges and edges
Show Car Prep Points From Sandton
If we were doing the same job again, we would keep the same structure: test spot first, lighter correction before heavier work, then final refining with a dual-action machine and a fresh finishing pad. That sequence gives better control on modern paint and helps avoid unnecessary removal of clear coat. For a vehicle with black or deep metallic paint, we would also allow extra time for lighting checks because even a small amount of haze can show up later in the day once the car is back in bright sun.
For the owner, the biggest lesson was simple. Good polishing is not only about the machine or the compound, it is about the order of work, pad choice and patience. If the surface is kept clean, the pads are changed before they load up and the machine is allowed to do the job at its own pace, the finish stays cleaner for longer. That is the same approach we bring to our polishing training, whether it is rotary skills, DA skills, paint correction coaching or workshop setup advice for customers in Sandton, Johannesburg and across South Africa.
- Start with a test spot before full-panel work
- Match pad and compound to the defect level
- Use clean pads and keep the surface dust free
- Finish with measured inspection under different light
Key facts
| Project | Sandton Show Car |
|---|---|
| Location | Sandton, Gauteng |
| Vehicle Type | Premium weekend car |
| Work Scope | Paint correction, metal buffing and final refinement |
| Machines Used | Rotary polisher and dual-action polisher |
| Timeline | 3 weeks |