What the Bedfordview owner needed
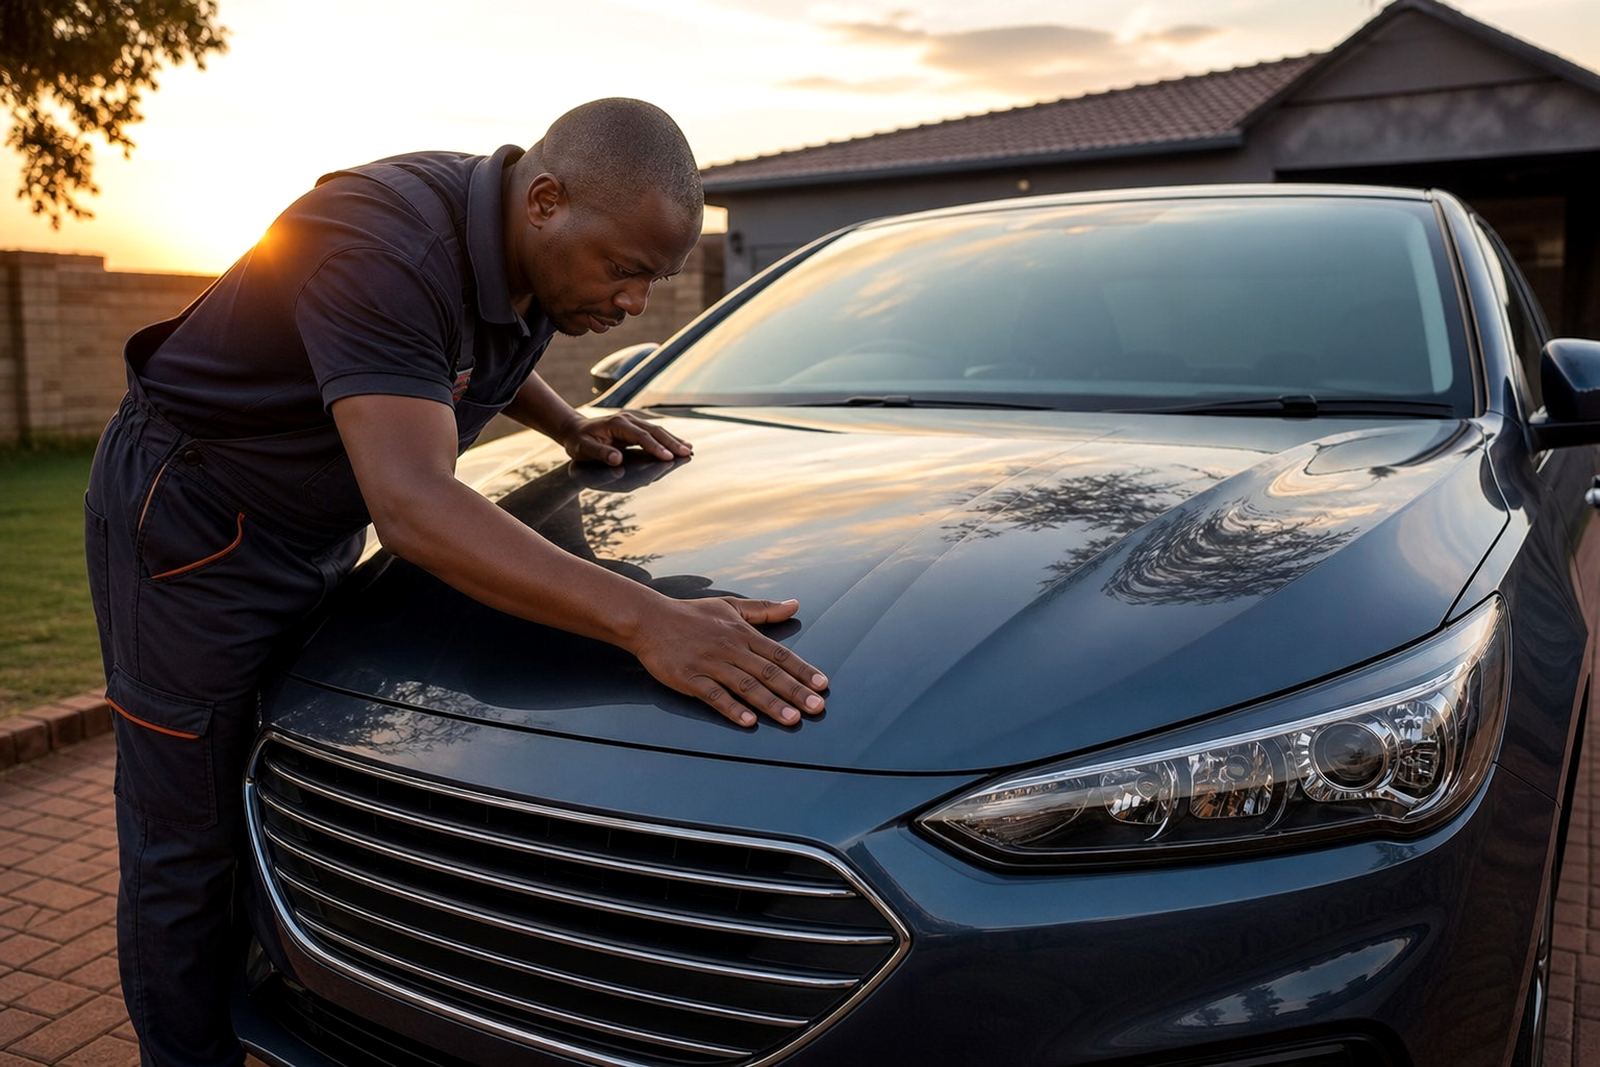
The client was a private vehicle owner in Bedfordview, looking for a cleaner finish on a dark exterior that showed wash marring, light oxidation and the usual marks you see after regular school runs, shopping trips and highway driving between Bedfordview, Sandton and the East Rand. The goal was not a full show-car overhaul, but a practical improvement in gloss and clarity that would hold up to normal use.
The main concern was swirl reduction on horizontal panels, with a better reflection in the bonnet and doors. The vehicle also had a few tighter areas around door handles, mirror caps and badge recesses where previous hand polishing had left uneven patches. Because the car was still used every week, we kept the process focused and controlled rather than aggressive.
- Private customer in Bedfordview, Gauteng
- Daily-use passenger vehicle with moderate swirl marks
- Priority areas: bonnet, roof, front doors and boot lid
- Finish target: cleaner gloss, less haze, more even reflection
The brief, the paint condition and the constraints
The brief was simple enough on paper, but the paint told a fuller story once we inspected it in daylight. The clear coat had visible circular marks from wash drying, plus a few deeper scuffs that could not be removed safely without chasing them too far. On darker paint, that kind of finish can look tired very quickly, especially after Johannesburg dust and occasional coastal humidity reaching inland vehicles through travel.
We also had to work around time constraints and keep the process sensible for a vehicle that needed to return to regular use. There was no point chasing every trace mark if it meant thinning the paint more than necessary. We explained the limits up front and set the expectation that a noticeable improvement was possible, but not a respray-level correction. In detail work, that honest line matters.
- Constraint 1: preserve clear coat thickness
- Constraint 2: avoid heat build-up on sharp edges and body creases
- Constraint 3: keep the vehicle usable soon after the job
- Constraint 4: control dust and residue in a suburban setting
Polishing method and equipment selection
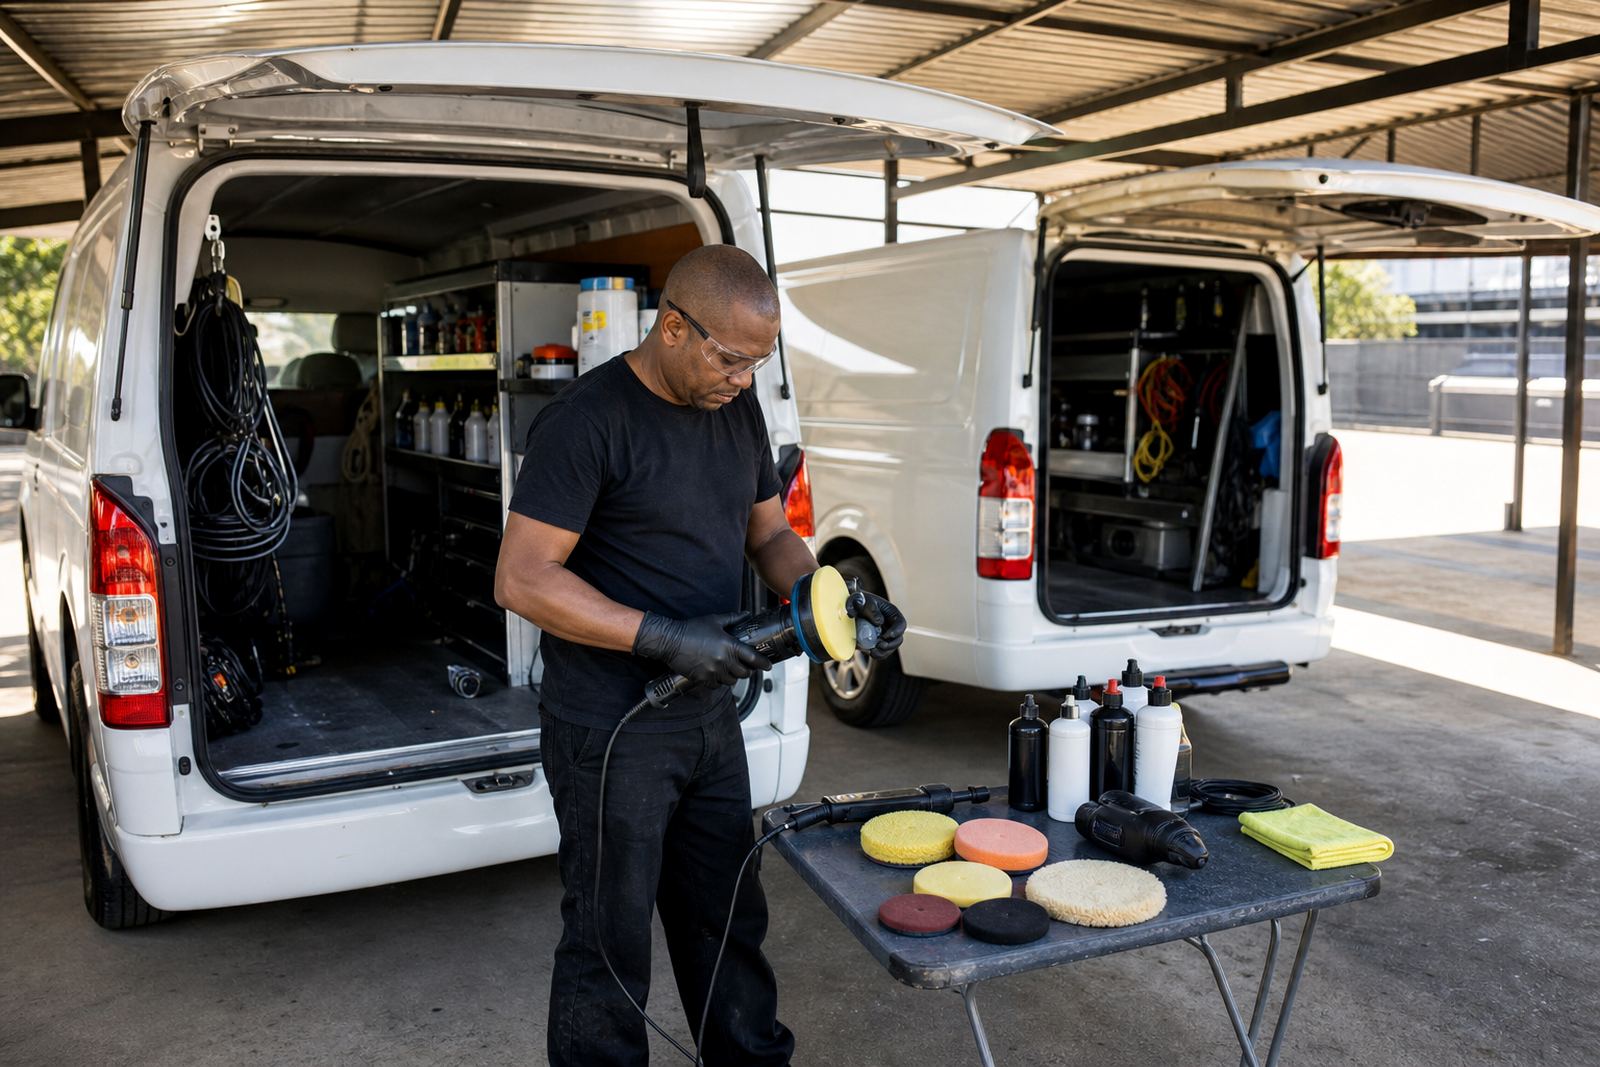
We matched the process to the paint, starting with a dual-action polisher for the safer correction stage and a rotary machine only where controlled cut was needed on harder sections. That gave us a practical balance between defect removal and finish quality. For the majority of the panels, a DA machine with the correct pad and compound was enough to reduce haze and improve clarity without creating extra marks.
On the heavier sections, we used a rotary polisher in short, measured passes and kept the machine moving to manage temperature. Pad choice made a big difference. A firmer cutting pad was used first, then a finer foam pad for refining. We also checked panel edges by hand because those areas can burn through quickly if a machine is left too long in one spot.
- Dual-action machine for most correction and finishing work
- Rotary machine used only on selected sections
- Cutting pad, refining pad and soft finishing pad combination
- Compound matched to paint condition and working time
What we supplied and how the work was done
For this job we supplied polishers, buff pads, compounds, microfibre towels and the consumables needed to complete the finish properly. We also brought in the practical side of the job: surface inspection, panel masking, dust control and final wipe-down checks under direct light. The work was done in stages so each section could be inspected before moving on to the next.
We began with a safe wash and decontamination step, then dried the car fully before polishing. That matters because trapped grit can cause fresh marks. After the main correction pass, we refined the finish with a lighter polish to reduce compounding haze. Final inspection was done in daylight and under workshop lighting so any missed areas would show up before handover.
- Surface wash and decontamination before machine work
- Masking of trim, badges and sharp panel edges
- Stage one correction with controlled cutting action
- Stage two refinement for better gloss and clearer reflections
- Final wipe-down and inspection from different angles
Safety, PPE and dust control on the day
Polishing produces residue, fine dust and airborne product trace, so we kept PPE and housekeeping part of the process rather than an afterthought. Gloves were used during product handling, and eye protection was worn during machine work and product changeovers. When working around trim and tight gaps, we kept the area clean to reduce the risk of loose grit being dragged back across the paint.
We also briefed the owner on basic aftercare, including using clean wash media, drying with soft towels and avoiding harsh pressure on fresh polished surfaces. For homes and small properties in Bedfordview, nearby Johannesburg and the East Rand, that kind of advice is useful because many cars are washed at home where dust, borehole water spots or over-strong detergents can undo a good finish quickly.
- Gloves and eye protection during active polishing
- Dust and residue wiped down as each section was completed
- Care taken around badges, rub strips and plastic trim
- Owner advised on safe wash and drying habits after the job
Timeline, finish results and what we would repeat
The project took 1 week from initial inspection through to final handover. The first part covered assessment, product selection and test spots, then the correction and refinement work followed in planned stages. That approach helped us avoid over-polishing and gave a predictable result across the whole vehicle.
By the end of the job, the paint had a clearer reflection, less visible swirl pattern and stronger gloss across the main panels. The bonnet and doors showed the biggest improvement, while the deeper marks were reduced as far as safely possible. The car still looked like a driven vehicle, but a much cleaner one with more depth in the paint and a neater overall finish. If we were to do the same type of job again, we would follow the same order: inspect, test, correct, refine and then protect the result through proper aftercare advice.
- Timeline: 1 week total
- Result: reduced swirls and improved gloss
- Best panels improved most: bonnet, roof and front doors
- Next time: same controlled method, same safety steps
Key facts
| Project location | Bedfordview, Gauteng |
|---|---|
| Client type | Private vehicle owner |
| Job focus | Swirl reduction and gloss improvement |
| Tools used | Rotary and dual-action polishers |
| Consumables | Pads, compounds, microfibre towels and masking materials |
| Timeline | 1 week |