What the Randburg client needed from the job
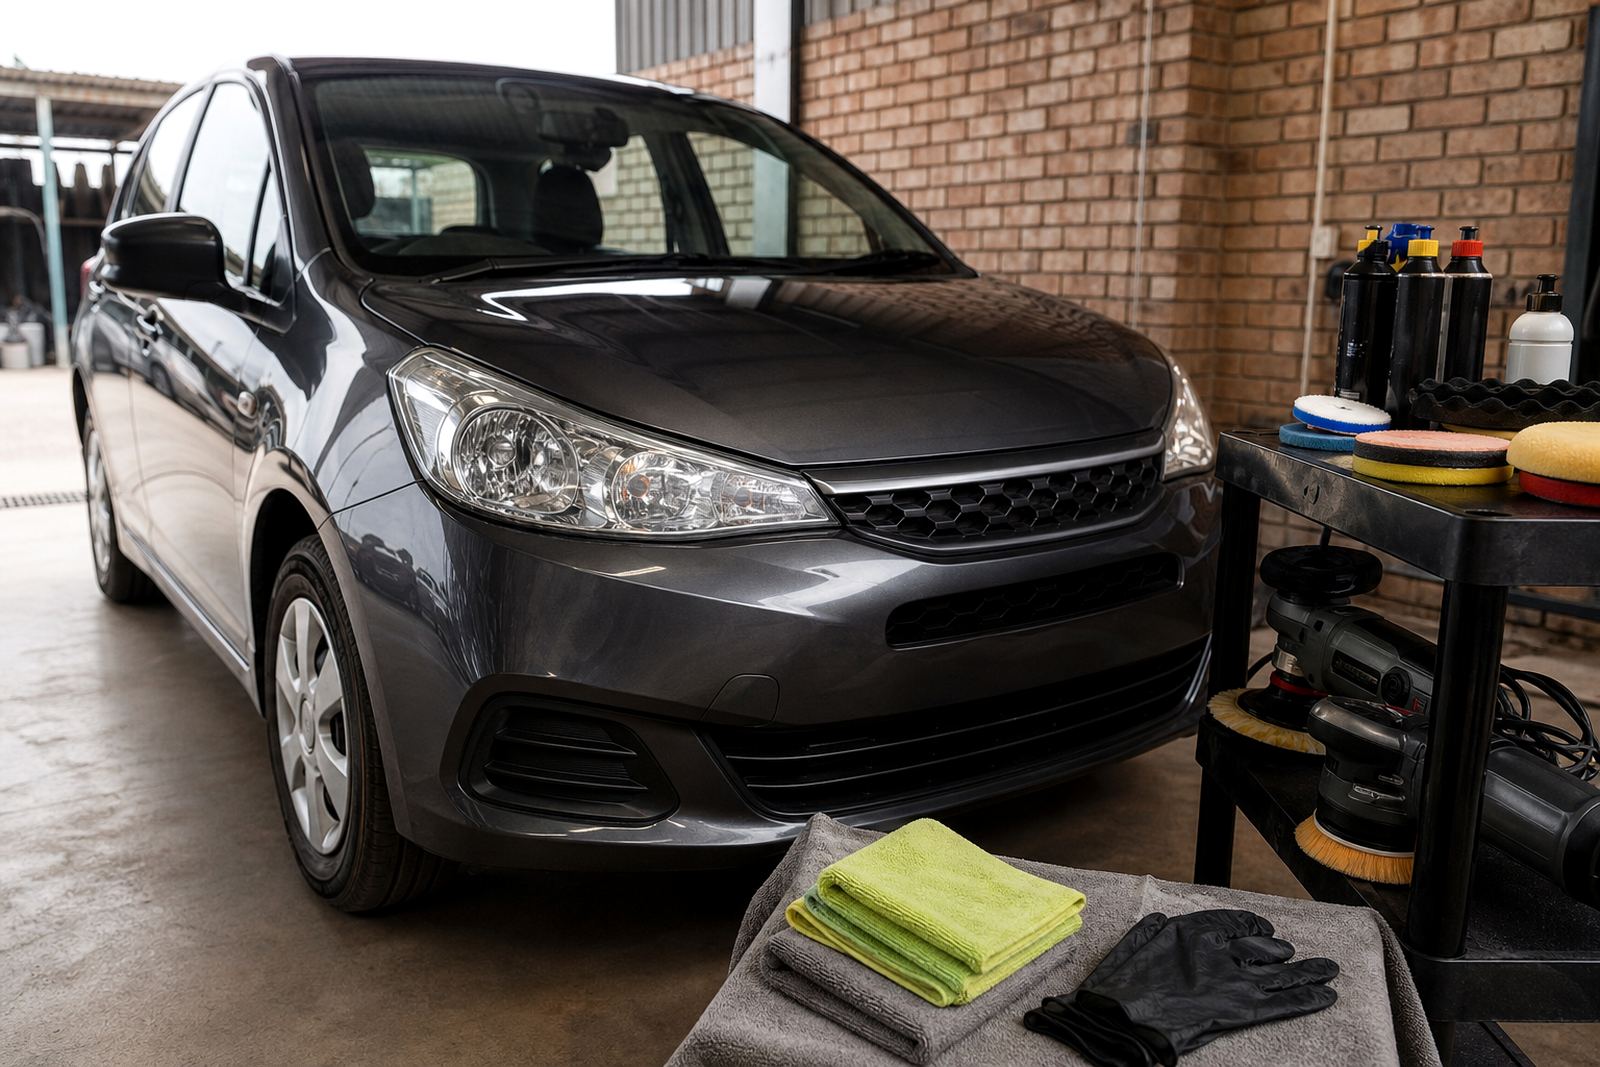
The vehicle came in with cloudy headlight lenses, light oxidation and scattered fine marks from years of road use, washing and sun exposure. The client was based in Randburg and wanted the lights cleaned up for safer night driving, with a neater front end for everyday use. No parts replacement was needed, but the lenses did need patient work because the plastic had gone hazy rather than simply dirty.
The brief was straightforward: restore as much clarity as possible, keep the work even from side to side, and avoid heat build-up that can distort or haze the lens further. On a headlight job like this, the right approach matters more than speed. If the surface is rushed with a heavy compound or the pad is kept in one place too long, the lens can go patchy and the finish won’t hold up well.
- Client type: private vehicle owner in Randburg
- Goal: better clarity and improved road use at night
- Condition: yellowing, oxidation and light surface marking
- Approach: staged correction with measured pressure
Set-up, constraints and safety on the car
Headlight lenses are usually made from clear plastic, not glass, so the surface has to be treated carefully. We masked surrounding trim and paintwork before starting, especially around the bumper edges and bonnet line. That protects the finish from compound sling and keeps the work neat. A small detail like proper masking saves time later and avoids polishing marks on adjacent panels.
We also worked with dust control in mind. Even a small amount of dried residue can mark the paint, so we kept the area clean and used controlled application of products. PPE was part of the setup from the start, including eye protection and dust protection where needed. When working in Gauteng, dry conditions can leave residue in the air and on the panel quicker than expected, so wiping between stages matters.
The main constraint was the condition of the lens itself. Once UV damage has started, the top layer may be uneven and no single pass will fix it. That means the polishing sequence has to be matched to the actual condition, not guessed at. We checked the lens frequently under bright light to make sure each stage was doing its job.
- Masked paint edges, rubber trims and nearby plastic parts
- Used PPE and clean cloth control throughout the work
- Checked the lens under direct light between stages
- Worked to avoid heat build-up and uneven pressure
Staged polishing method used on the lenses
The job was handled using a controlled staged process rather than one heavy polish. We began by assessing how deep the oxidation sat in the surface, then selected the least aggressive method that would still make a real difference. On plastic lenses, that balance is important. Too mild and nothing changes, too aggressive and the lens can become dull in a different way.
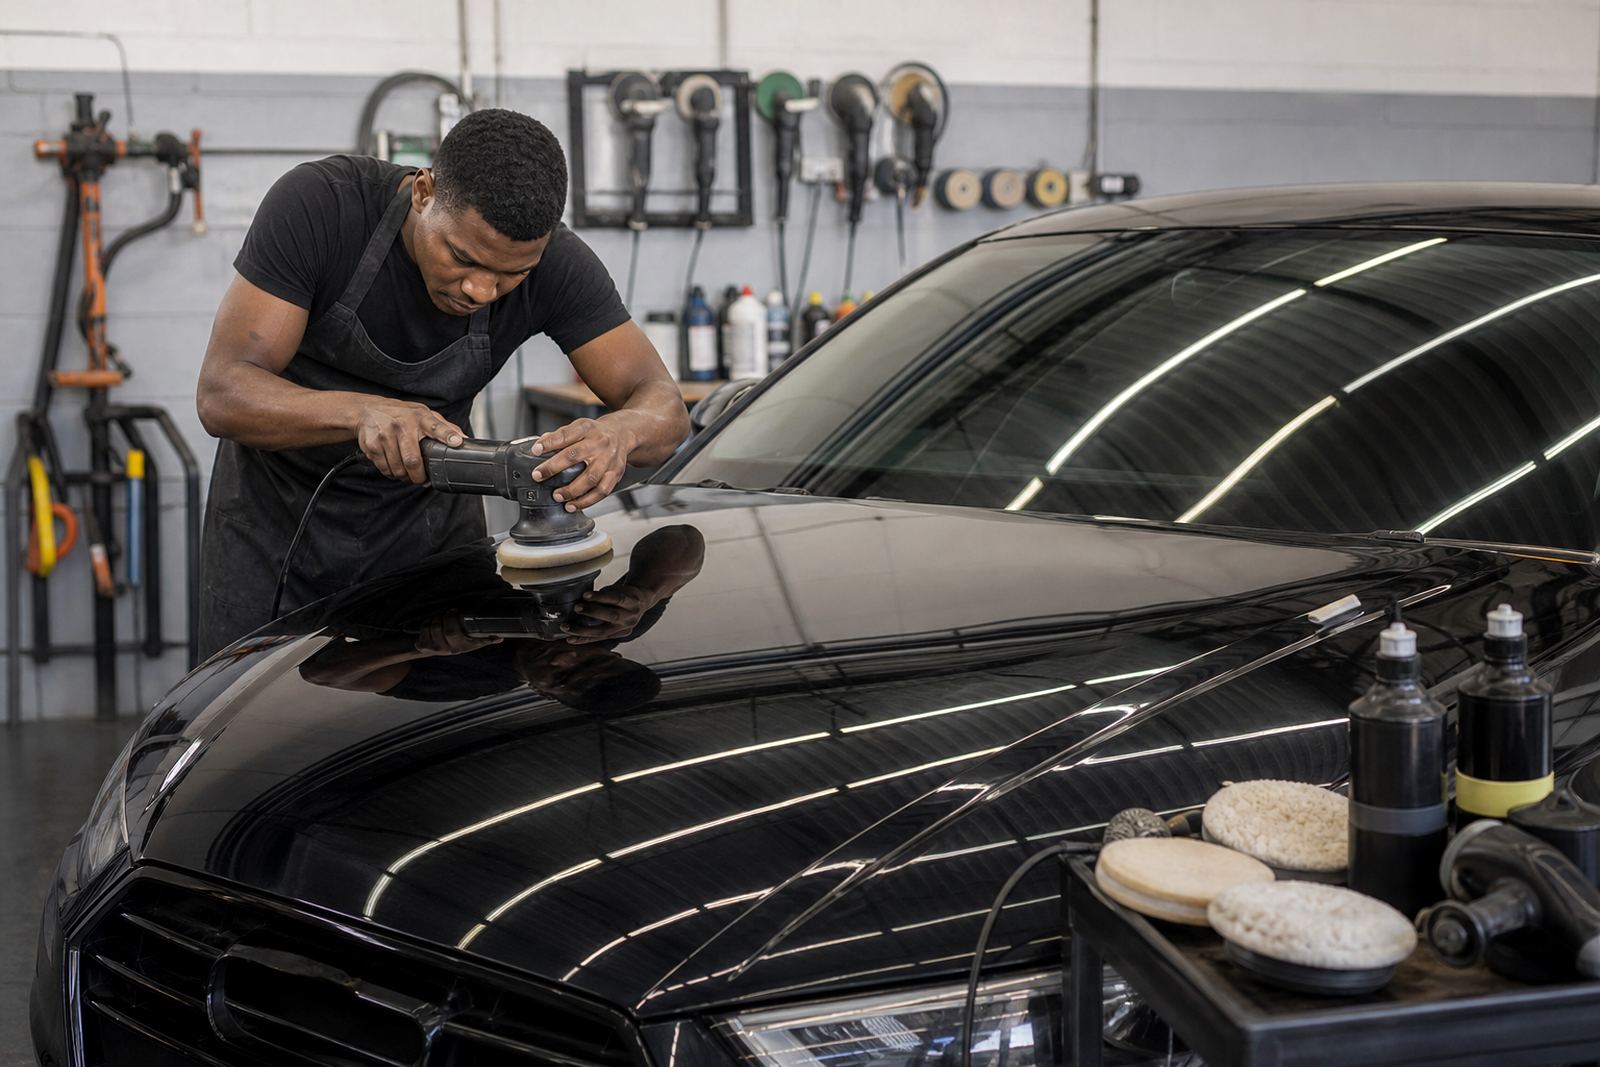
For this project we used a rotary polisher for focused correction on the more stubborn areas, then followed with a dual-action machine to refine the finish and reduce the chance of swirl marks. The pad choice and compound were matched to the lens condition. Softer finishing pads were used once the heavy haze had been reduced, and the compound was changed down in cut as the surface became clearer.
The polishing was done in short controlled passes. Each pass was followed by a wipe-down and inspection so we could see whether more correction was needed or whether it was time to move on. This is the kind of work where a careful hand gives a better result than chasing speed. The lens responded well once the outer haze was removed, and the finish became cleaner with each stage.
- Initial assessment of oxidation depth and surface damage
- Rotary correction for the heavier cloudy sections
- Dual-action refining pass to clean up the finish
- Pad and compound changes as the lens improved
Products and technique choices that made the difference
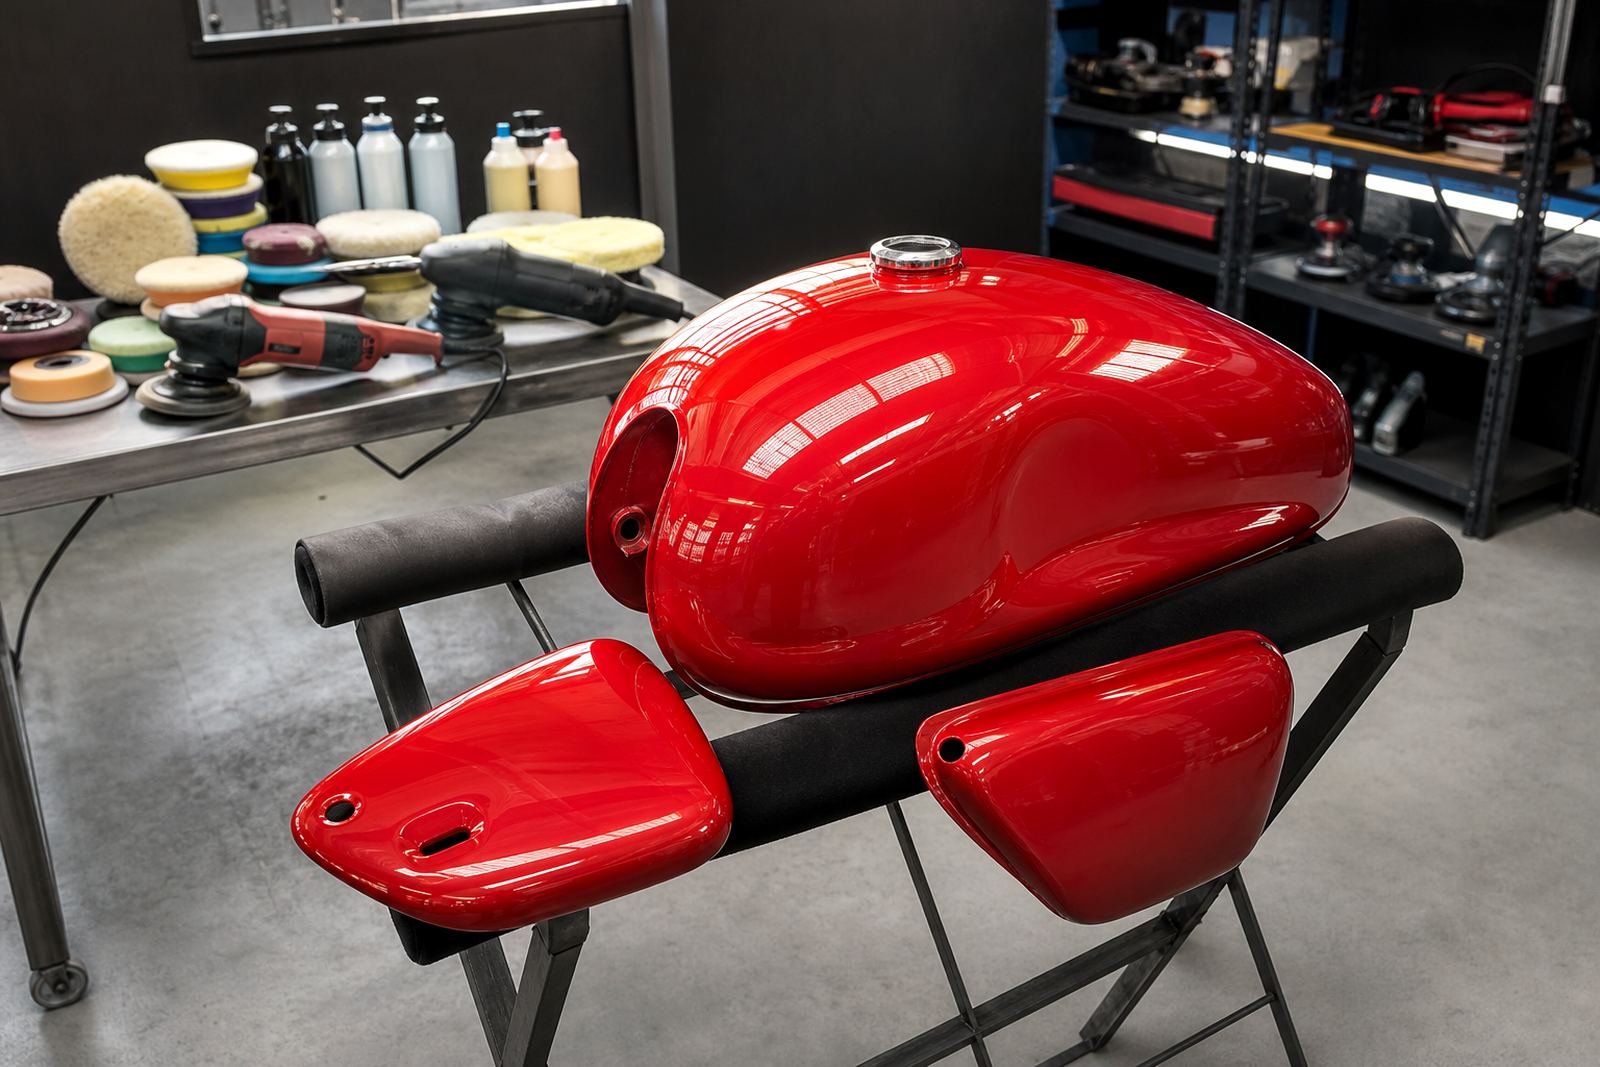
We supplied the polishers, buffs and compounds needed for the job, along with the technique guidance that keeps the process consistent. Headlight work needs a different touch from metal finishing, but the same principle applies: match the tool to the surface and do not overwork one spot. The lens had enough wear that a proper correction sequence was necessary, yet not so much damage that sanding to a heavy grade was needed.
The key facts on this job were simple but important. The lens material was plastic, the damage was moderate, and the goal was clarity without distortion. That meant controlled heat, moderate machine speed and careful pad movement. We kept the machine moving in overlapping passes and checked the edge lines often, because a lens can look fine in one light and still show haze in another. A proper finish needs to read clearly from different angles, not just straight on.
We also spoke to the client about aftercare. Once a lens has been restored, harsh cleaning products and rough cloths can bring the haze back faster. For regular washing, a soft cloth and mild soap is better. If the vehicle is parked outside in strong sun, a future protection layer may be worth considering, especially where dust and UV exposure are constant. This is the sort of small preventative step that helps the work last longer.
Timeline, outcome and how the finish held up
The project was completed over one week, with the actual correction carried out in a single working session and the review happening after curing and inspection. That allowed us to make sure the lenses were consistent before the vehicle was handed back. Headlight work does not need to be dragged out, but it does need enough time for the surface to be checked properly after each stage.
By the end of the job the lenses looked much clearer, with the yellow tint reduced and the light spread appearing cleaner in line with the surface improvement. The front of the car had a fresher look too, which is often one of the first things people notice once cloudy lights are sorted. On the road, clearer lenses help the driver see more comfortably at night and improve the way the car presents from the front.
What we would do again on a similar Randburg headlight job is keep the same measured sequence: inspect, correct, refine, then recheck in strong light. That method gives a reliable result and avoids unnecessary wear on the lens. If the lenses had been worse, we would have added a sanding stage before polishing, but on this vehicle the staged polish was enough to get the outcome the client wanted.
What we would repeat on the next headlight restoration
For a job like this, the best result comes from discipline rather than force. We would use the same order of work again, with the same attention to masking, dust control and lens temperature. That approach gives a more even finish and protects the surrounding bodywork. It also makes it easier to judge the compound choice as the surface changes from dull to clear.
The main lesson from this project is that headlight restoration works best when the operator treats the lens as a finishing job, not just a quick clean-up. Once the oxidation layer starts to break down, the surface can move quickly from cloudy to clear, but only if the pad, pressure and compound are kept under control. This one went well because the process was steady and the checks were done properly.
- Keep the lens cool during correction
- Use the least aggressive method that gets results
- Protect nearby paint and trim before starting
- Inspect in bright light, not only in shade
Where this kind of work fits in our South African service range
Although this project was handled in Randburg, the same kind of headlight restoration support is relevant for drivers and workshops across Johannesburg, Pretoria, Cape Town, Durban and Bloemfontein. Road dust, coastal humidity, sun exposure and general wear all affect lenses in different ways, so the method needs to suit the local conditions. In some areas the issue is heavy sun damage, while in others it is moisture, grit or regular stop-start driving.
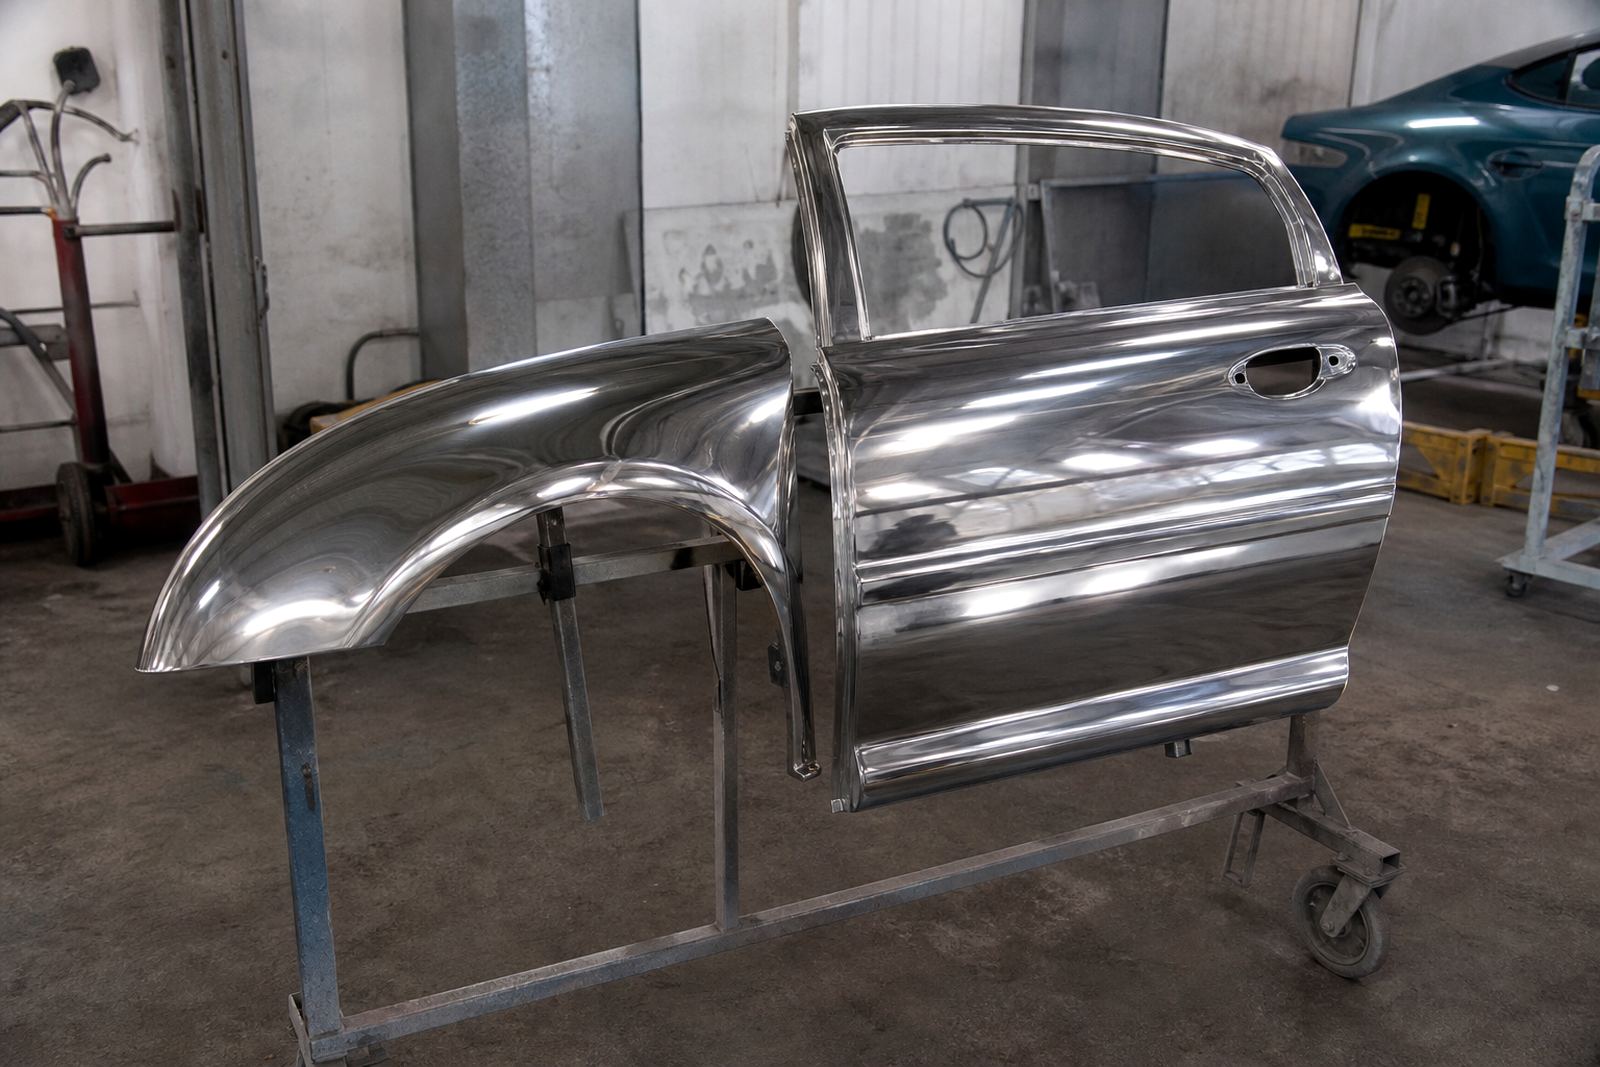
We also support customers with rotary skills session guidance, DA skills session guidance, pad and compound matching, starter kit consultation and safety and PPE briefing. For anyone working on metal or paint finishing, the same principles apply: use the right tool, keep the finish under control, and do not skip the safety steps. If you are starting out or want a second set of eyes on technique, that support can save time and material. Small mistakes can be costly, especially when working on visible surfaces.
Key facts
| Project | Randburg Headlight Job |
|---|---|
| Location | Randburg, Gauteng |
| Client type | Private vehicle owner |
| Work type | Headlight restoration through staged polishing |
| Timeline | 1 week from assessment to final check |
| Method | Rotary correction followed by dual-action refining |