What the client needed done on the vehicle
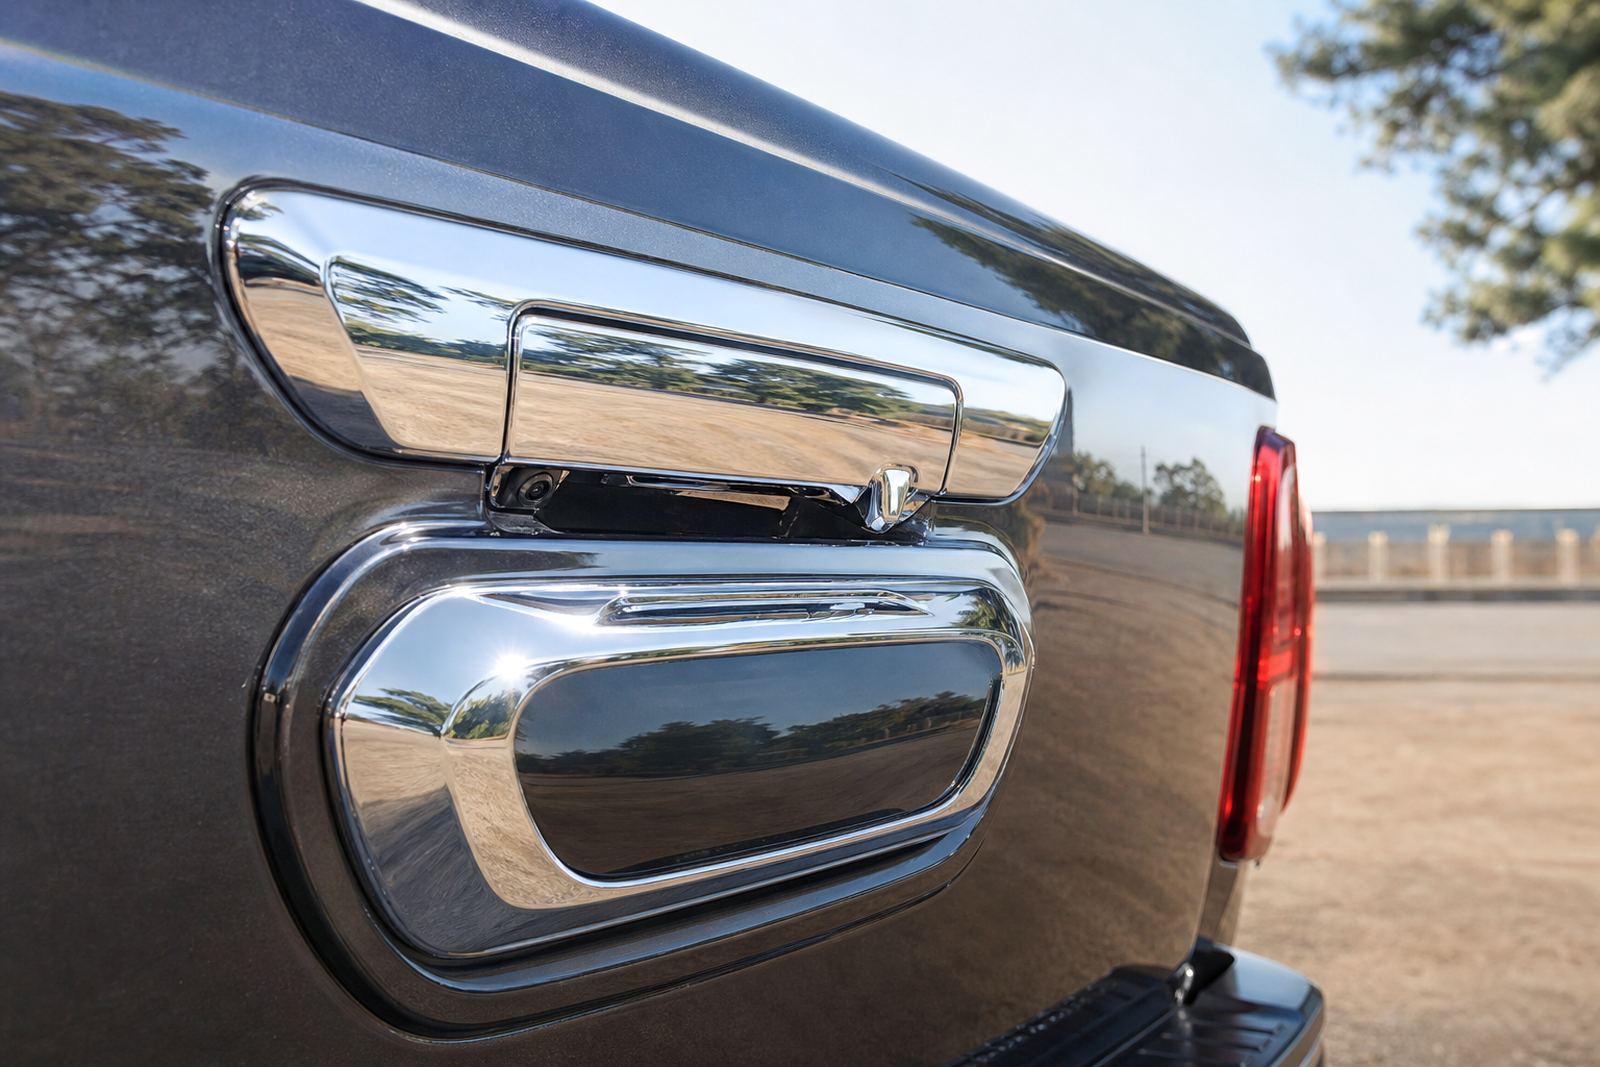
The owner brought in a privately used vehicle with dull trim, light oxidation on a few metal accents, and paintwork that had been polished before but not consistently. The main goal was to improve the finish around the badges, trims, mirror caps and selected metal fittings while keeping the job tidy enough for everyday use. This was not a full respray or show build, just a careful cleanup that had to suit normal road use in Gauteng traffic and dusty parking areas.
The brief called for controlled machine polishing, no unnecessary removal of clear coat, and a finish that would hold up through regular washing. We also needed to work around tight areas near rubber seals and plastic inserts, where heat build up can easily mark the trim if you rush the process. The owner wanted practical guidance too, so we included basic aftercare advice and the right follow up products for safe maintenance.
Constraints that shaped the approach
This type of work needs patience more than aggression. The vehicle had mixed materials, so one section could tolerate a firmer pad and another needed a softer touch. We also had limited room around the trim edges, which meant using smaller pad sizes and checking panel temperatures often. In summer Germiston heat can make surfaces warm fast, so we planned short polishing passes and let the panels cool between stages.
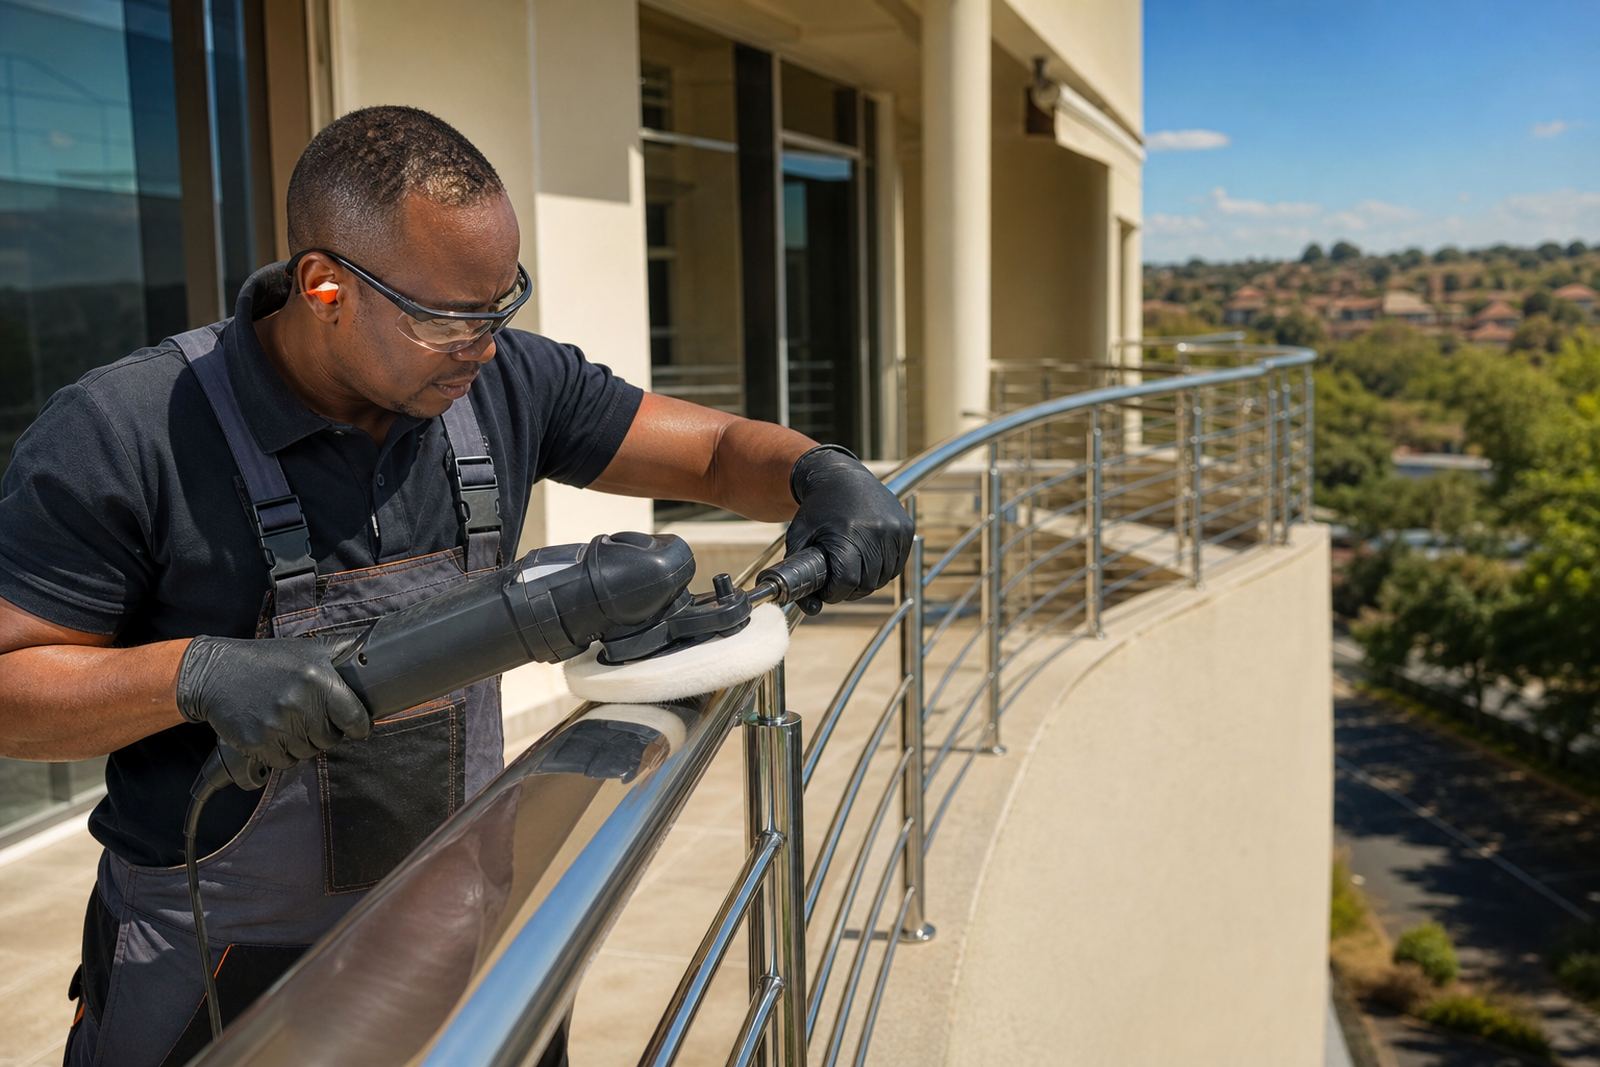
There was also the usual safety side to manage. Fine residue from compounds and old oxidation can get airborne, especially when buffing metal trim or working dry on rougher surfaces. We used eye protection, gloves and a dust mask where needed, kept the work area clean, and made sure the vehicle was properly washed and decontaminated before any machine work started. A light mistake on the wrong edge can leave a lasting mark, so the process had to stay controlled from the start.
- Vehicle type: private passenger vehicle
- Location: Kempton Park, Gauteng
- Surface mix: paint, bright trim, metal accents and sealed fittings
- Risk points: heat, tight edges, residue buildup and soft plastic nearby
Tools, pads and compounds we matched
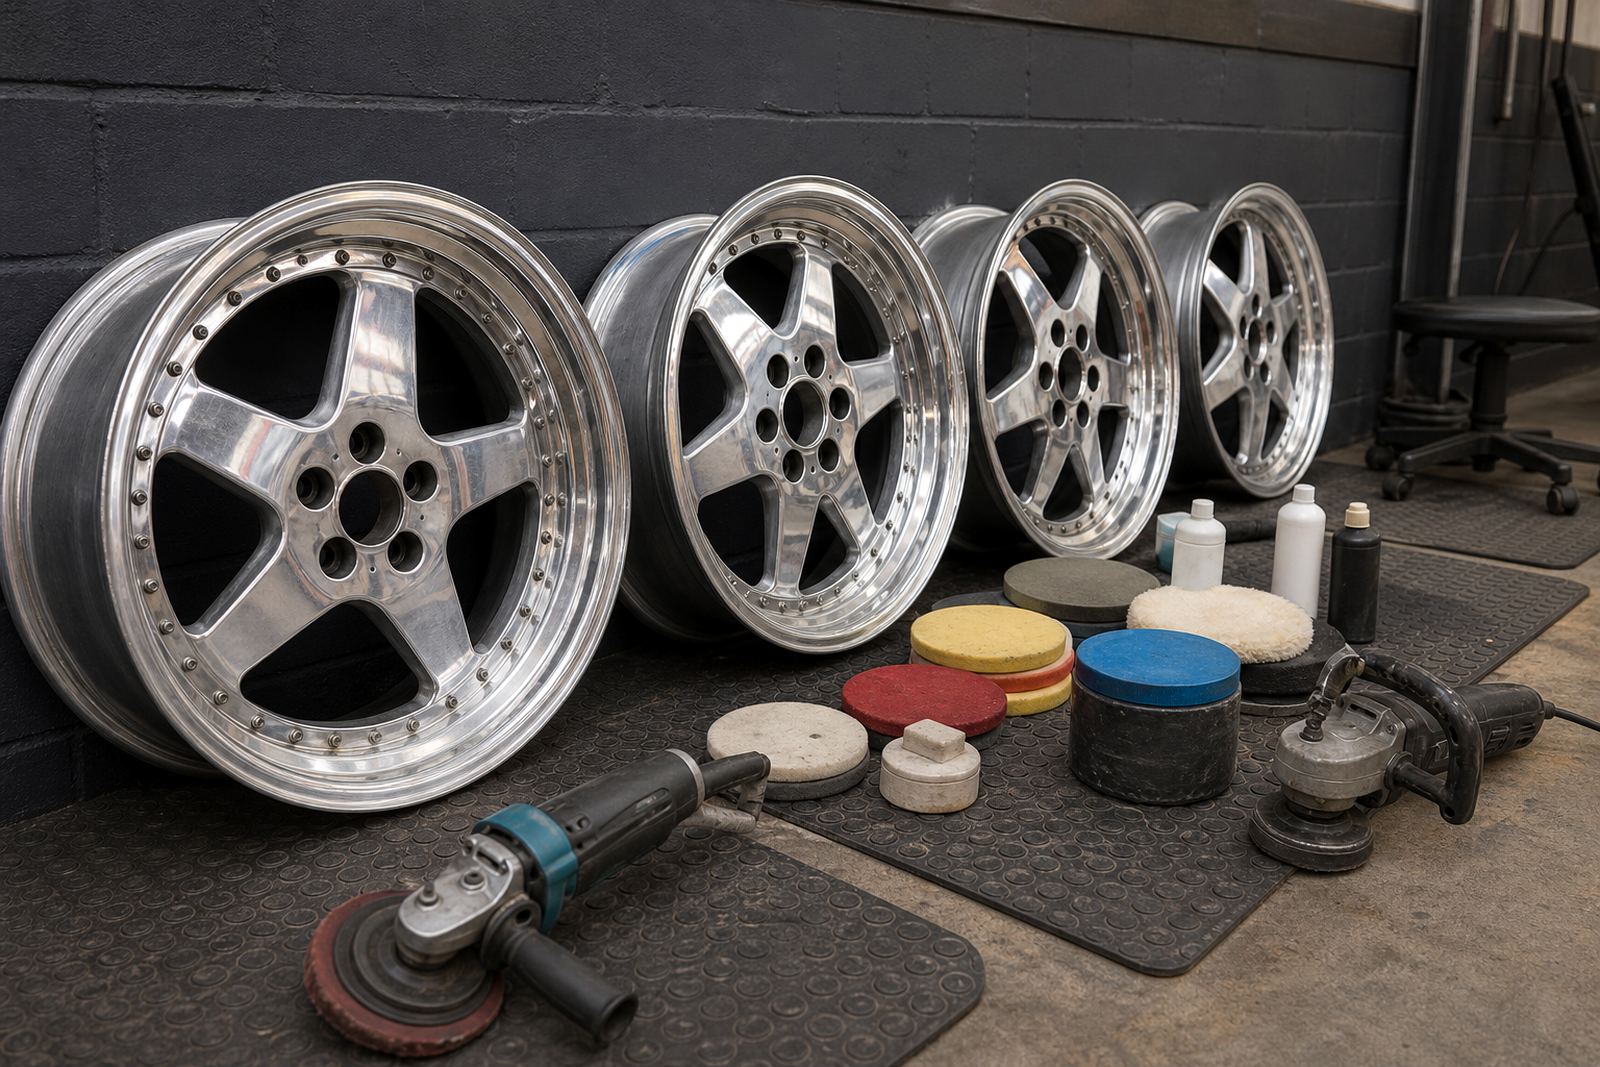
For this project we selected a rotary polisher for the metal accent sections where a more direct cut was needed, and a dual-action polisher for the painted areas and final finishing. That combination helped us keep the correction balanced. Rotary machines move in one fixed motion and can correct faster, but they need a steady hand. Dual-action machines are more forgiving and are better suited to refining paint and reducing the chance of haze or holograms.
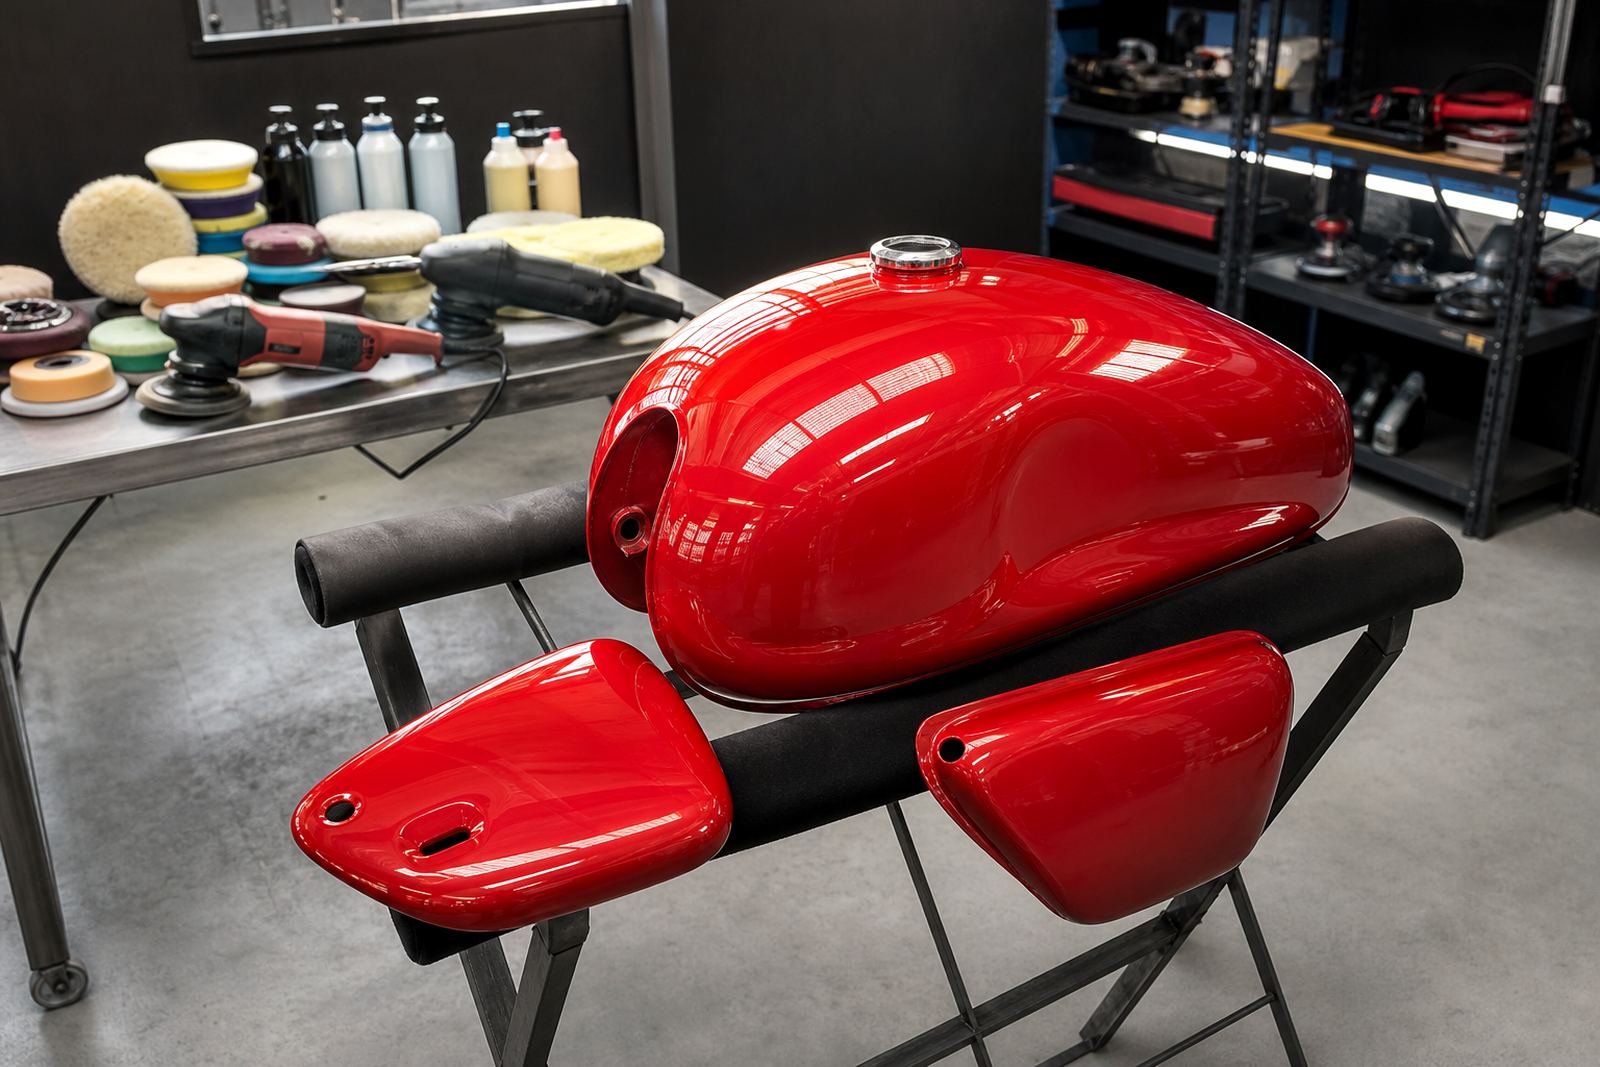
Pad choice mattered just as much as the machine. We used a firmer buffing pad on the oxidised metal details, then moved to medium and finishing pads as the surface improved. Compounds were matched to the condition of the trim, starting with a more active cut where needed and stepping down to lighter finishing products. On the paint areas, we kept the process conservative and checked the surface after each stage, because too much pressure can leave the finish patchy or thin out the clear coat over time.
- Rotary machine for controlled correction on hard metal accents
- Dual-action machine for paint refinement and final finish
- Buffing pads selected by surface hardness and defect level
- Compounds stepped down from cut to finish as the work progressed
How the polishing was carried out over two weeks
The work ran over two weeks, with the first week focused on inspection, cleaning and test spots. We started with a full wash, tar and contaminant removal, then marked out the areas that needed correction. A test patch was done on one trim section first so we could confirm pad pressure, machine speed and compound choice before touching the rest of the vehicle. That saves time later and helps avoid overworking the same spot twice.
In the second week we completed the trimming and metal accent polishing, then moved to the paint correction areas that bordered the brightwork. The finishing stage used lighter pressure and slower passes to remove any lingering haze. We also carried out a final wipe down and checked each section in direct sun and workshop light, because a panel can look fine under one light and show marks under another. The owner collected a vehicle that looked cleaner, sharper and more consistent across all the detailing points.
- Week 1: wash, decontamination, inspection and test spot work
- Week 2: correction, finishing passes and final lighting checks
- Method: short passes, low heat and frequent inspection
- Outcome: improved trim clarity and a more even overall finish
What we supplied and explained to the owner
Along with the polishing work, we supplied the owner with practical guidance on how to maintain the result without creating fresh swirls or staining the trim. That included the right wash method, when to use a soft applicator and what kind of cleaner to avoid near polished metal. We also explained how to dry the car properly after washing, because mineral spots can quickly dull a fresh finish, especially in areas where borehole or municipal water leaves residue.
For future maintenance we discussed pad and compound matching in simple terms, along with starter kit ideas for safe home use. The owner did not need a full workshop setup, but did need a sensible kit for touch ups and regular care. We also covered PPE and dust control for anyone who wants to polish at home: eye protection, a proper mask when dry residue is present, and a clean area with good light. If you are trying to correct trim in a rush, you usually end up with more work later, so the advice was to work slowly and keep the process predictable.
- Care advice for washing, drying and spot maintenance
- Guidance on safe use of polishers, pads and compounds
- PPE briefing for dust, residue and accidental splatter
- Simple aftercare plan for a private vehicle owner
Trim Notes for the Next Batch
If we were doing a similar Kempton Park trim project again, we would keep the same order of work and still start with a small test section. That approach gives the cleanest result and avoids overpolishing. We would also keep the split between rotary and dual-action machines, since each one serves a different purpose. The rotary is useful where the metal needs decisive correction, while the dual-action machine is better for finishing and for areas close to delicate trim.
We would also repeat the habit of checking panel temperature often and stopping to clean pads before they load up. A clogged pad can drag residue back across the surface and undo the finish you have already earned. The owner’s result showed that a careful process with the right tools can make a private car look far better without turning the job into a full restoration. For anyone in Gauteng looking at similar trim work, that balance of correction, protection and sensible aftercare is usually the best way forward.
Key facts
| Project | Kempton Park Trim |
|---|---|
| Client type | Private vehicle owner |
| Location | Kempton Park, Gauteng |
| Work scope | Trim, metal accents and adjacent paint finishing |
| Tools used | Rotary polisher, dual-action polisher, buffs and compounds |
| Duration | 2 weeks |